Making a parchment cone is one of the basic skills that every baker should master. By calling it a basic skill I don’t mean to imply that it is easy – it takes practice and patience. Perhaps foundation skill is a better term. Mastering a parchment cone and how to use it will elevate the level of your pastries whether you are drizzling icing, piping a fancy design, or writing on a cake. Cut some triangles, make some cones, and practice, practice, practice!
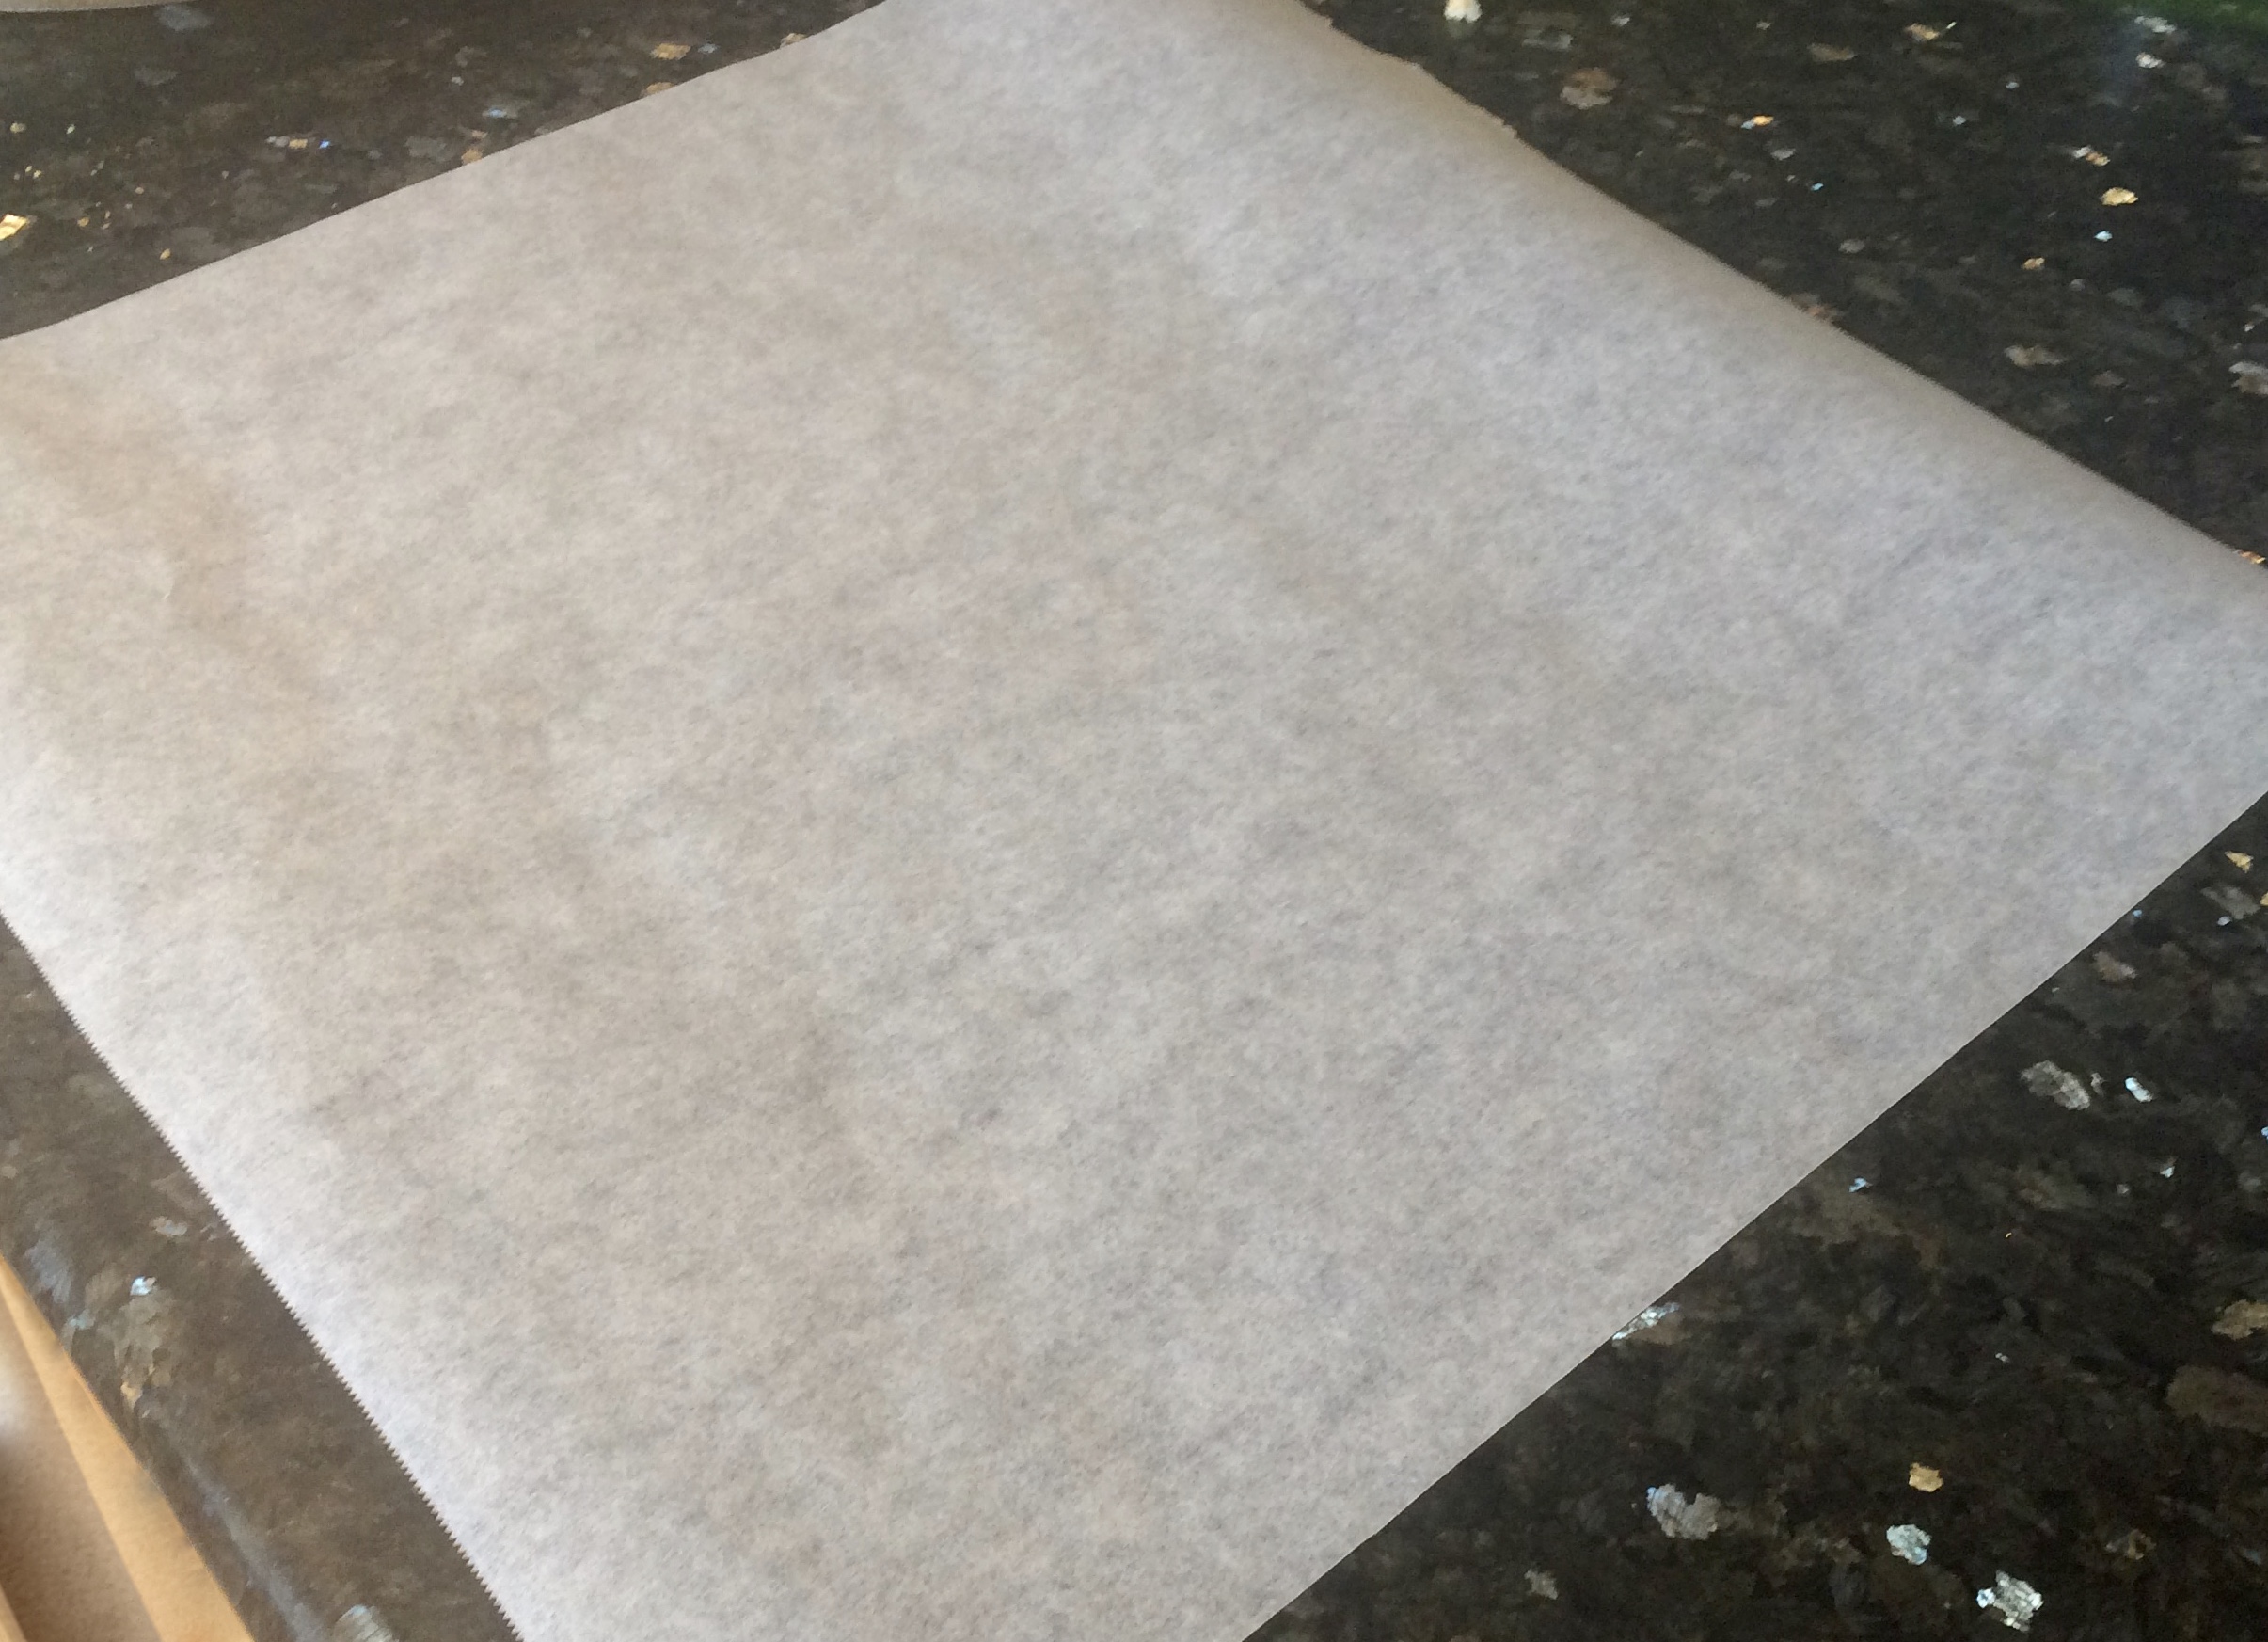
The first step in making a parchment cone is properly cutting the paper. Most home cooks do not have access to flat sheets of parchment but rather buy their parchment on a roll. Start with a square of parchment flat on the table.
Fold the parchment into a triangle by bringing opposite corners together.
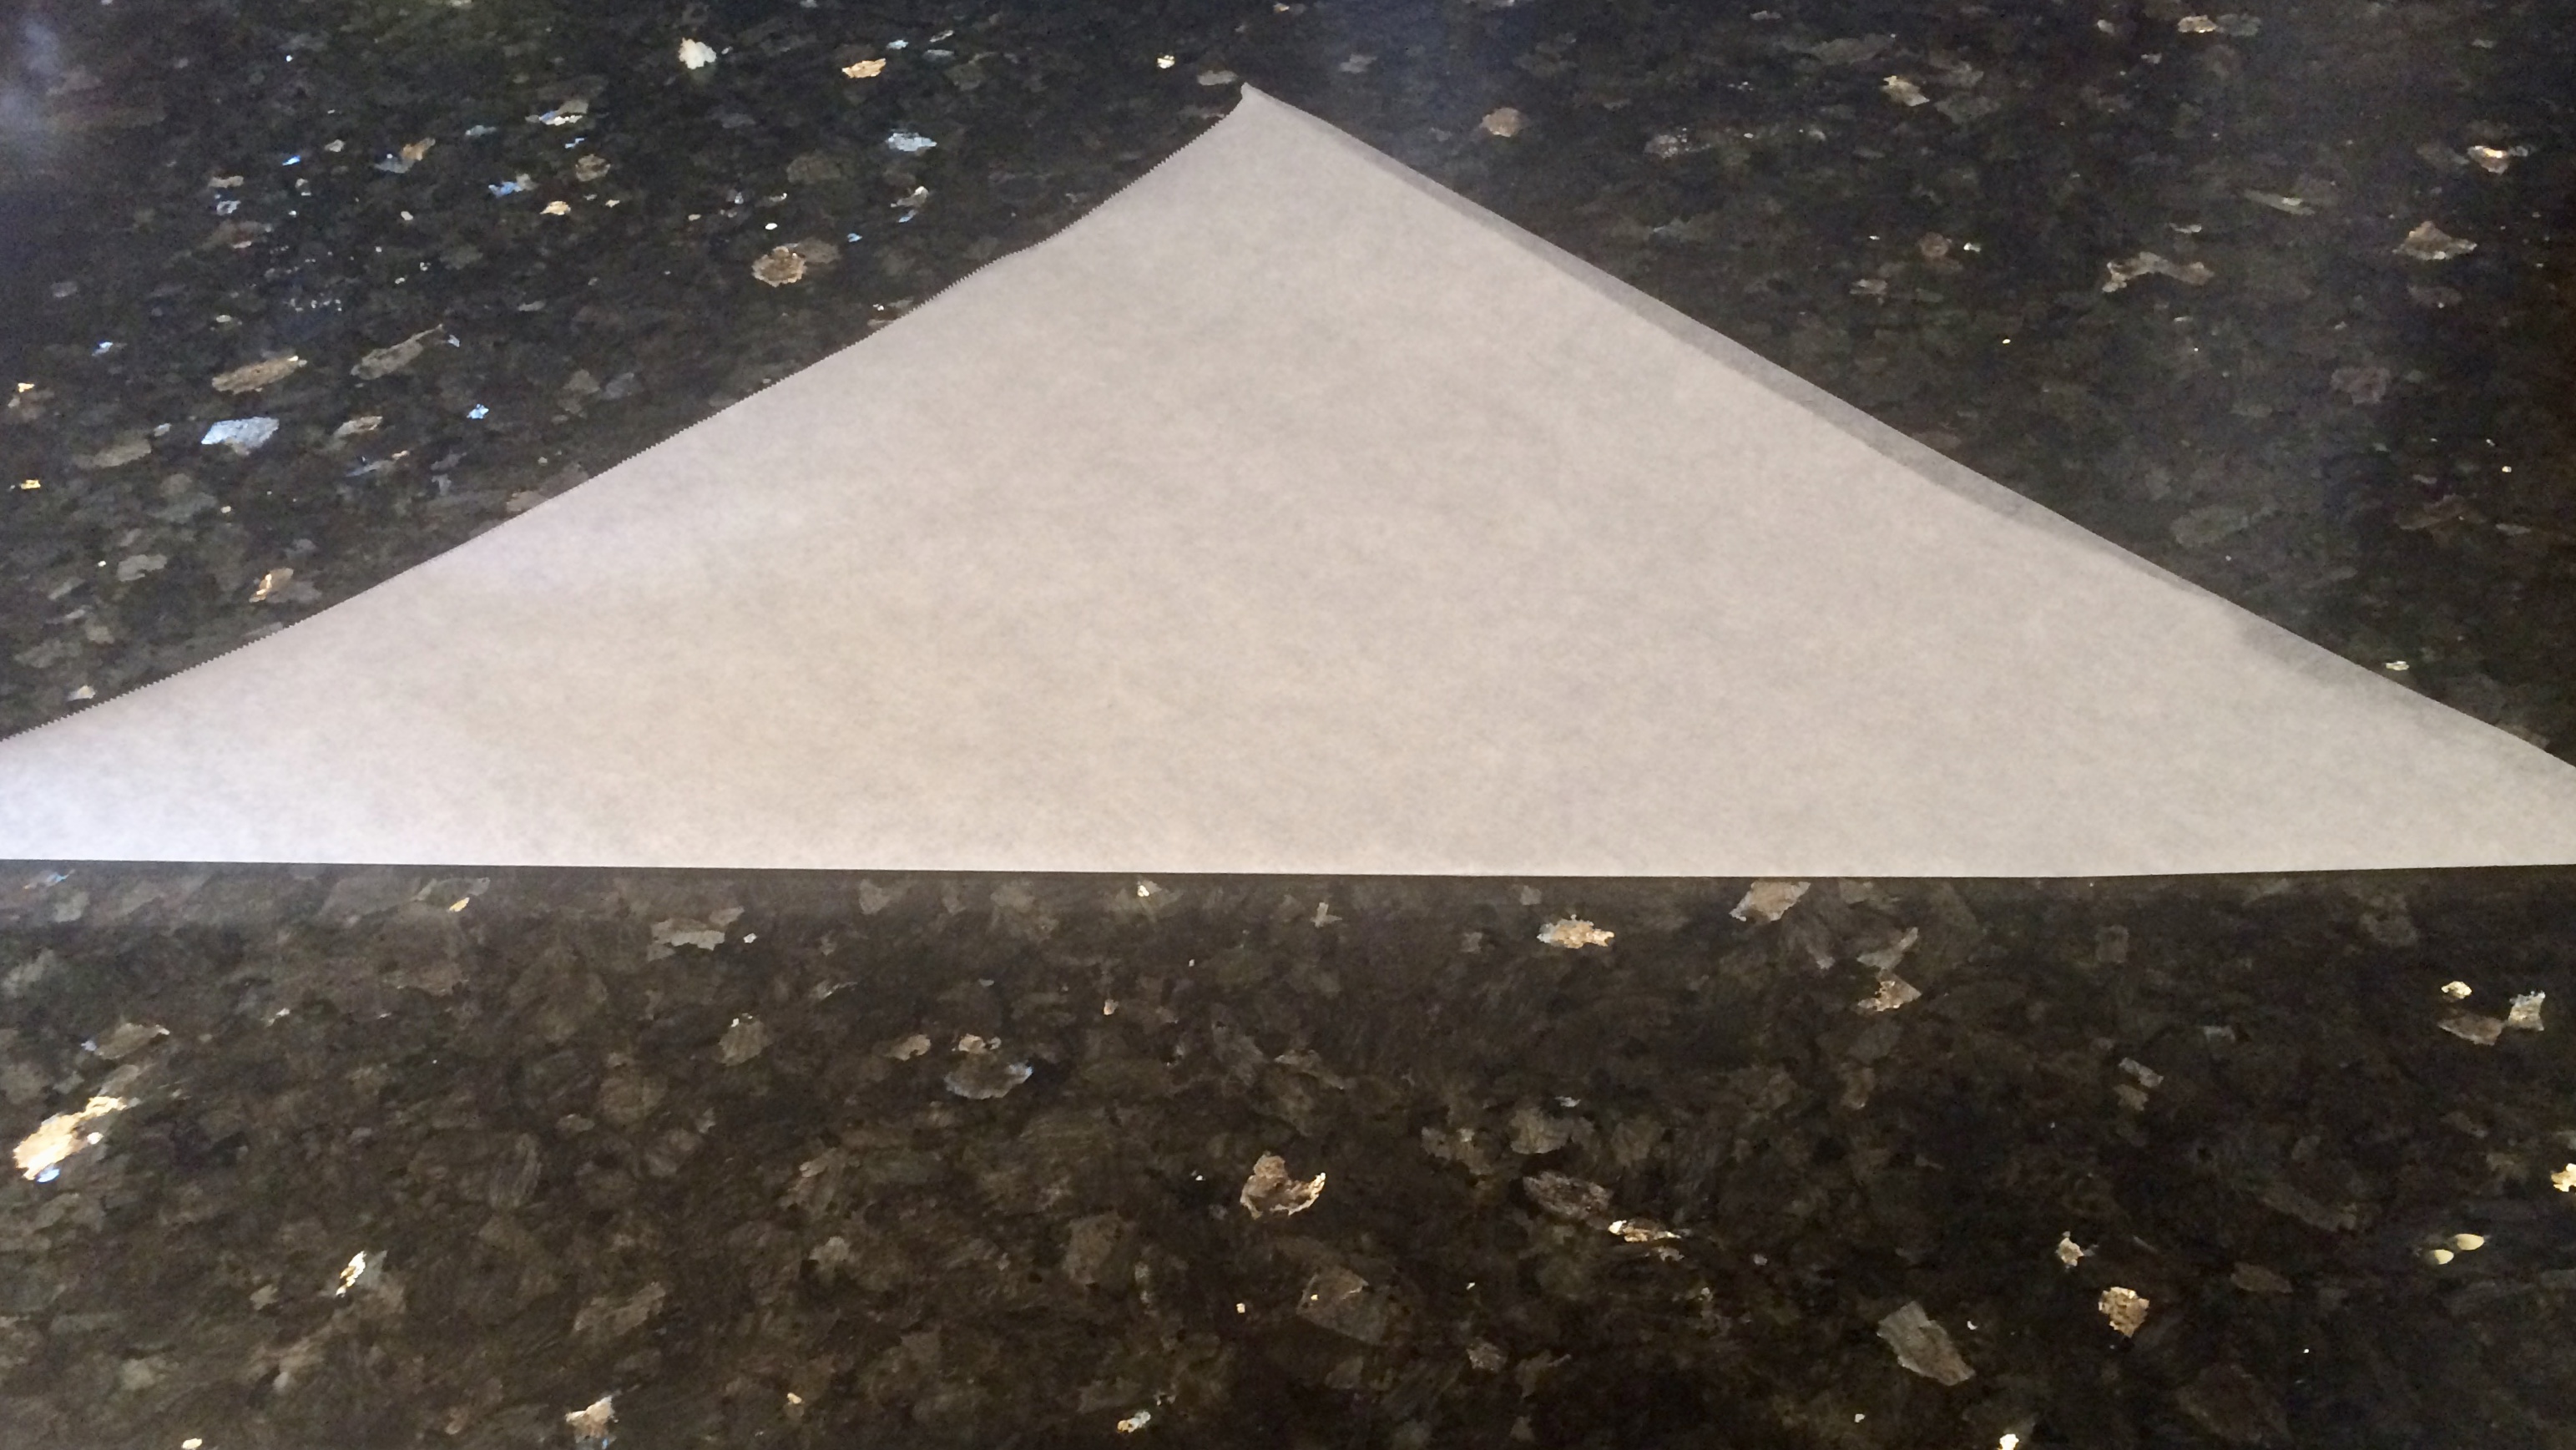
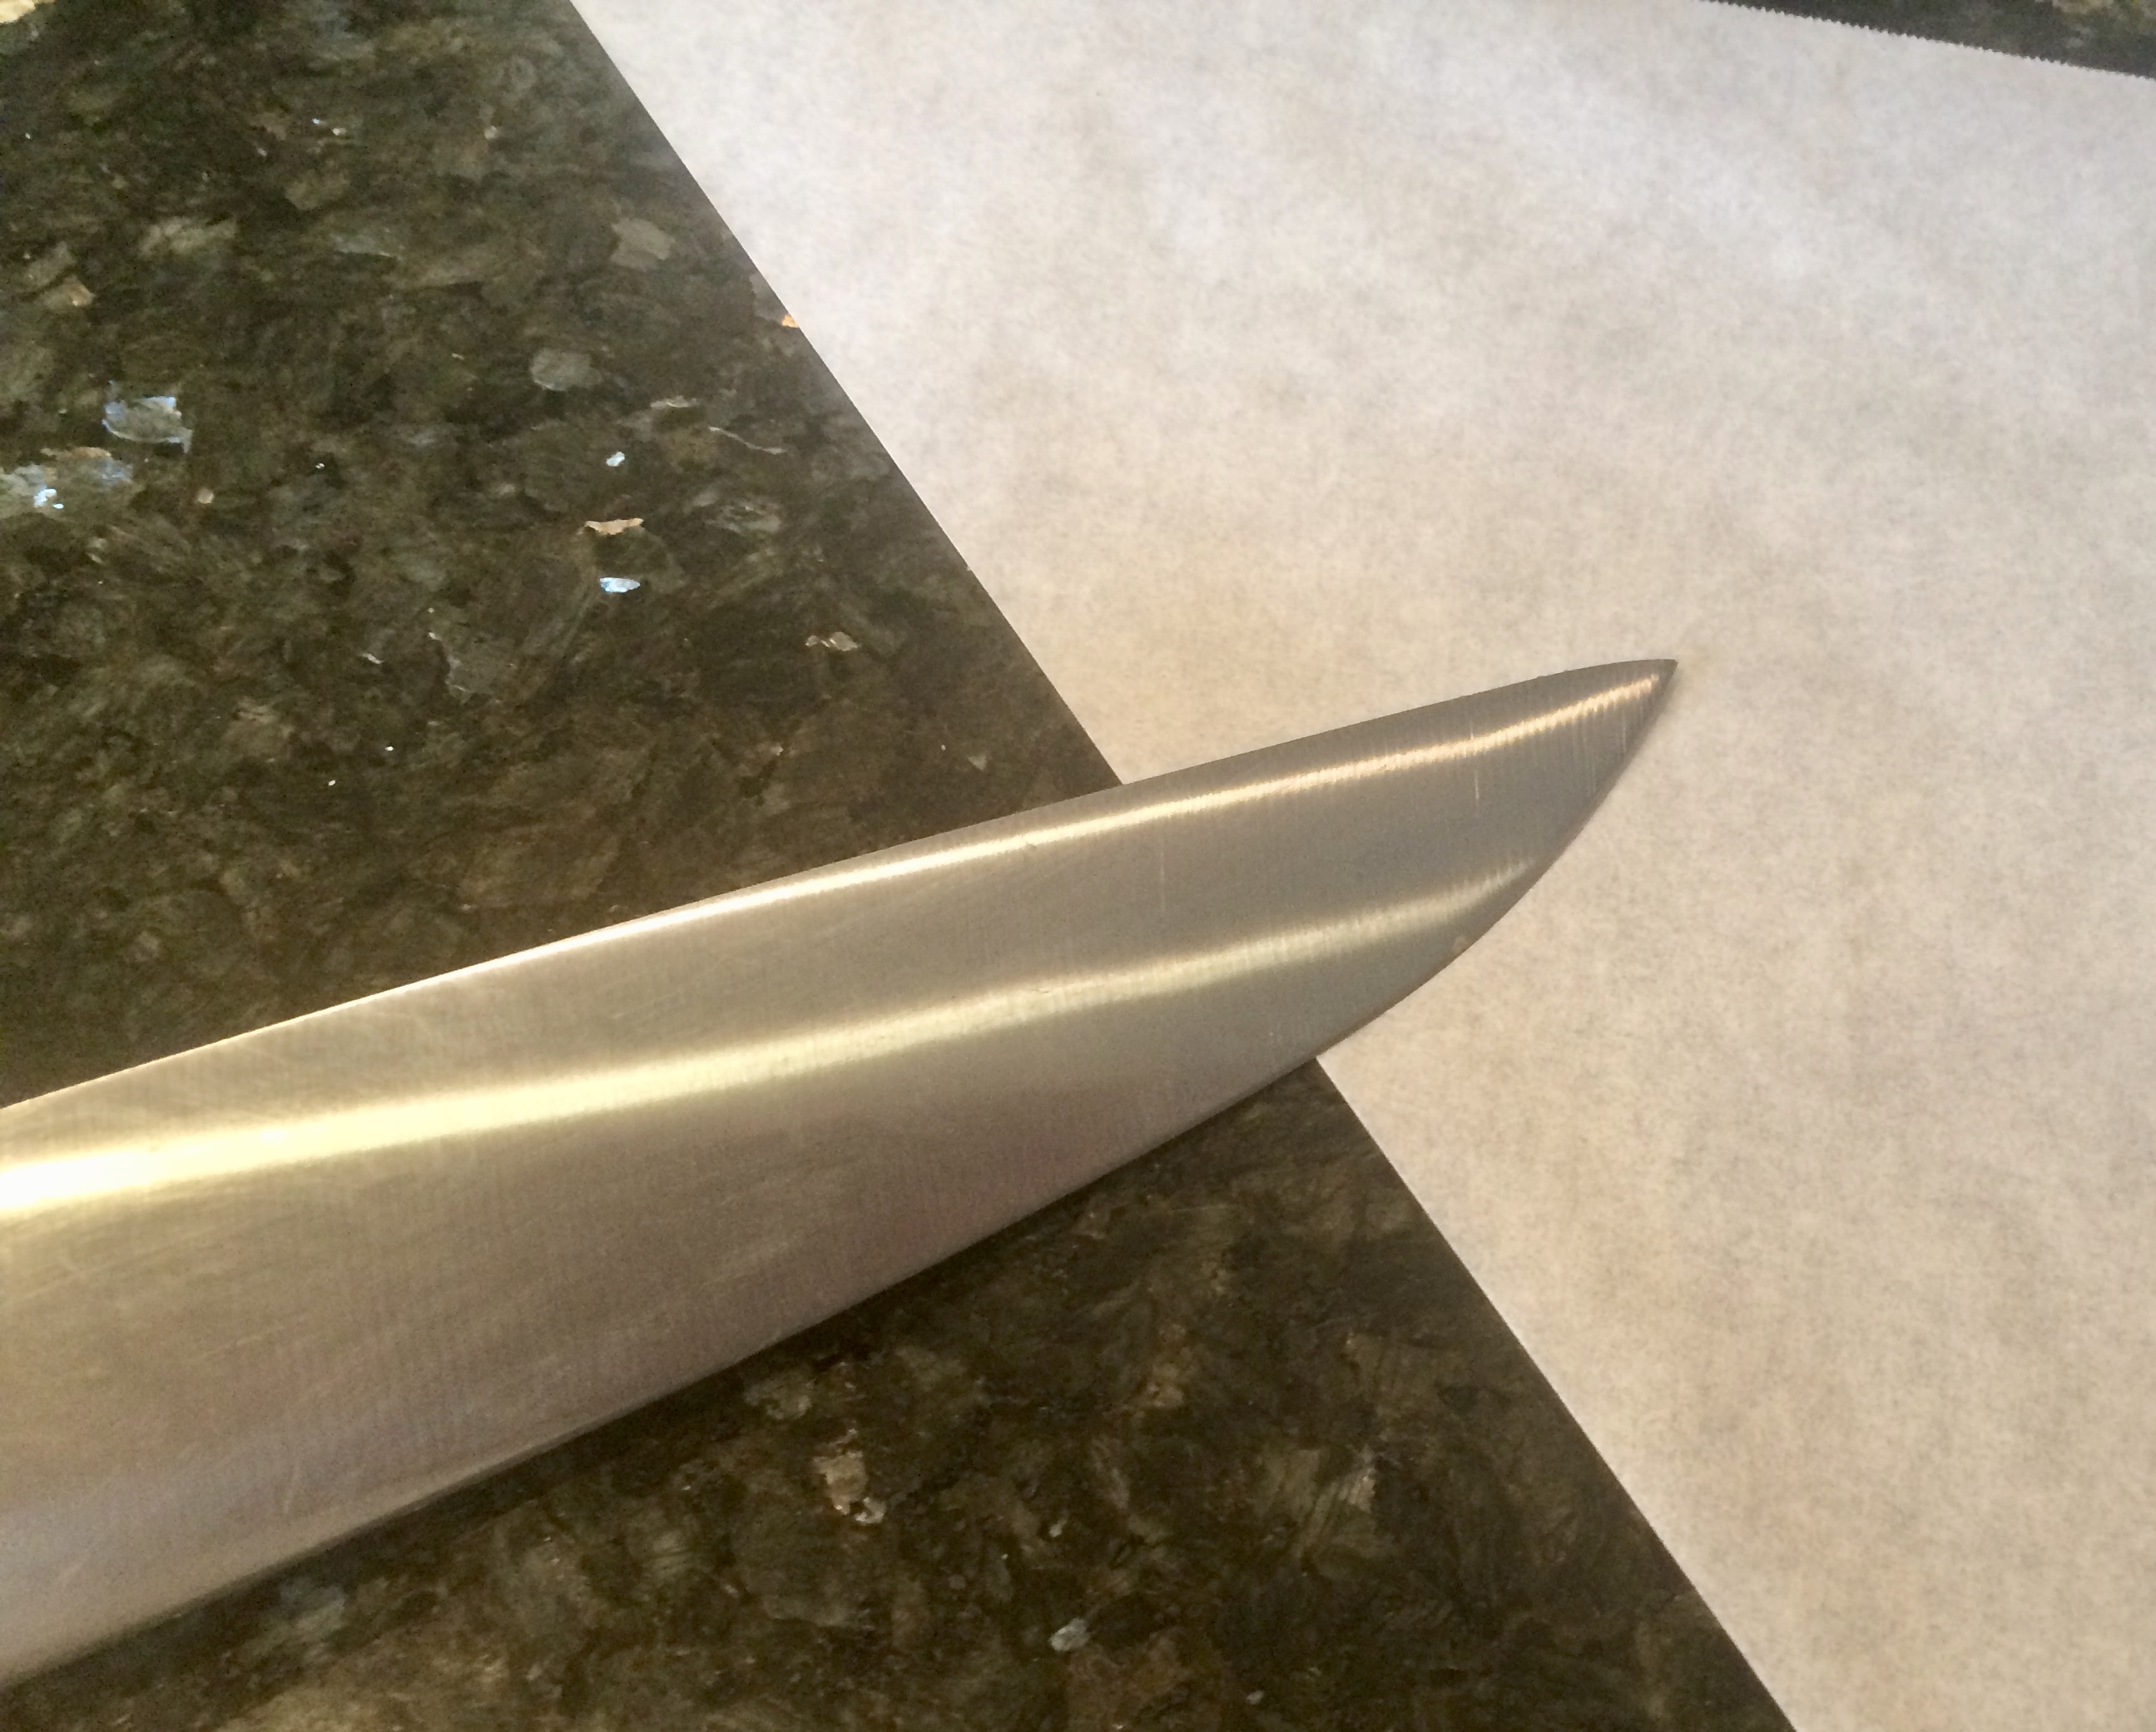
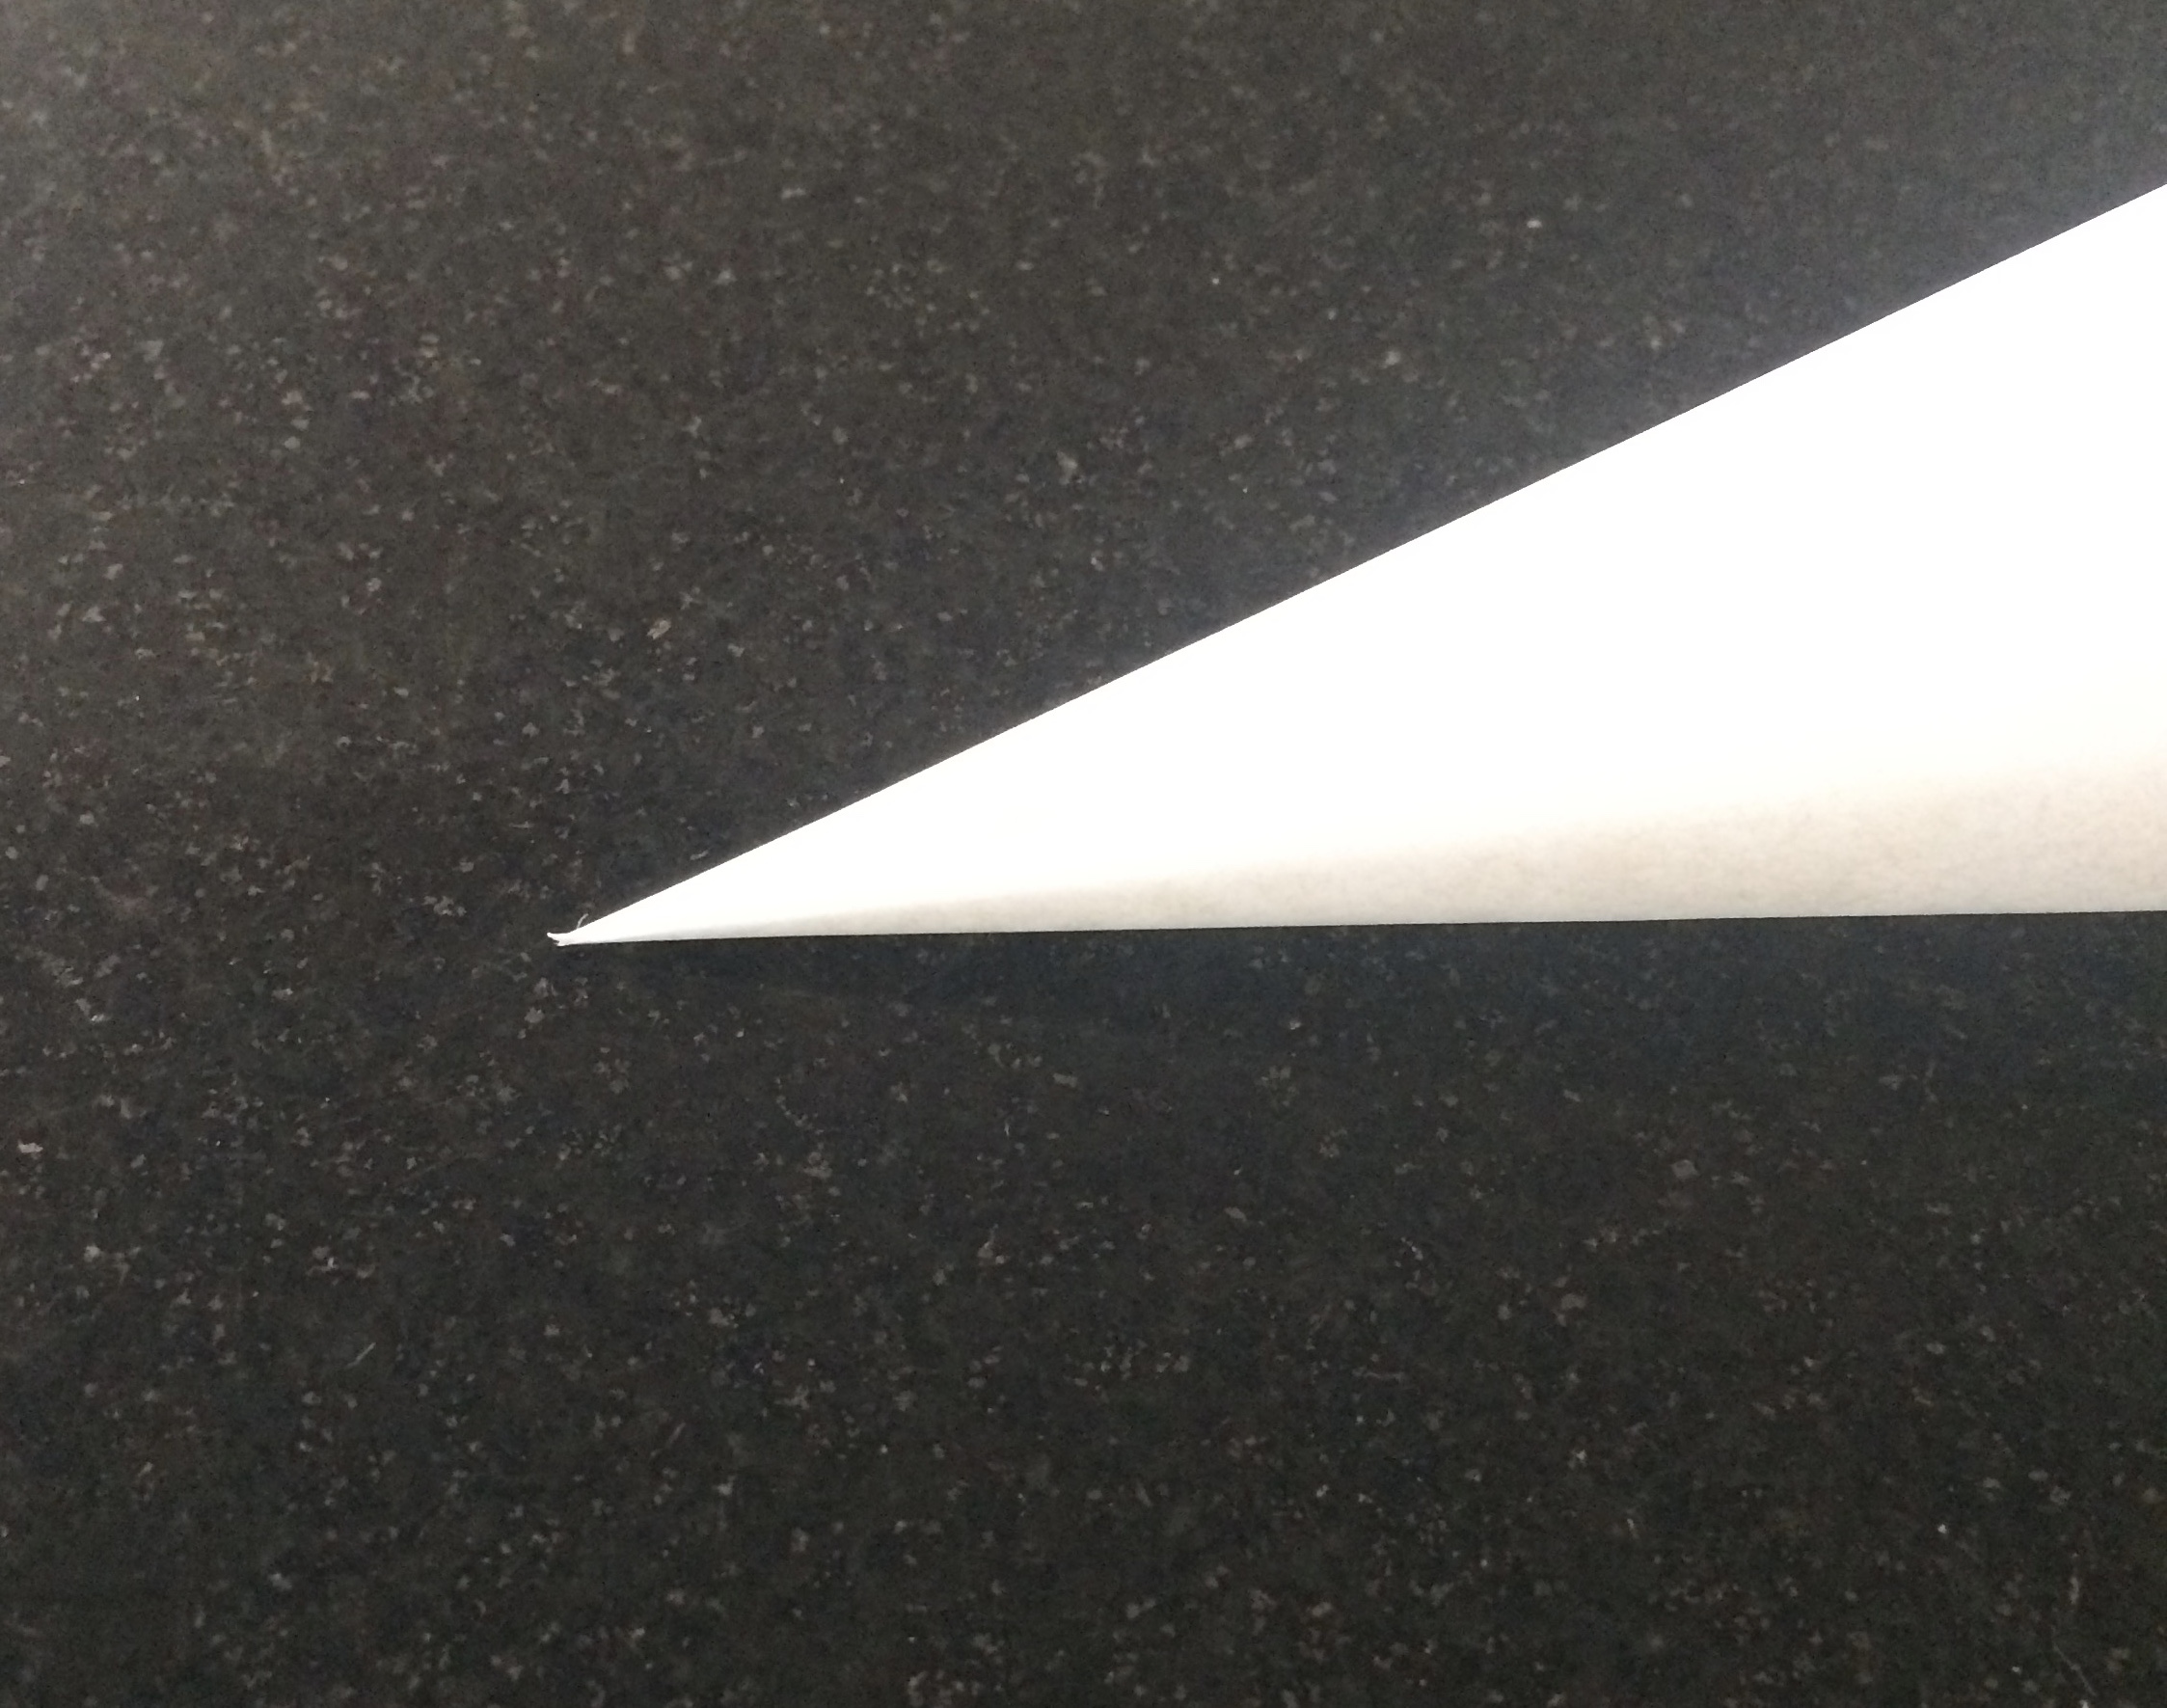
Use a knife to sharpen the fold by laying the blade of the knife flat against the paper and running it along the edge. This is the edge that eventually becomes the tip of the cone so it is important for it to be cut smoothly.
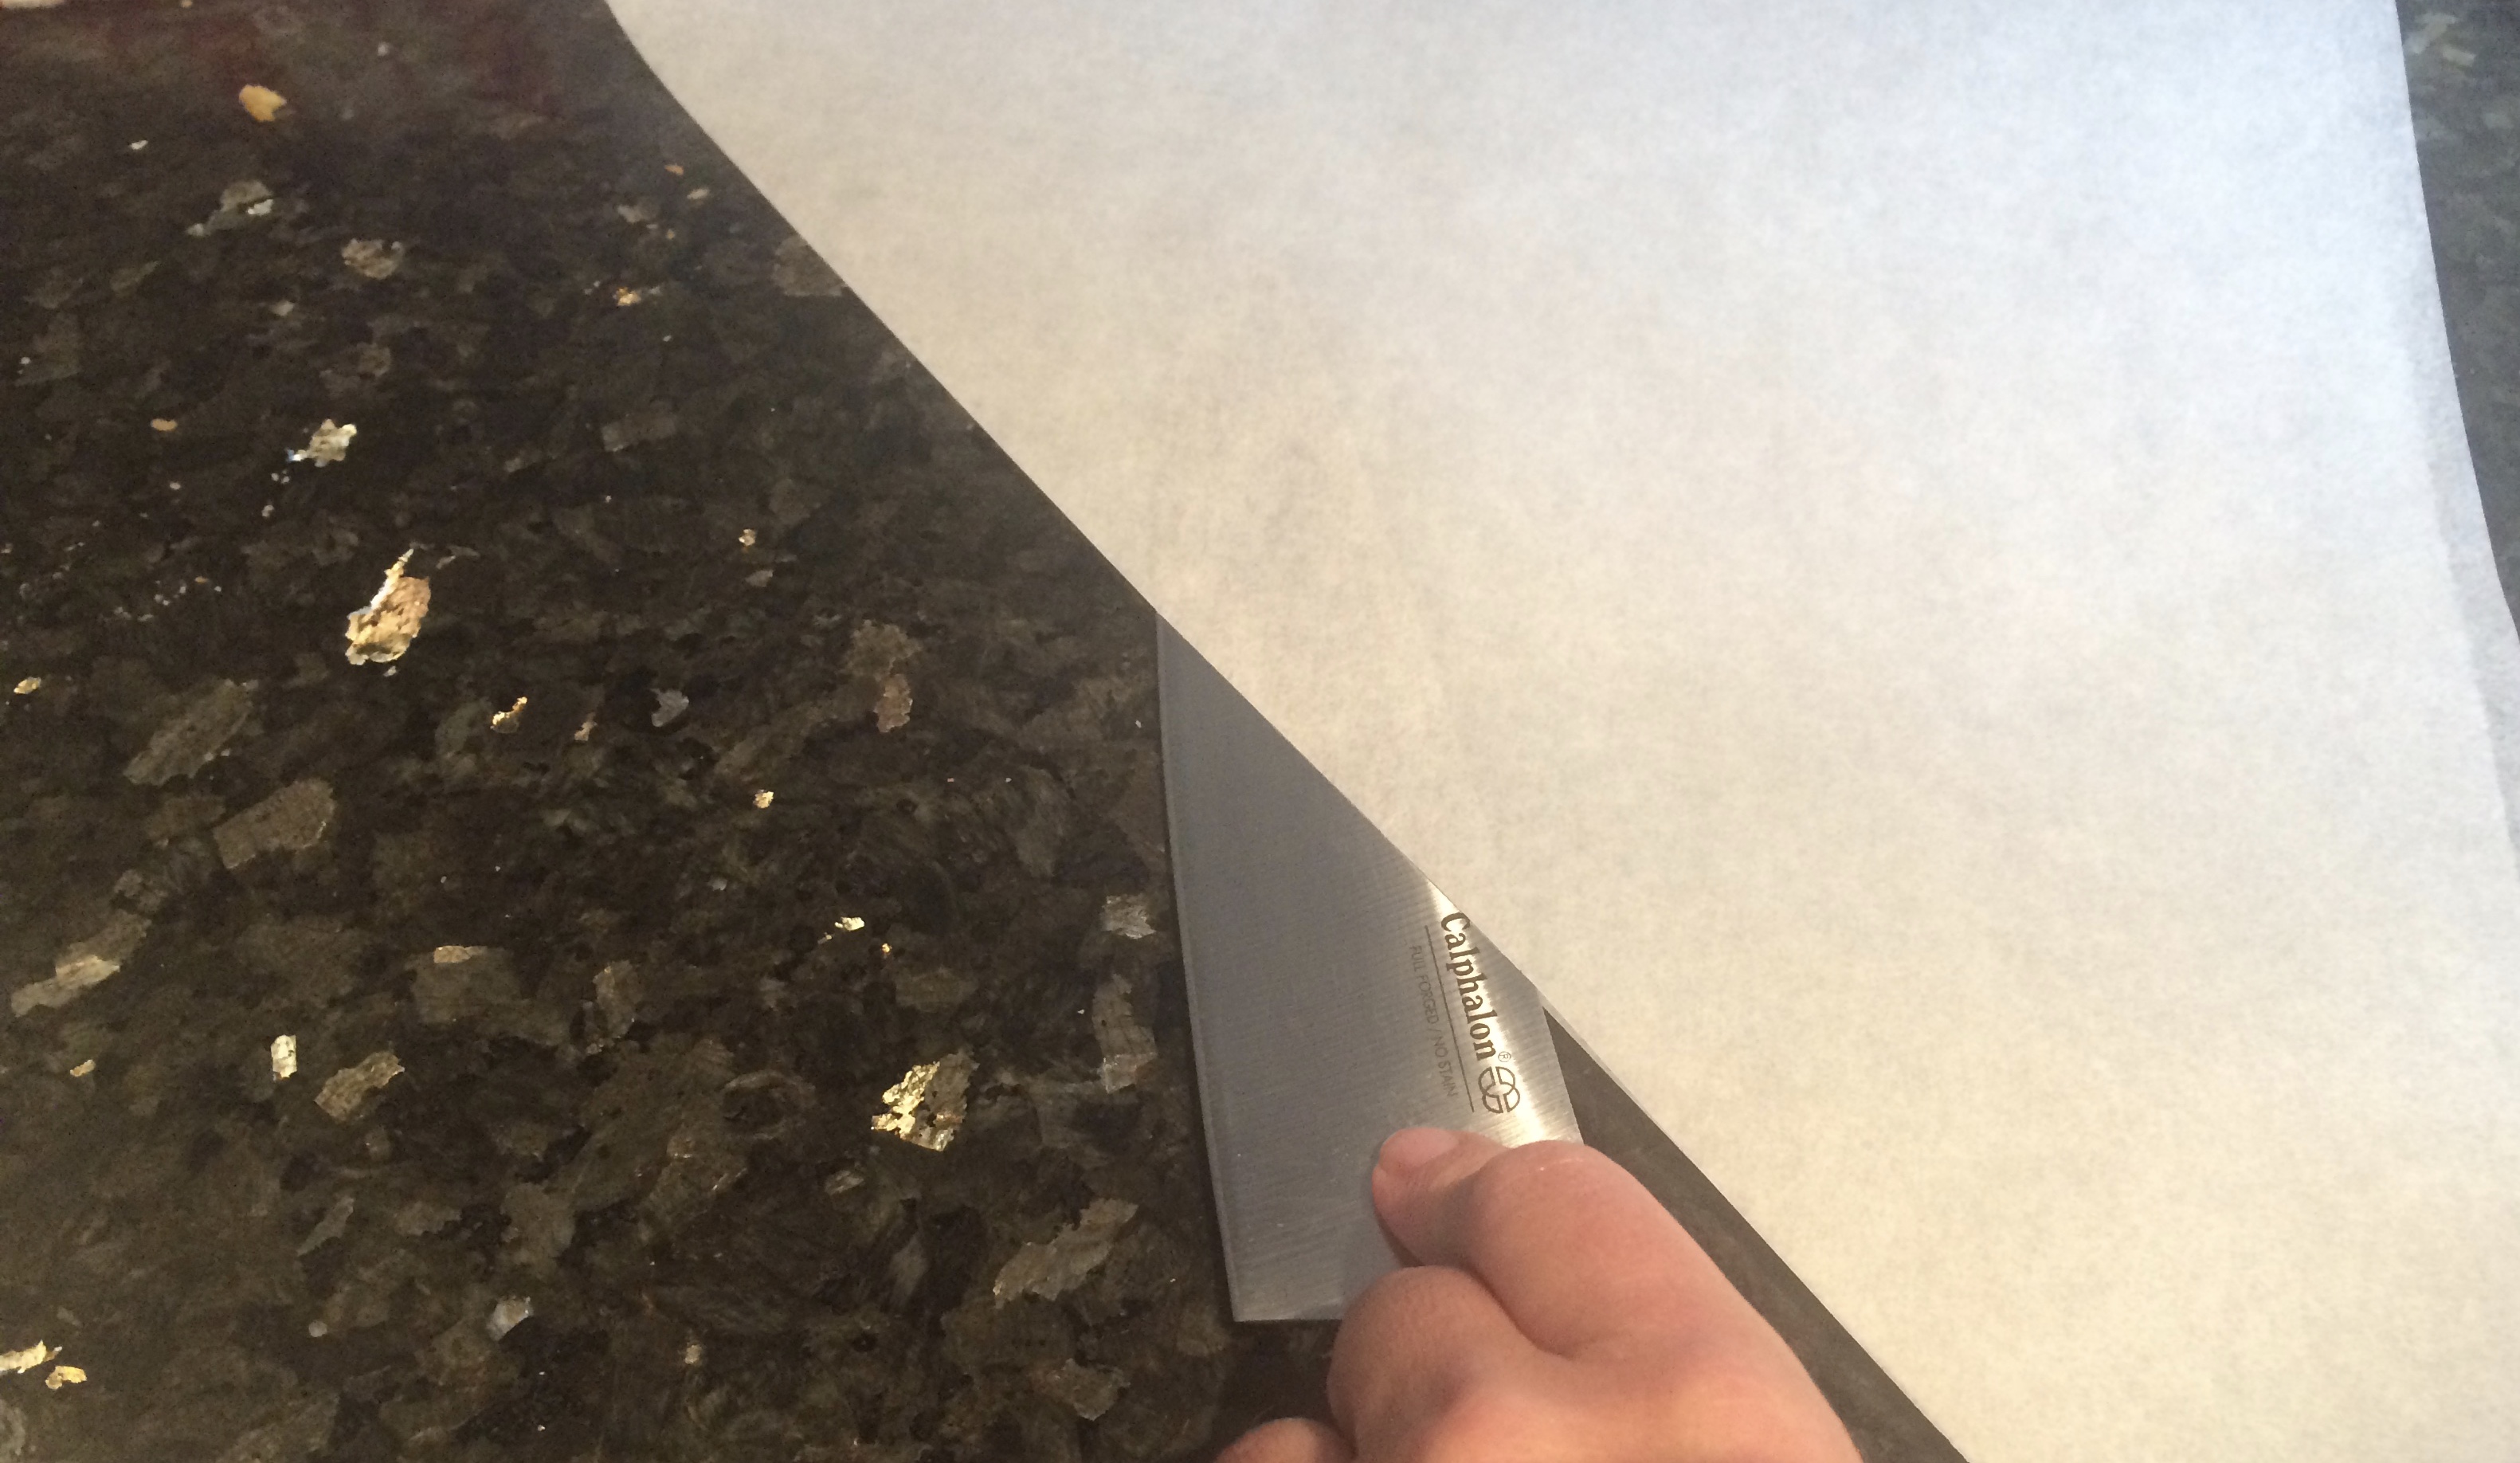
Slip the knife between the layers of parchment and gently cut the paper. Use a very sharp knife so that the cut edge is smooth and without wrinkles or tears.
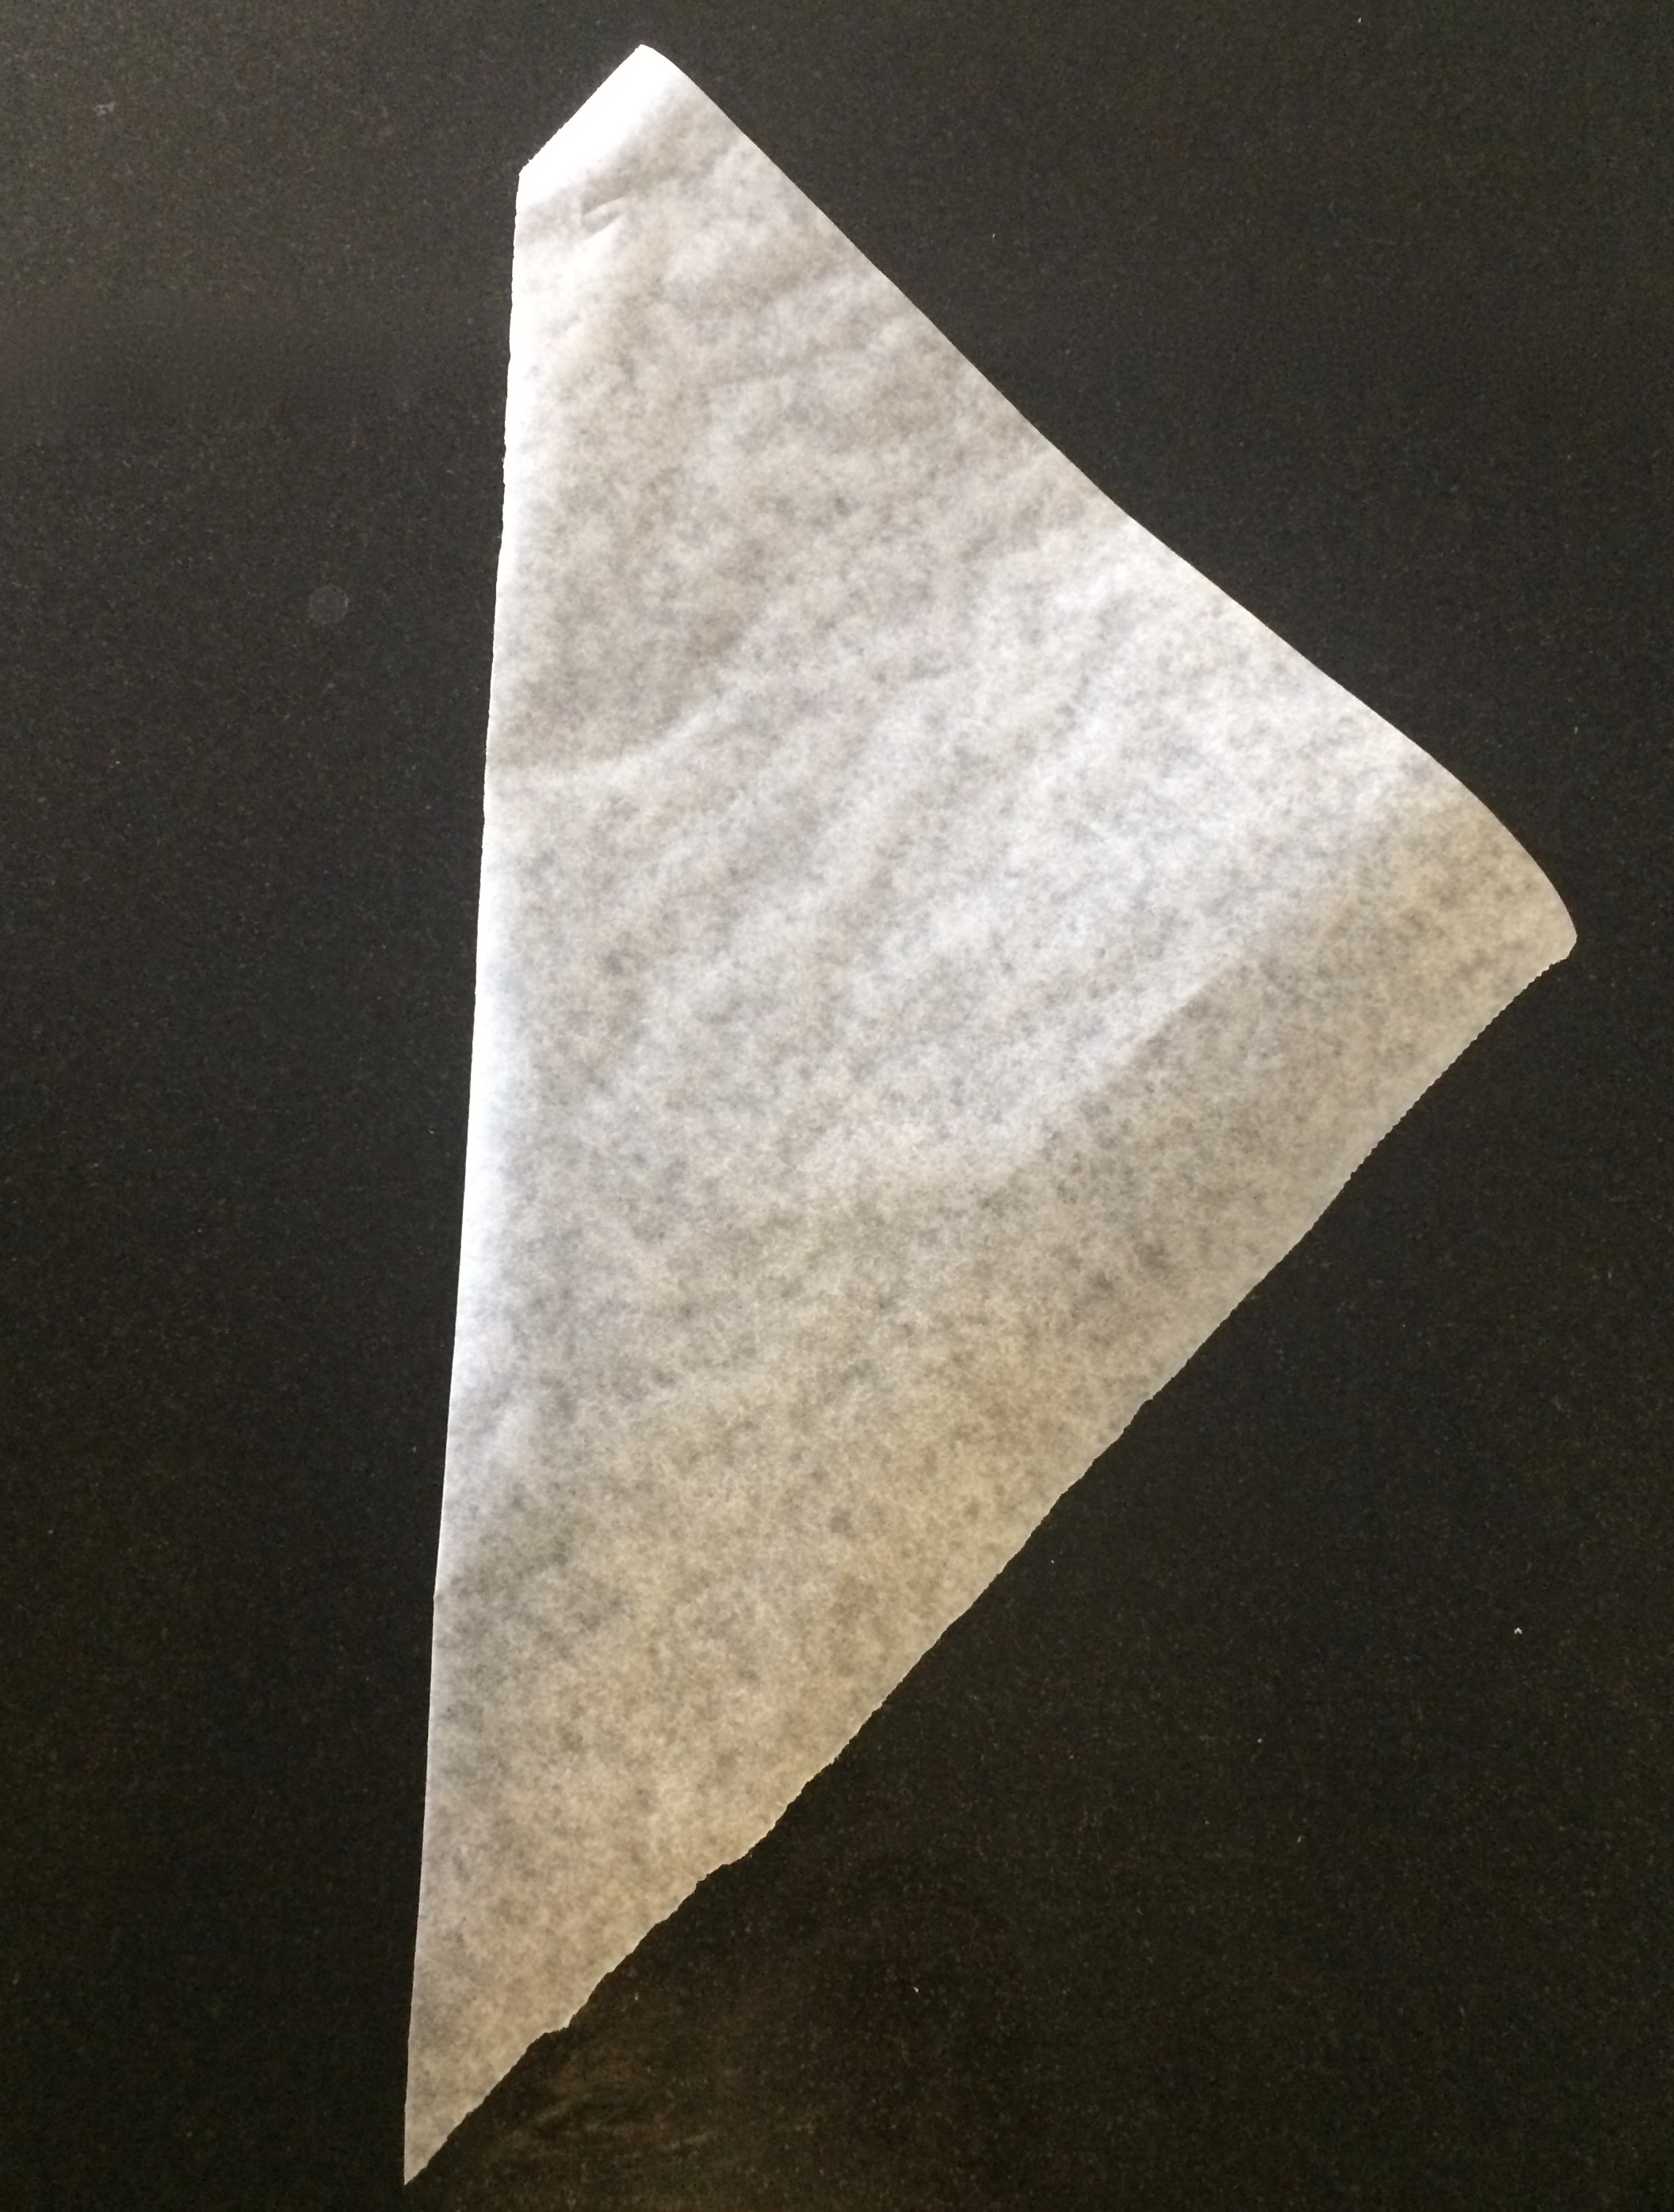
Next, the position of the paper triangle is very important. If you are making the cone with your right hand, the long edge that you just cut should be to your left. The opposite is true if you make the cone with your left hand.
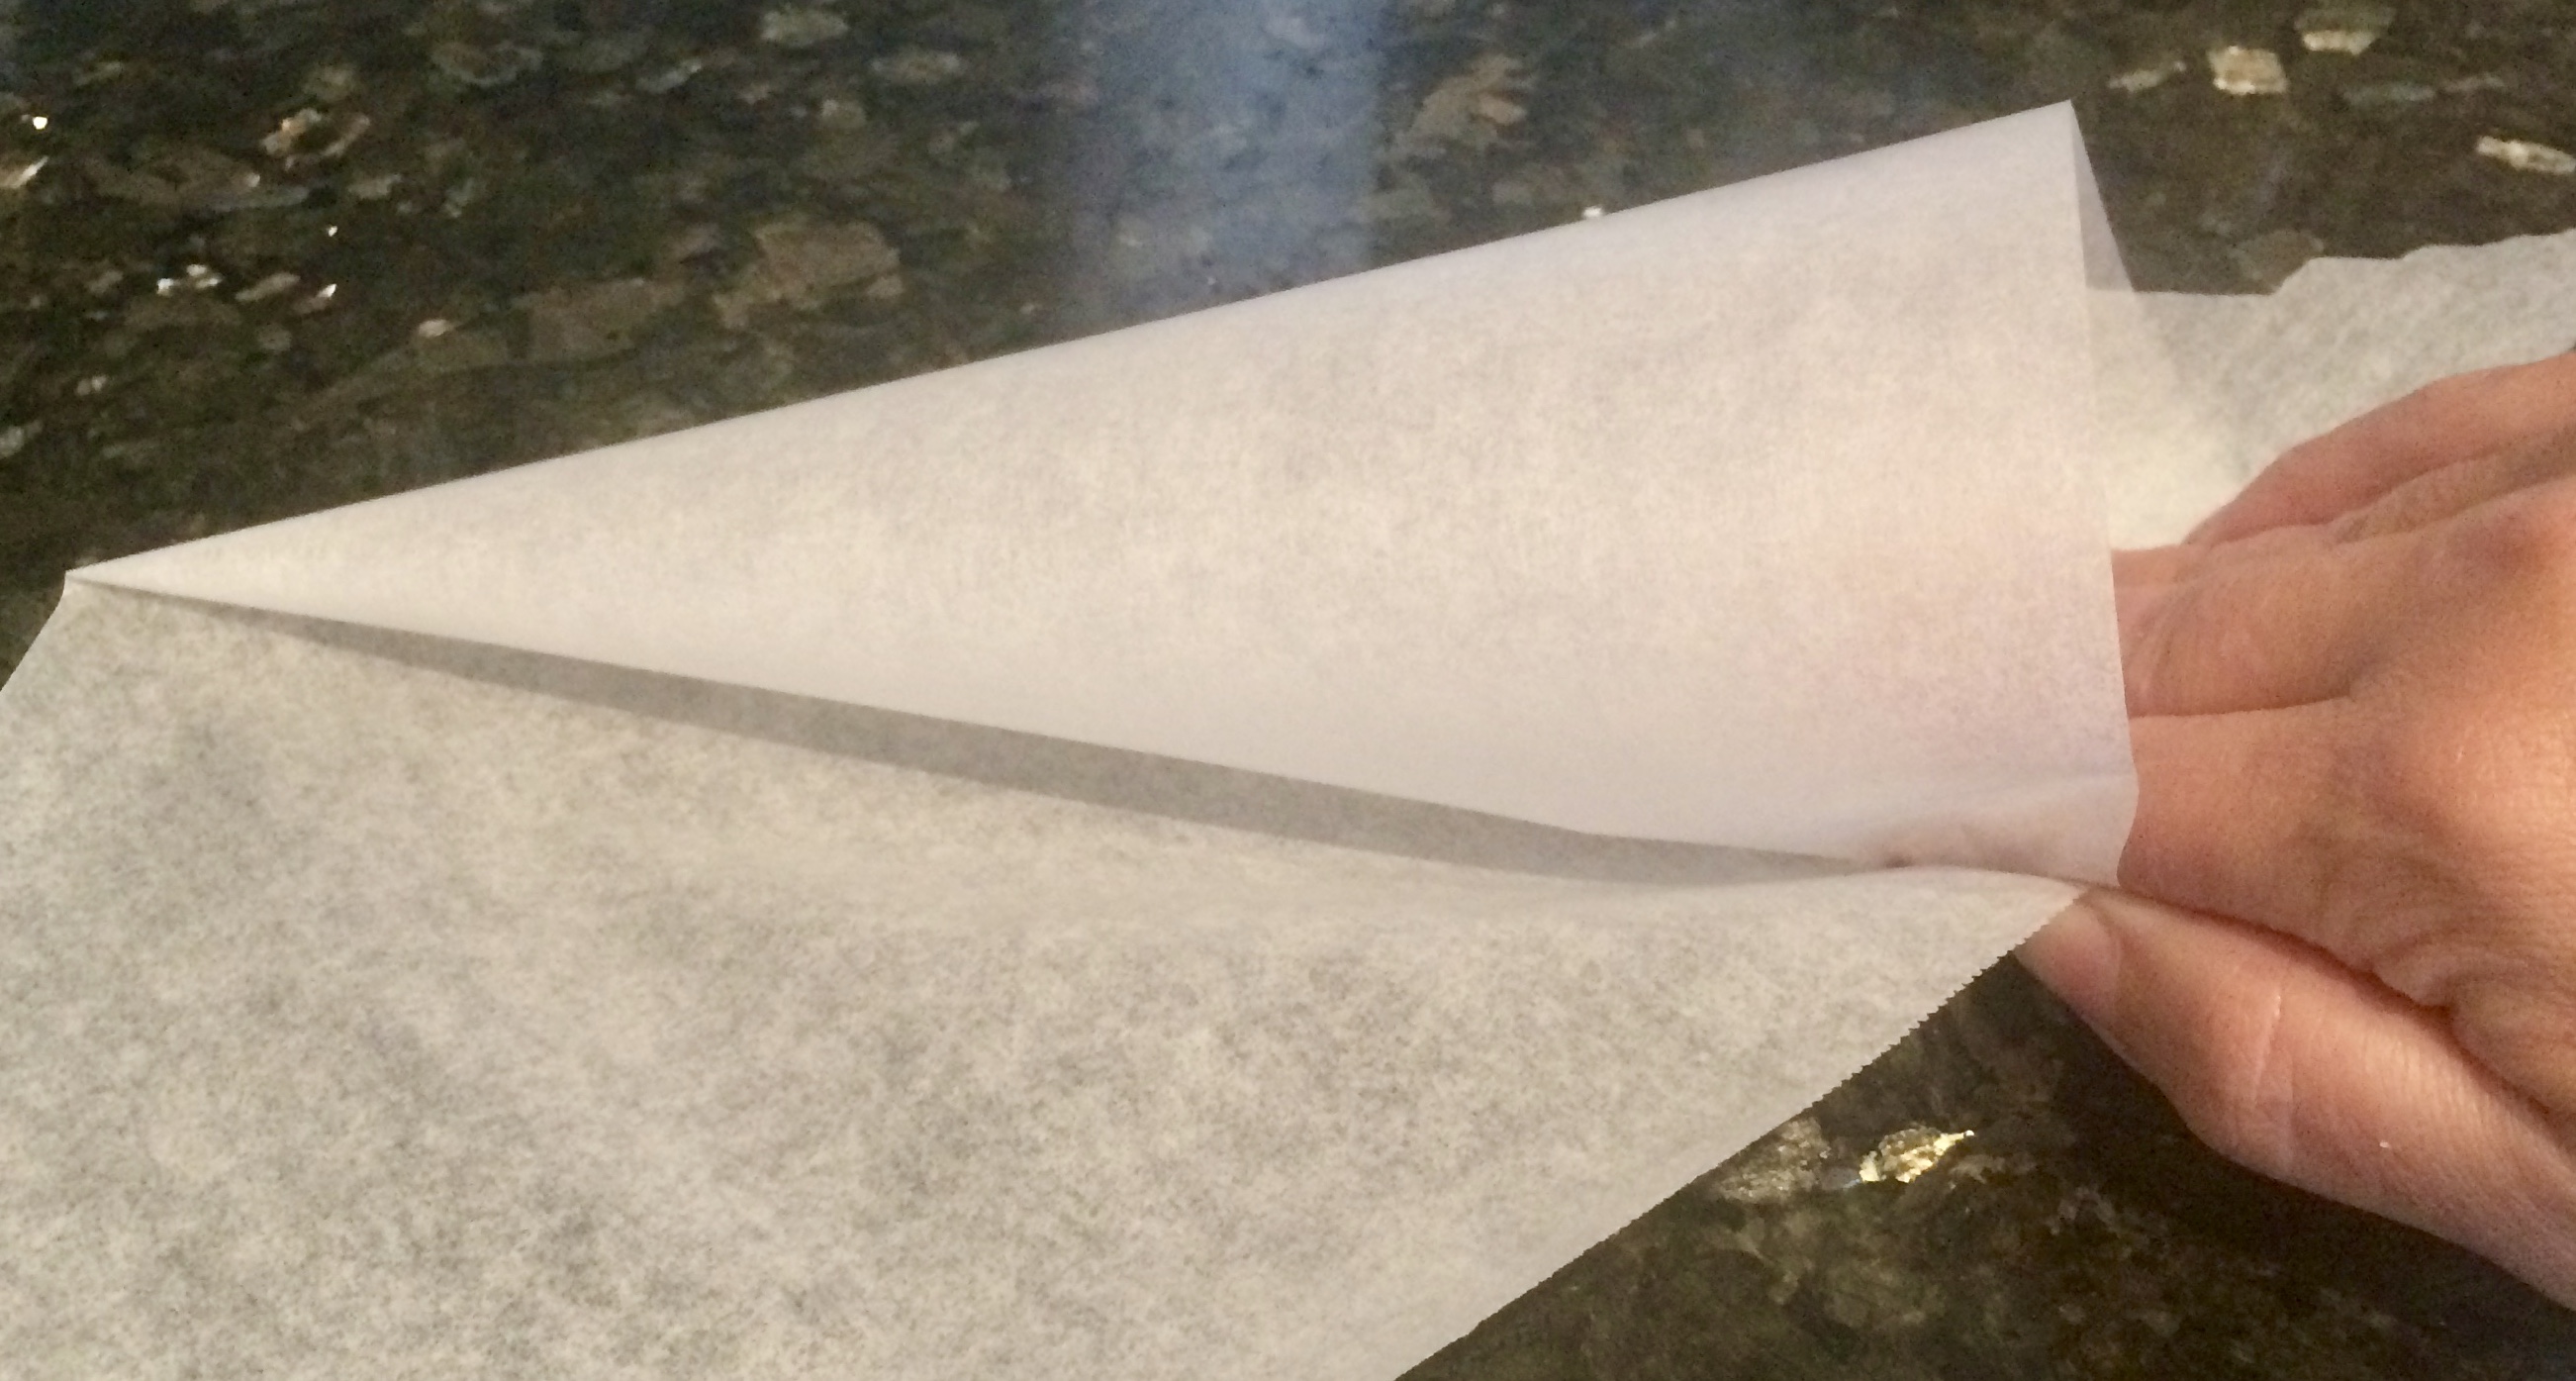
Grab the top point of the triangle and curl it toward you. Line the point of the parchment in your hand up with the point of parchment on the side of the triangle closest to your working hand.
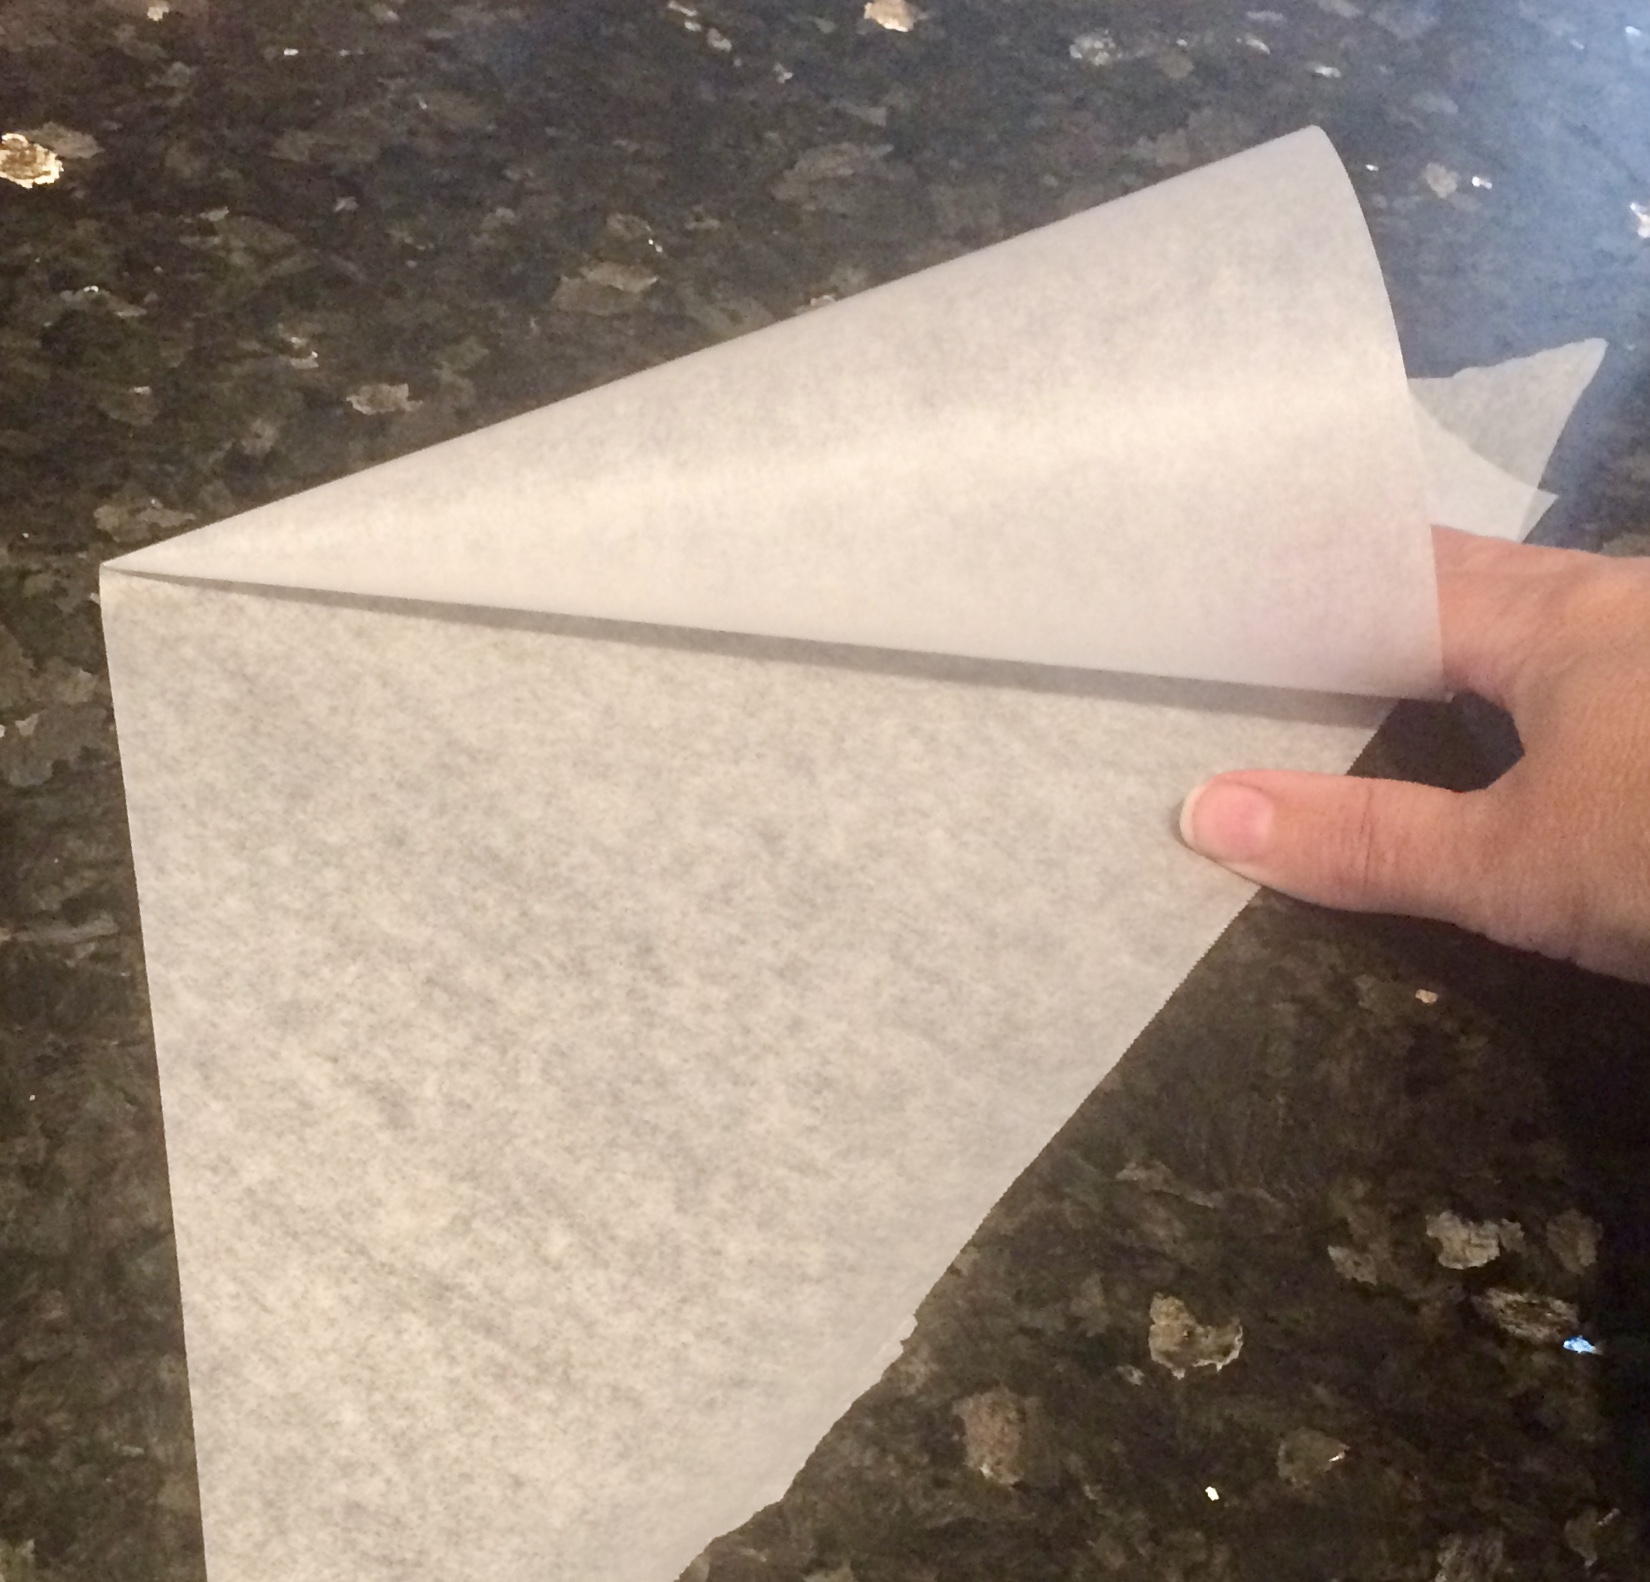
The paper should form a point on the long cut side. Adjust as necessary so there is no hole in the point you just formed and it is smooth and crinkle free.
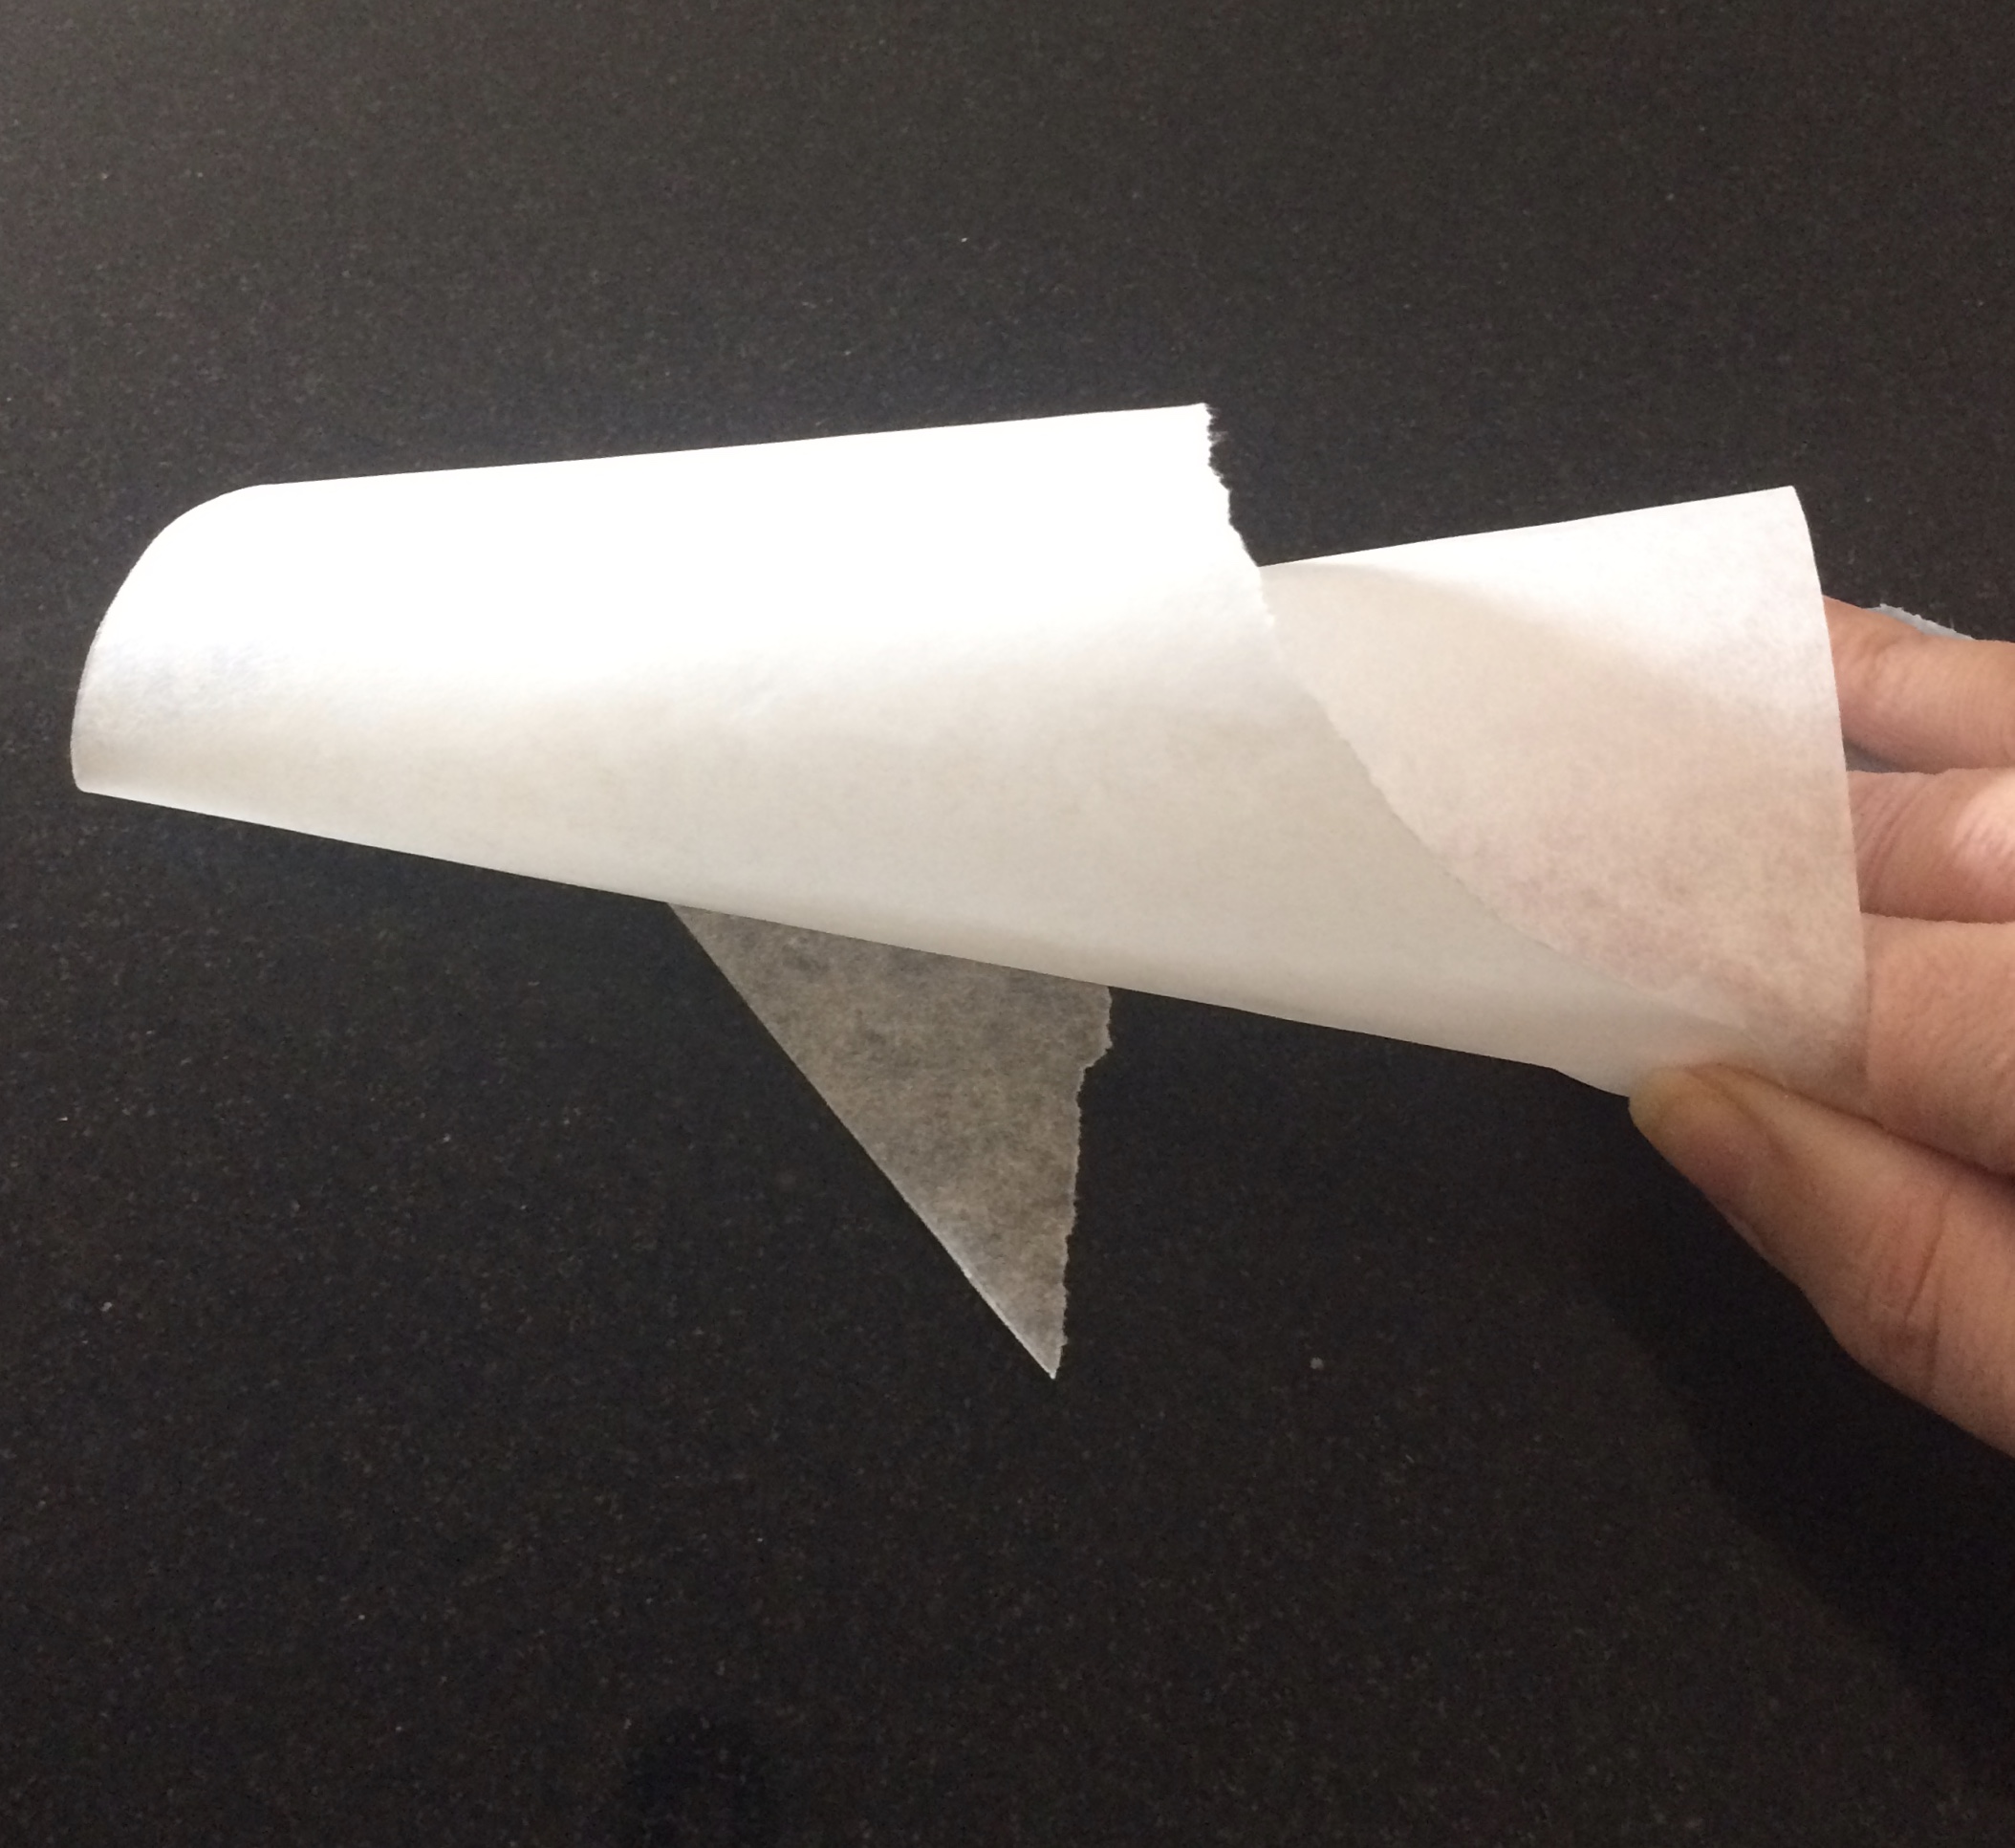
Using your working hand, pick up the half formed cone by holding securely to the two matched points.
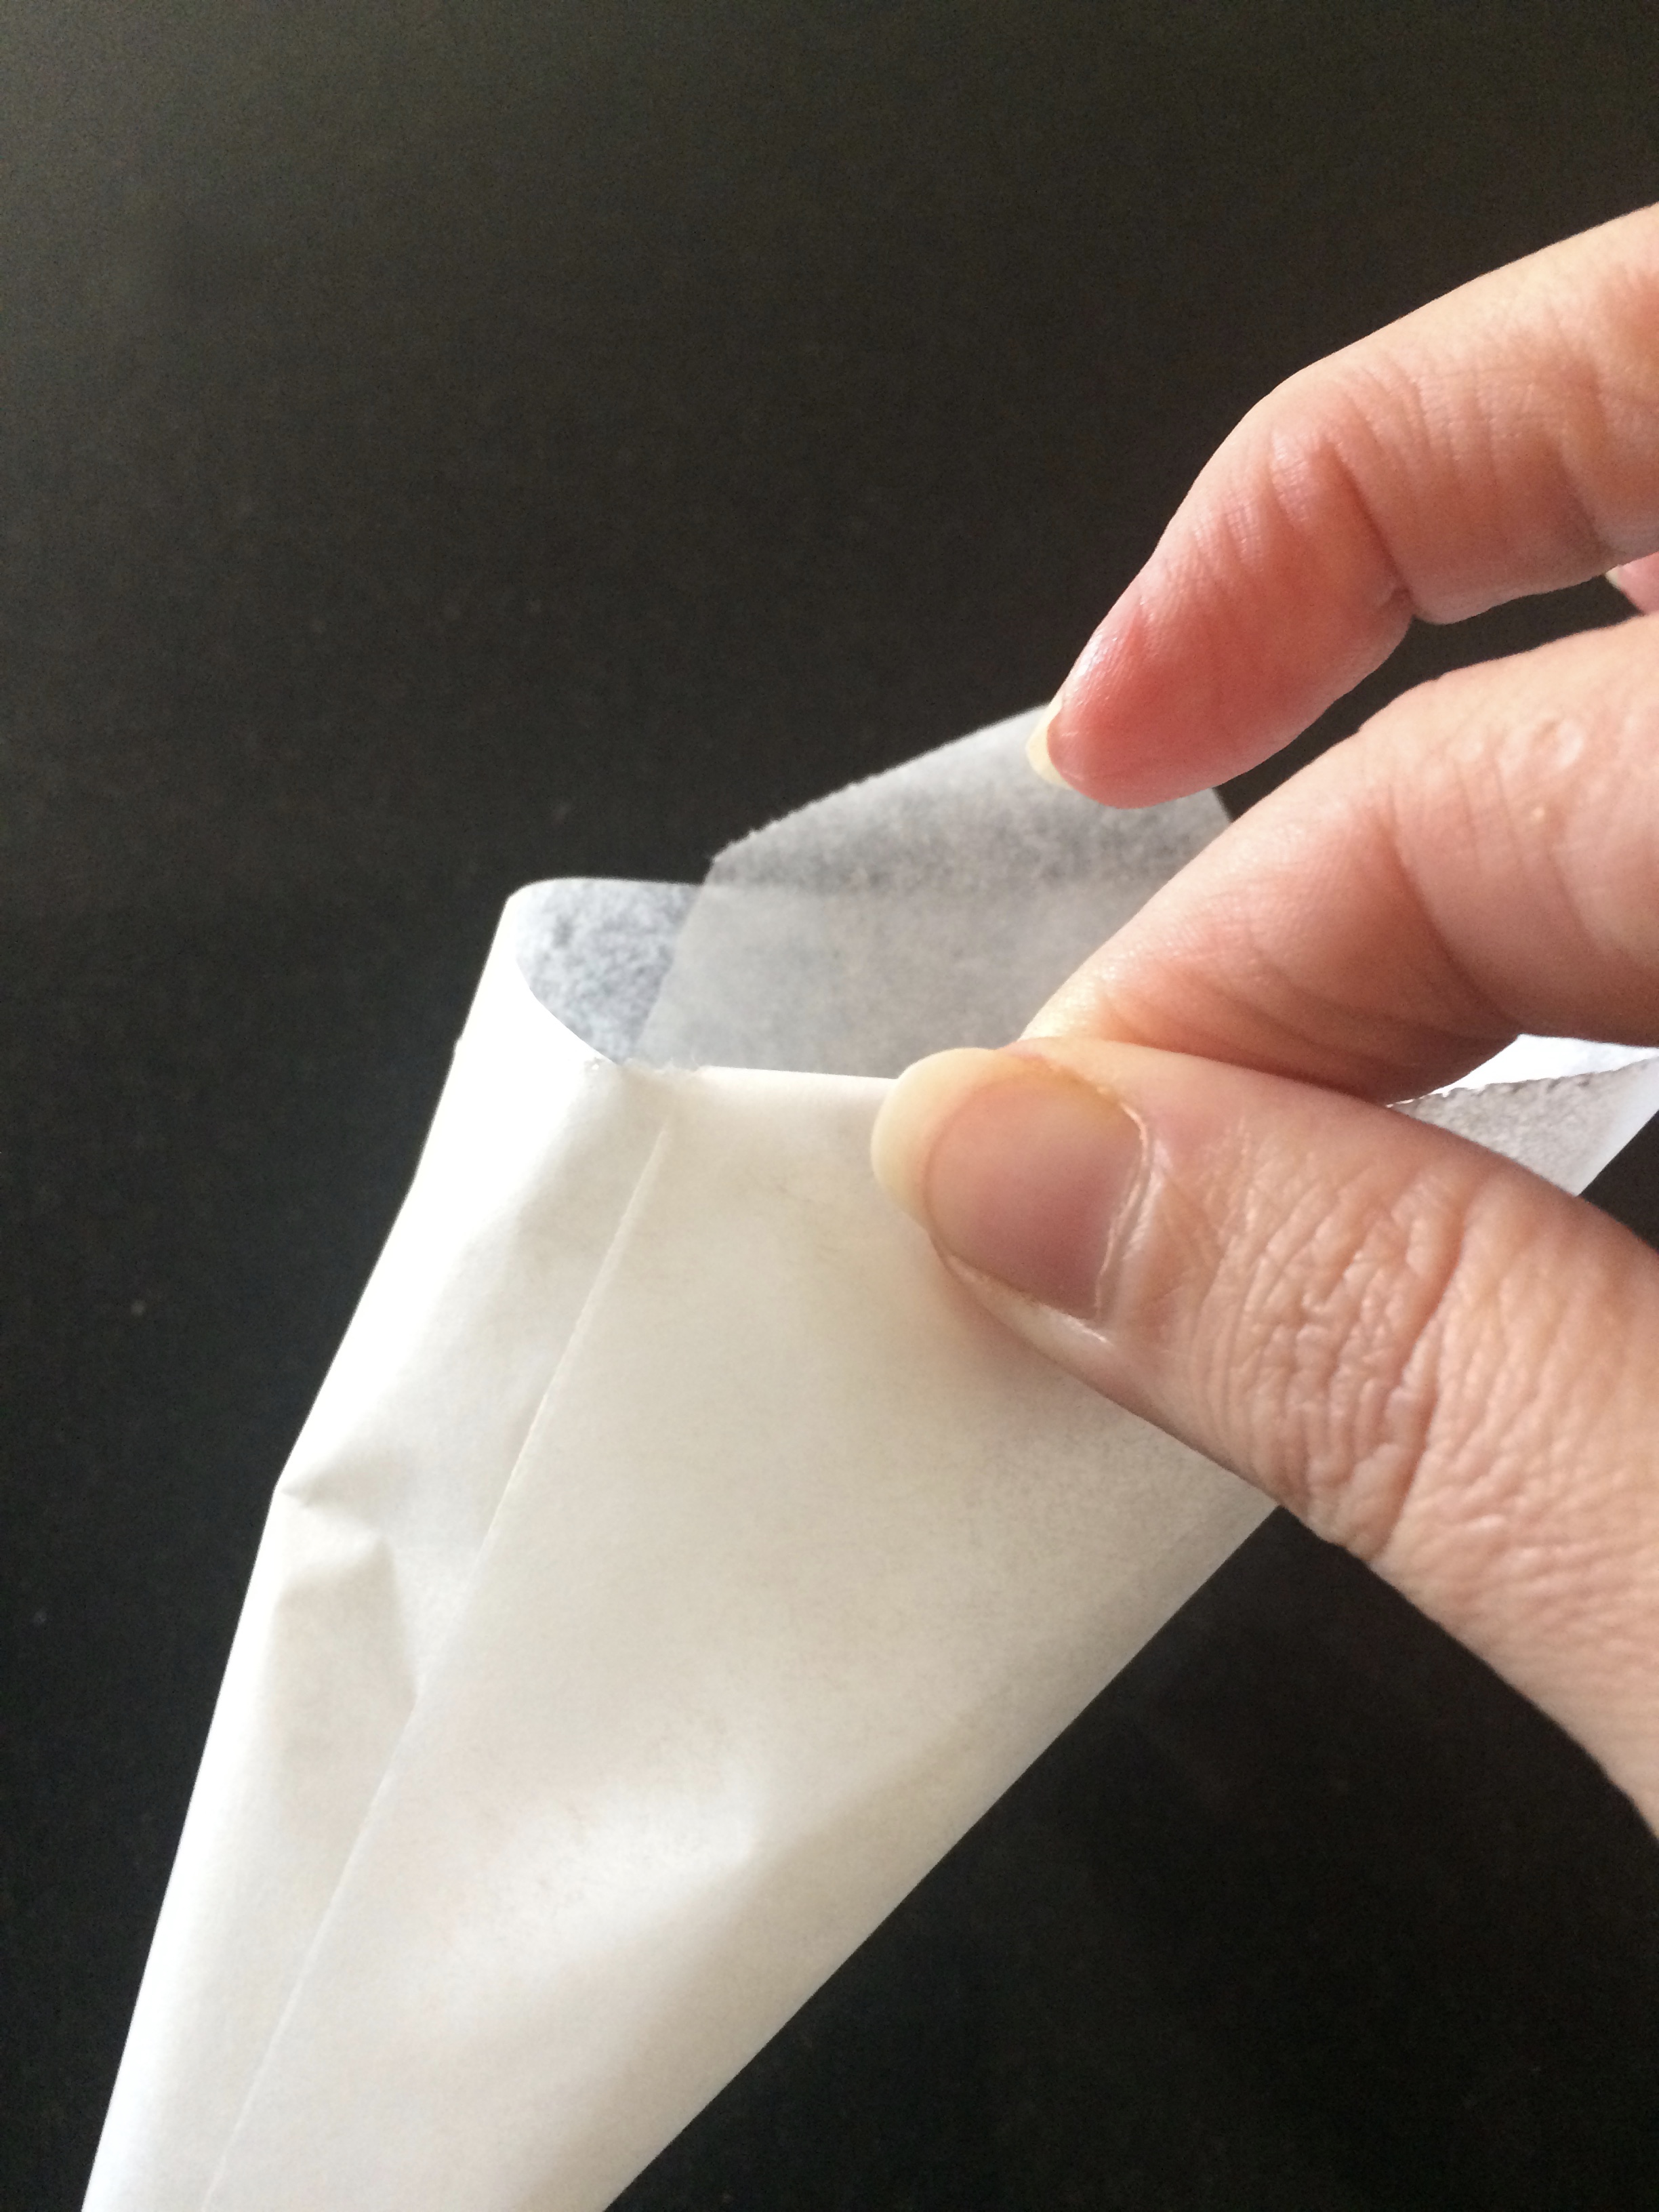
Use your free hand to wrap the loose end of the triangle around and then tuck the tail in the top of the cone.
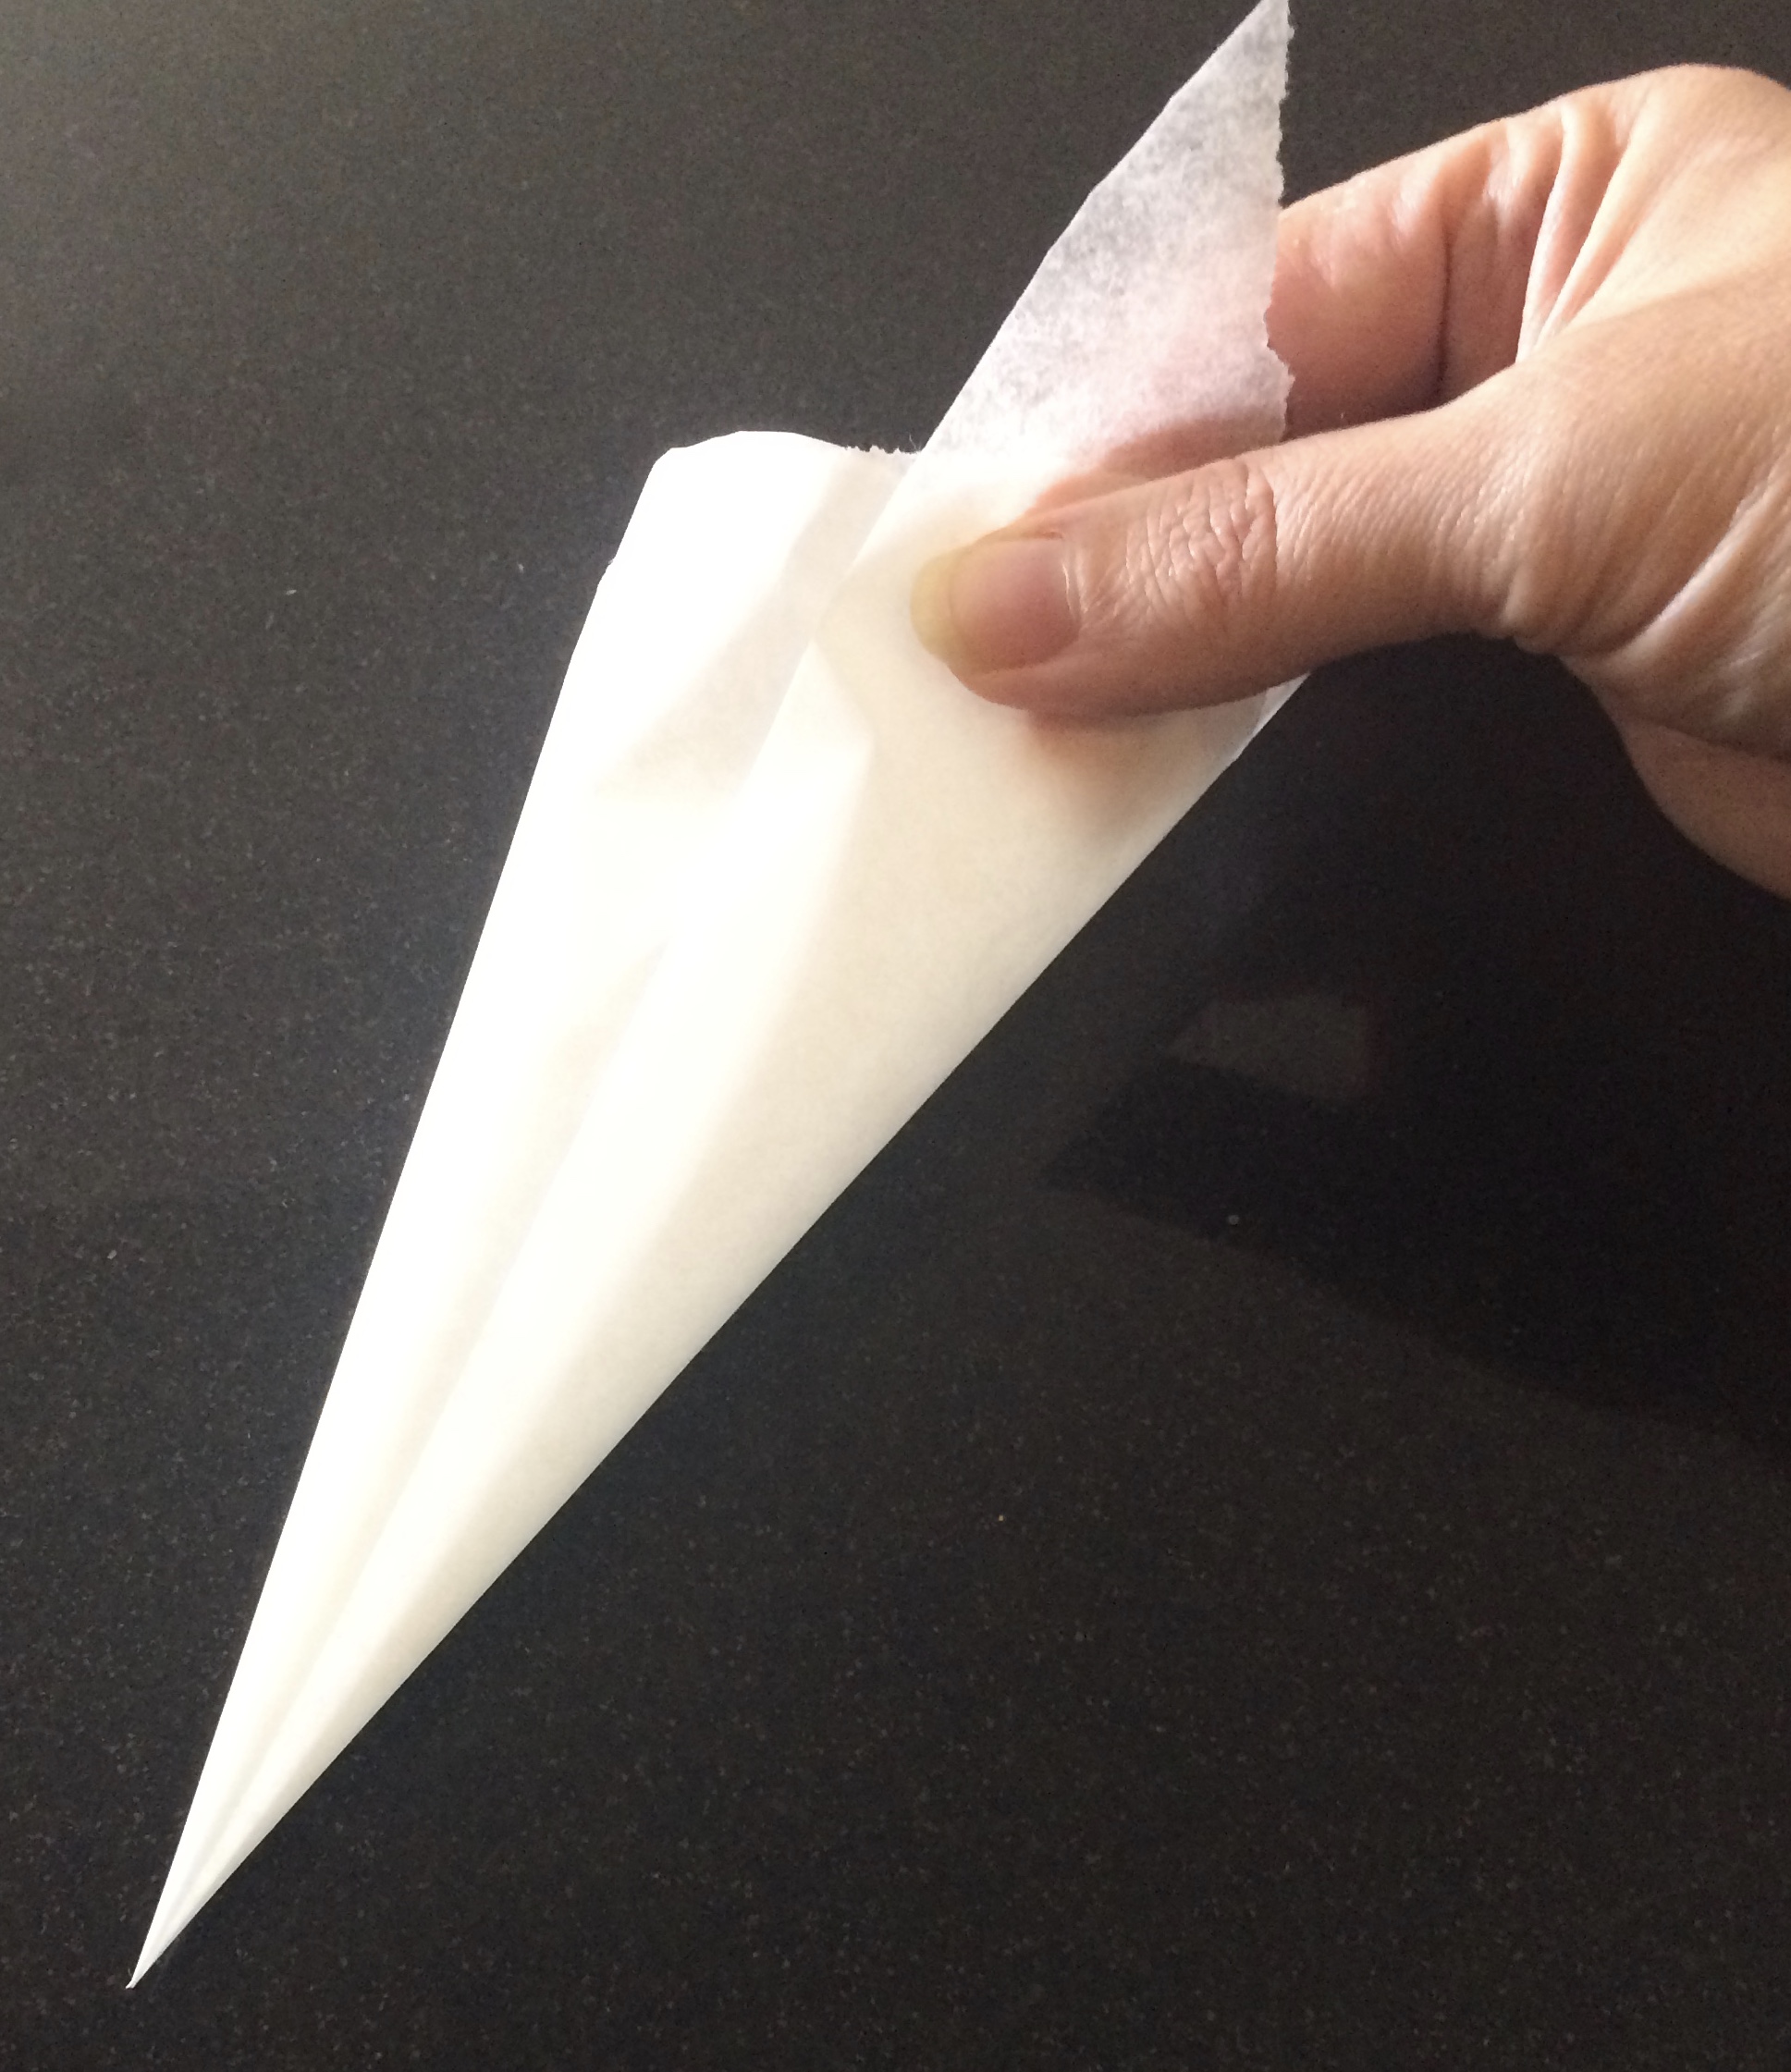
Use your fingernail to sharpen the fold so that it will not slip out of place.
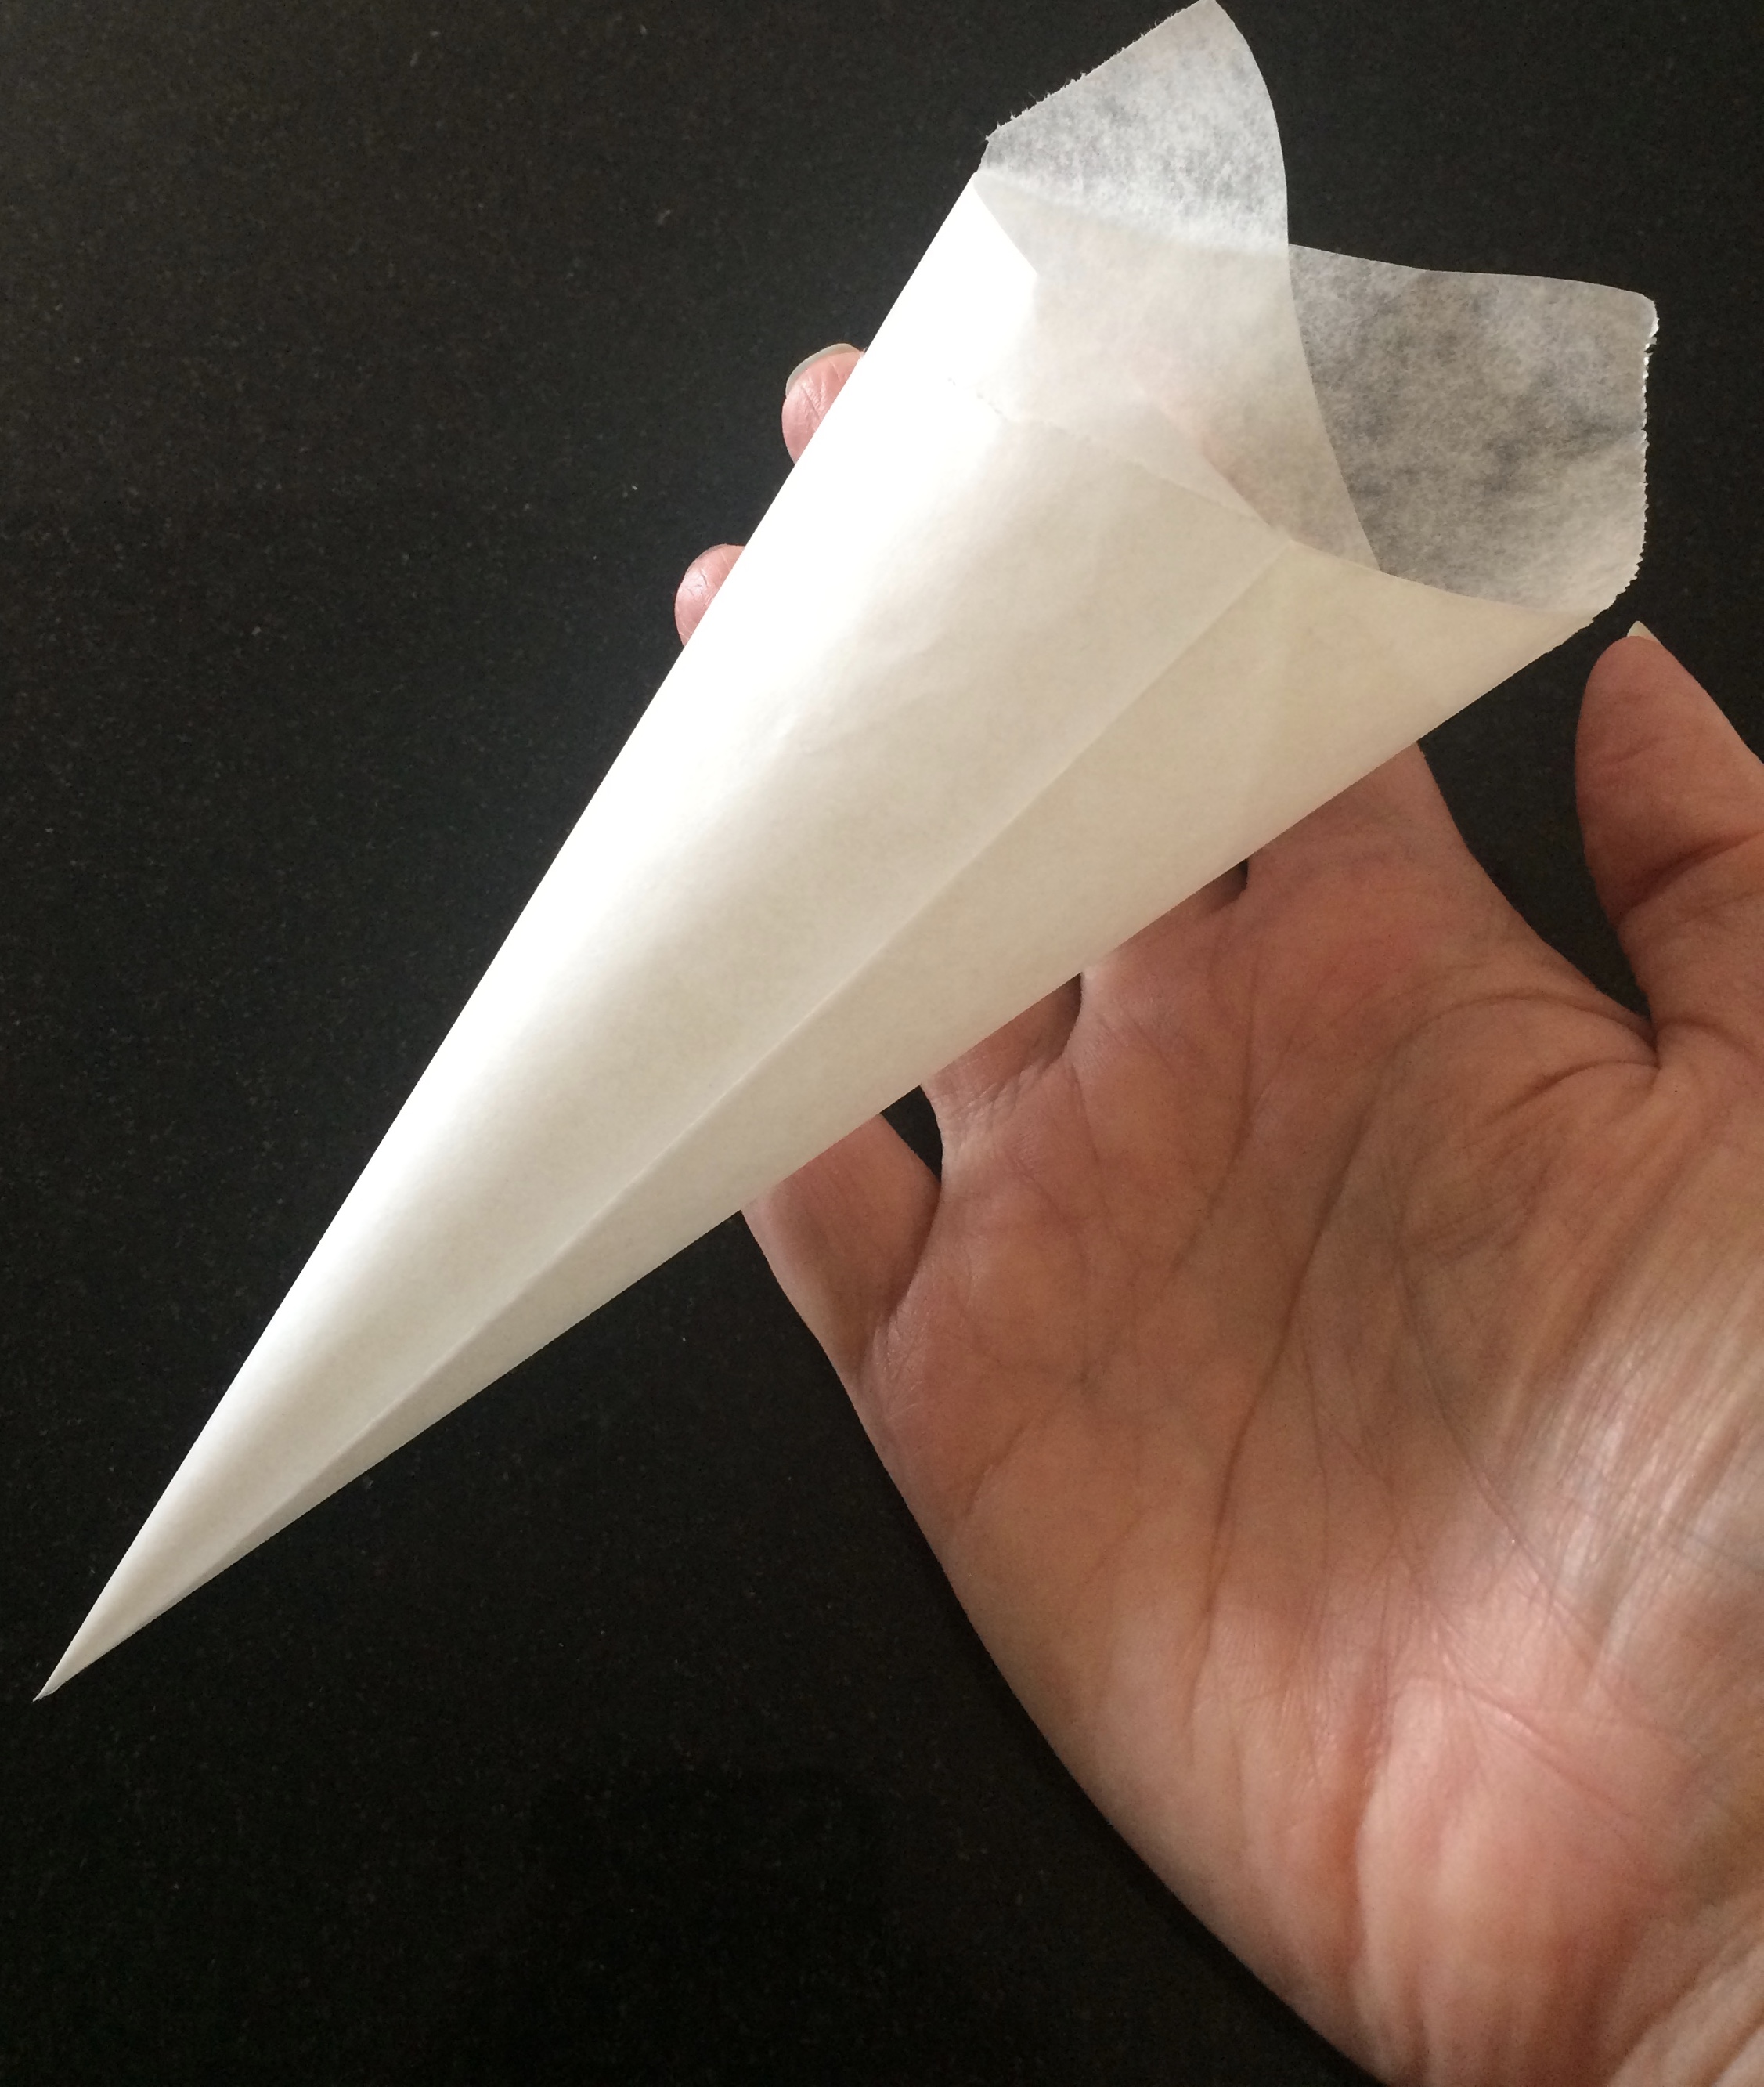
Now you have a parchment cone ready to be filled and used!
Parchment cones can be made in any size – it depends completely on the size of the square of parchment at the beginning. I would recommend making small cones to start since they are easier to assemble, store, and use. Mastering a small piping cone makes it much easier to form larger cones later on.
When I am working in the kitchen, I like to keep cut triangles on hand as well as already made parchment cones. Cut several parchment triangles and store them in a page protector to keep them smooth and flat. Keep assembled cones stacked one inside the other so they are ready to go at a moment’s notice. This helps prevent damage and keeps them clean as well.