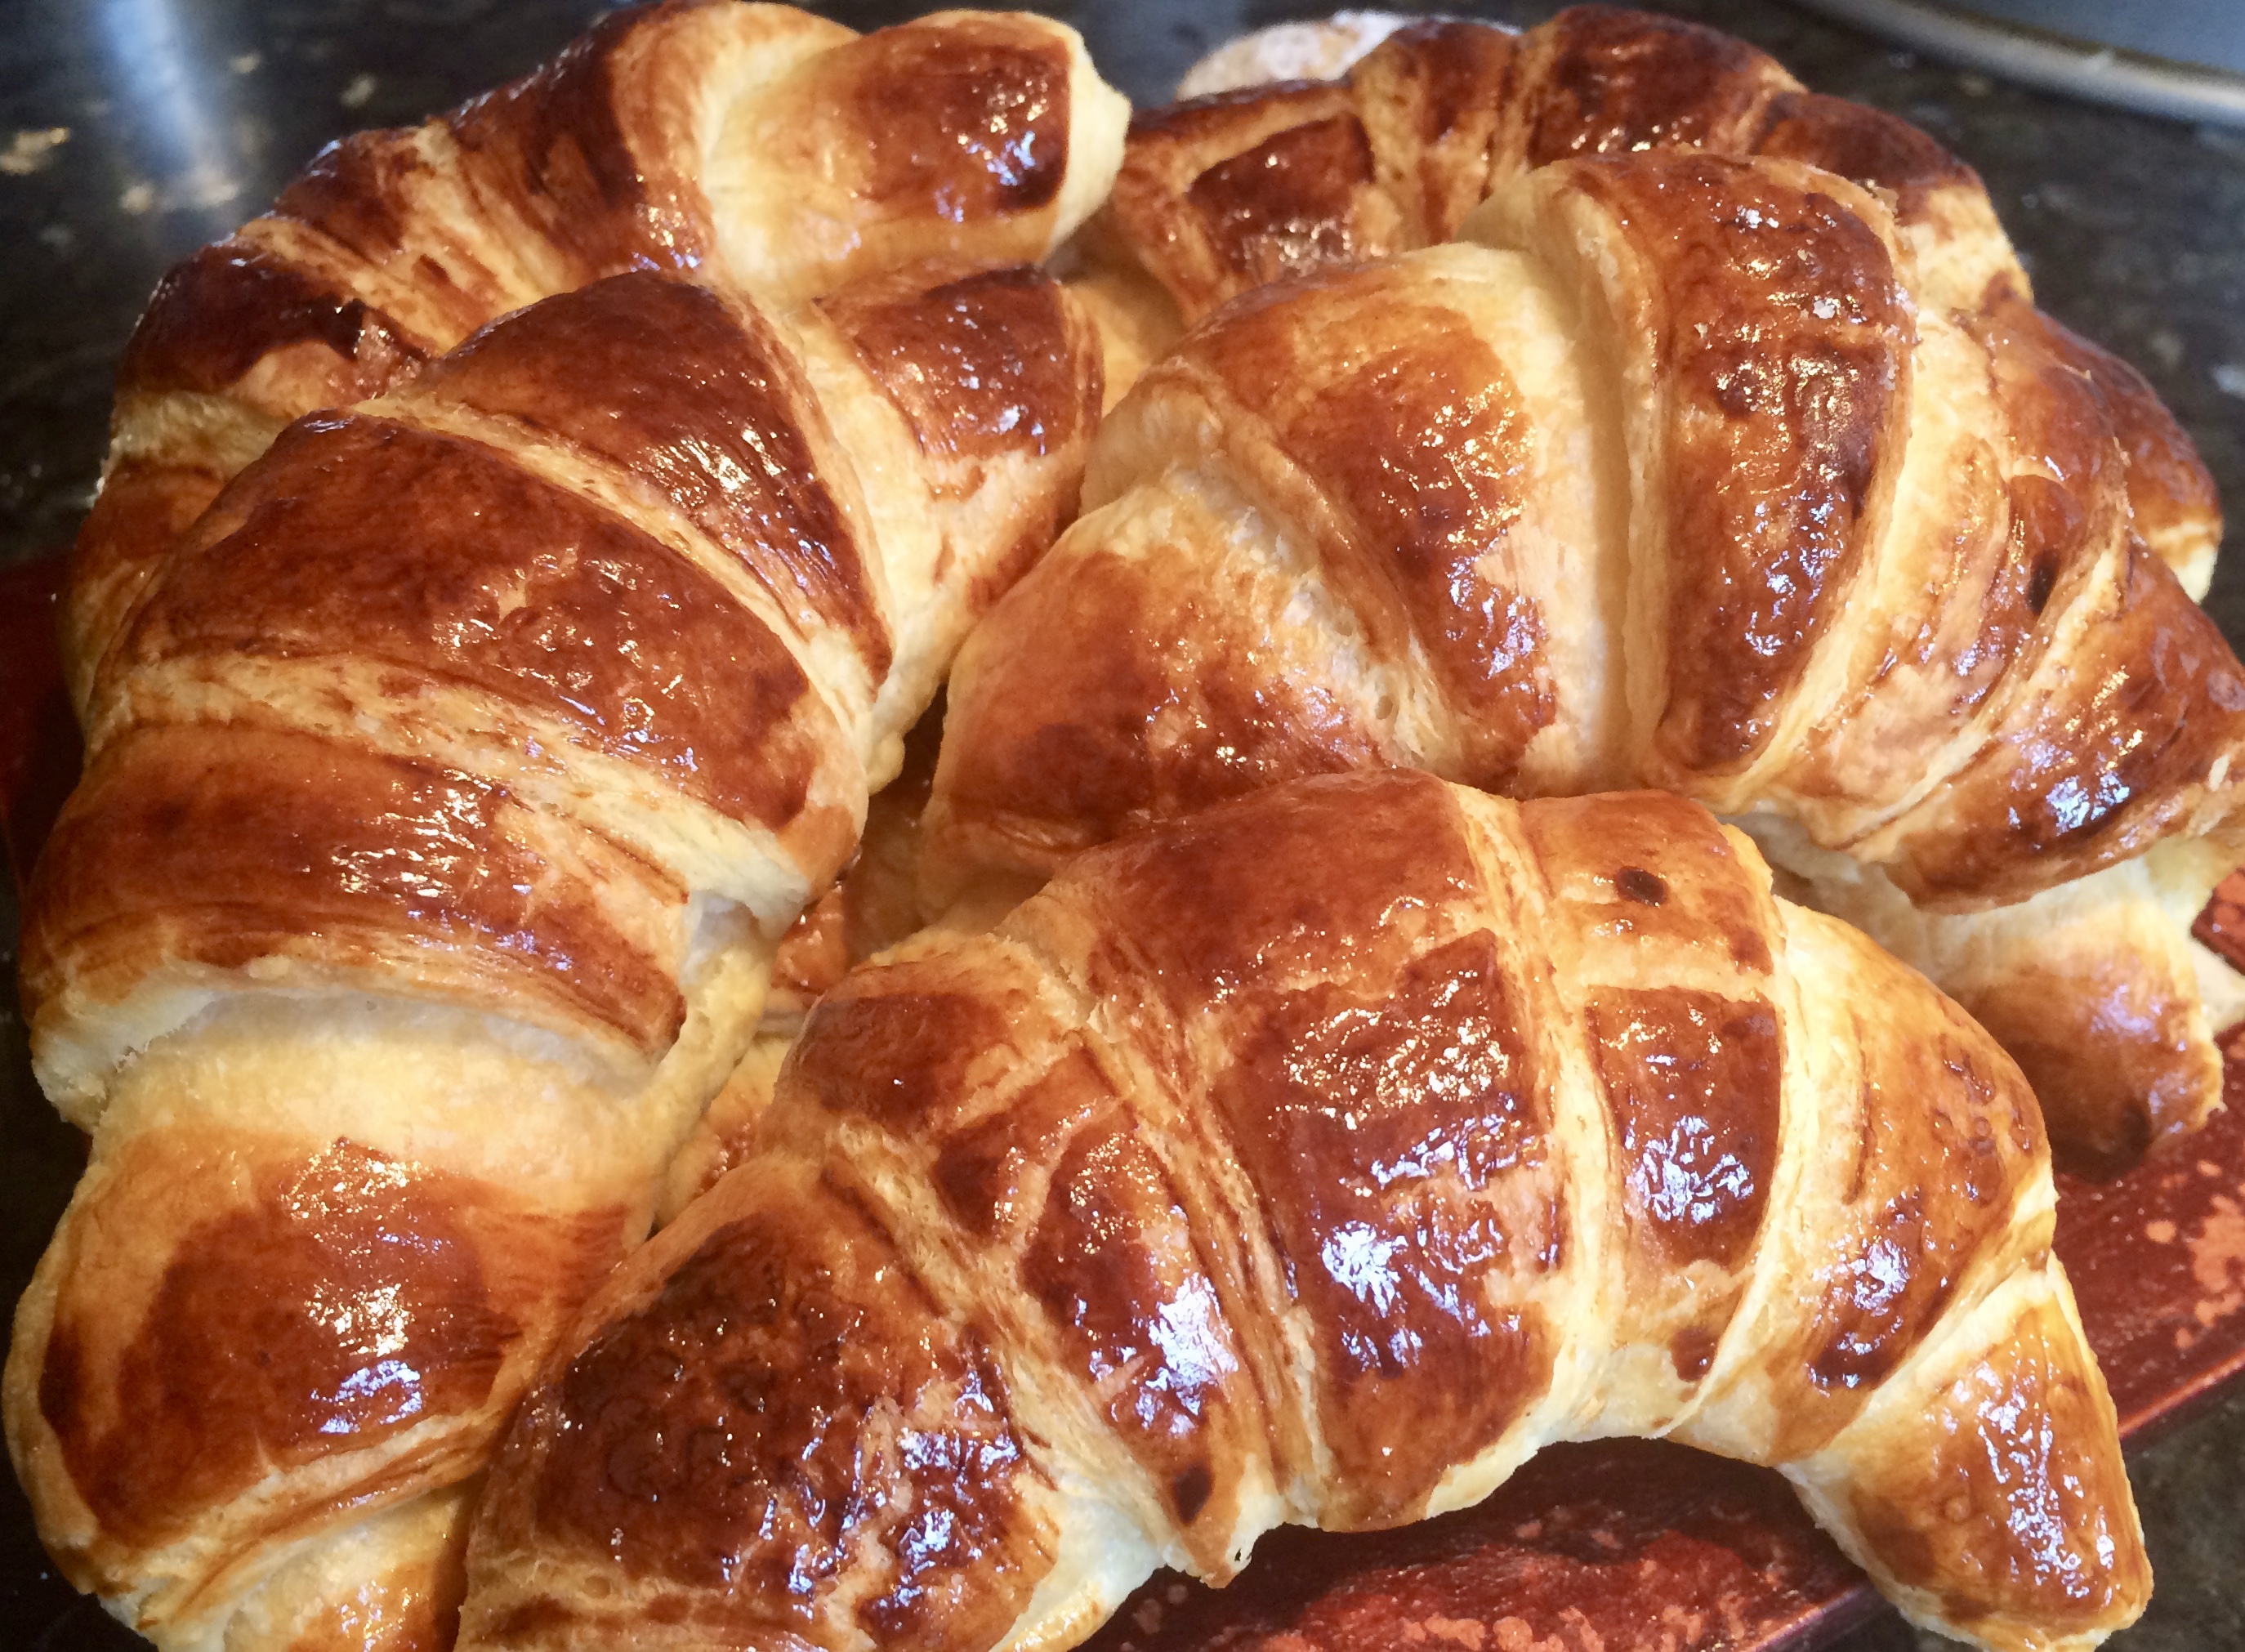
Croissants are one of the most iconic French pastries and, when made well, are truly worthy of their lofty reputation. My good friend Bill Batty used to come to my bakery quite often for a warm chocolate croissant (see the alternatives section at the end of this post) just out of the oven and he requested I post this recipe. I hope you make these often and share them with friends!
The Recipe
by volume by weight
2 tablespoons warm water 30 grams warm water
1 tablespoon dry yeast 9 grams dry yeast
2 tablespoons sugar 25 grams sugar
1 cup cool milk 240 grams cool milk
2 tablespoons soft butter 28 grams soft butter
1½ teaspoons salt 6 grams salt
3 cups bread flour 360 grams bread flour
1 cup cold butter 226 grams cold butter
Directions
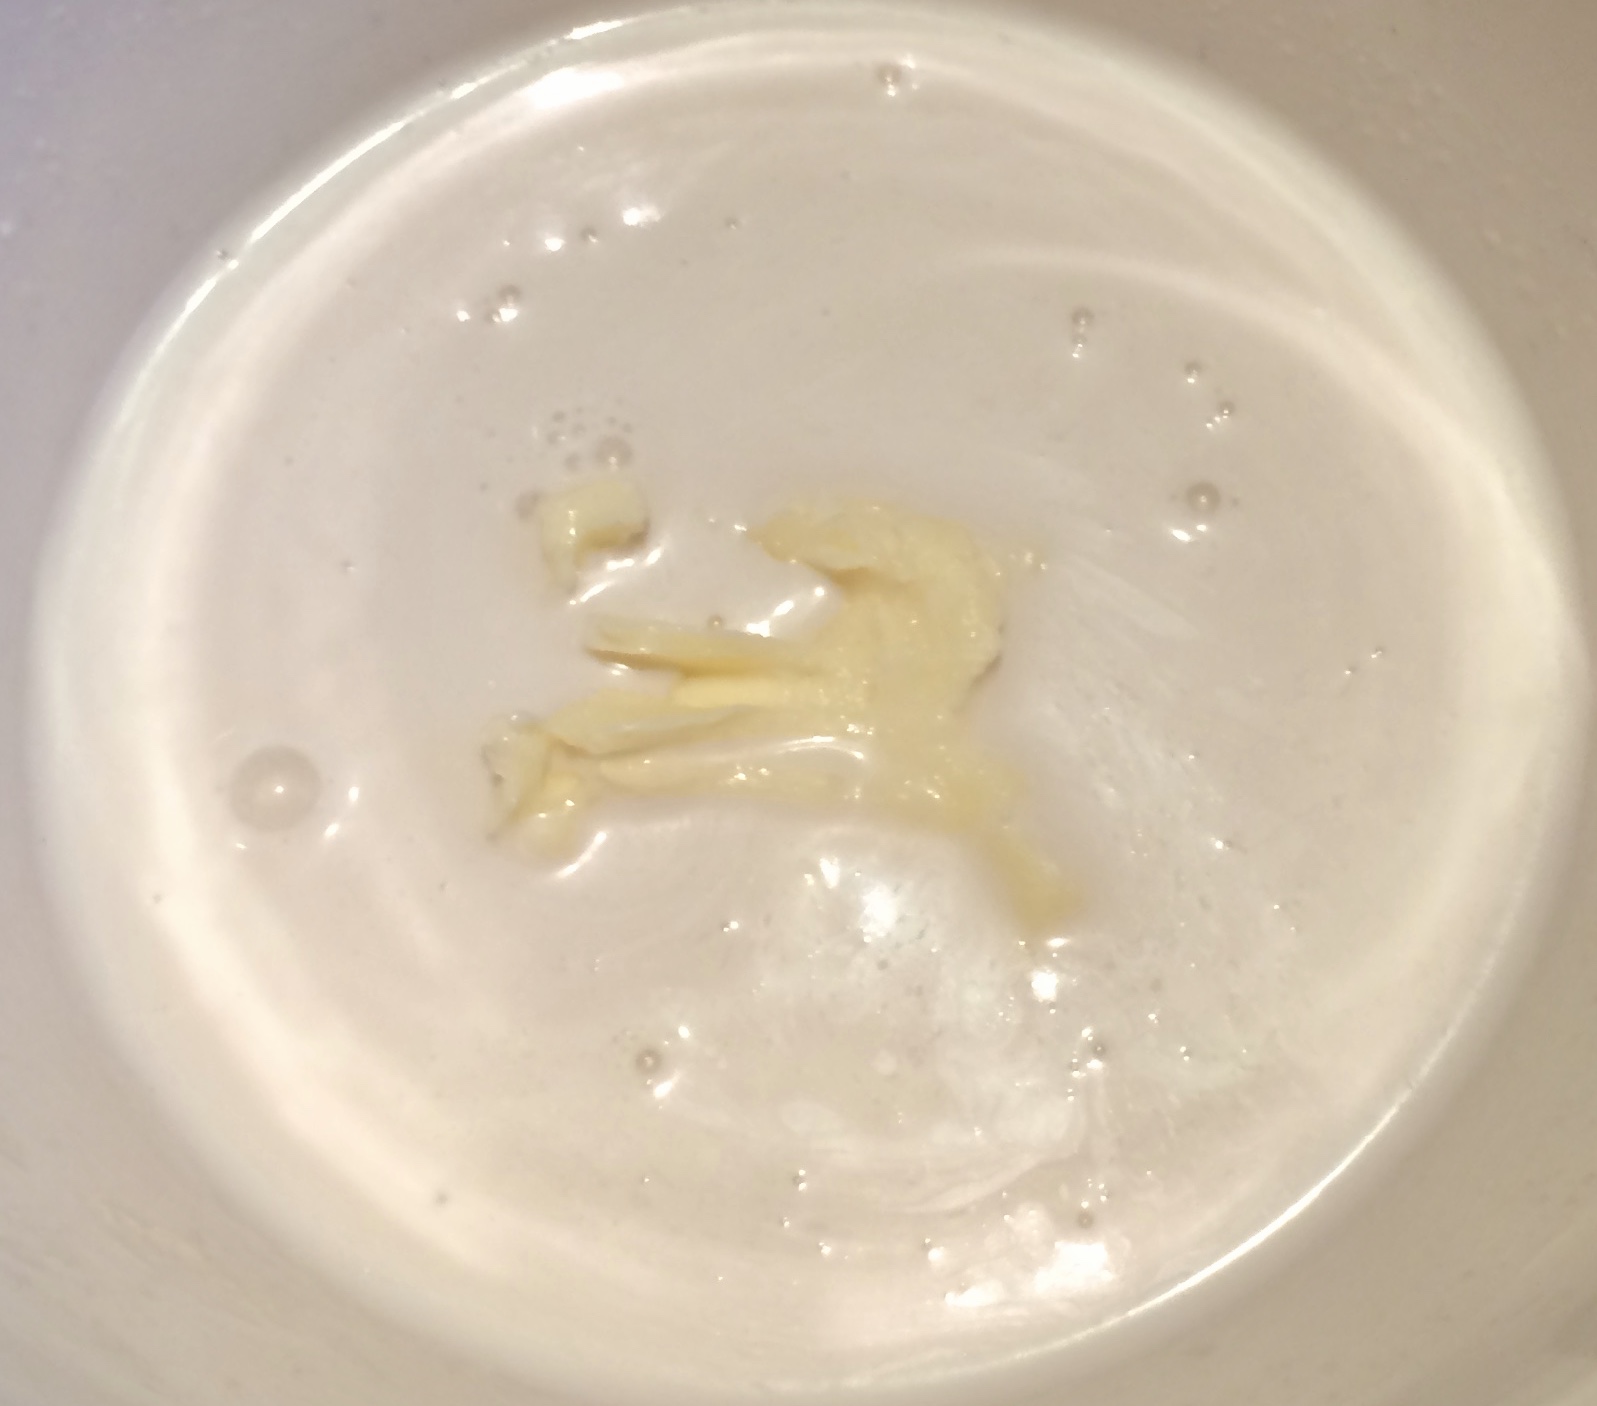
Mix the yeast, sugar, and warm water together and let sit until foamy, approximately 10 minutes.
time: 0 minutes
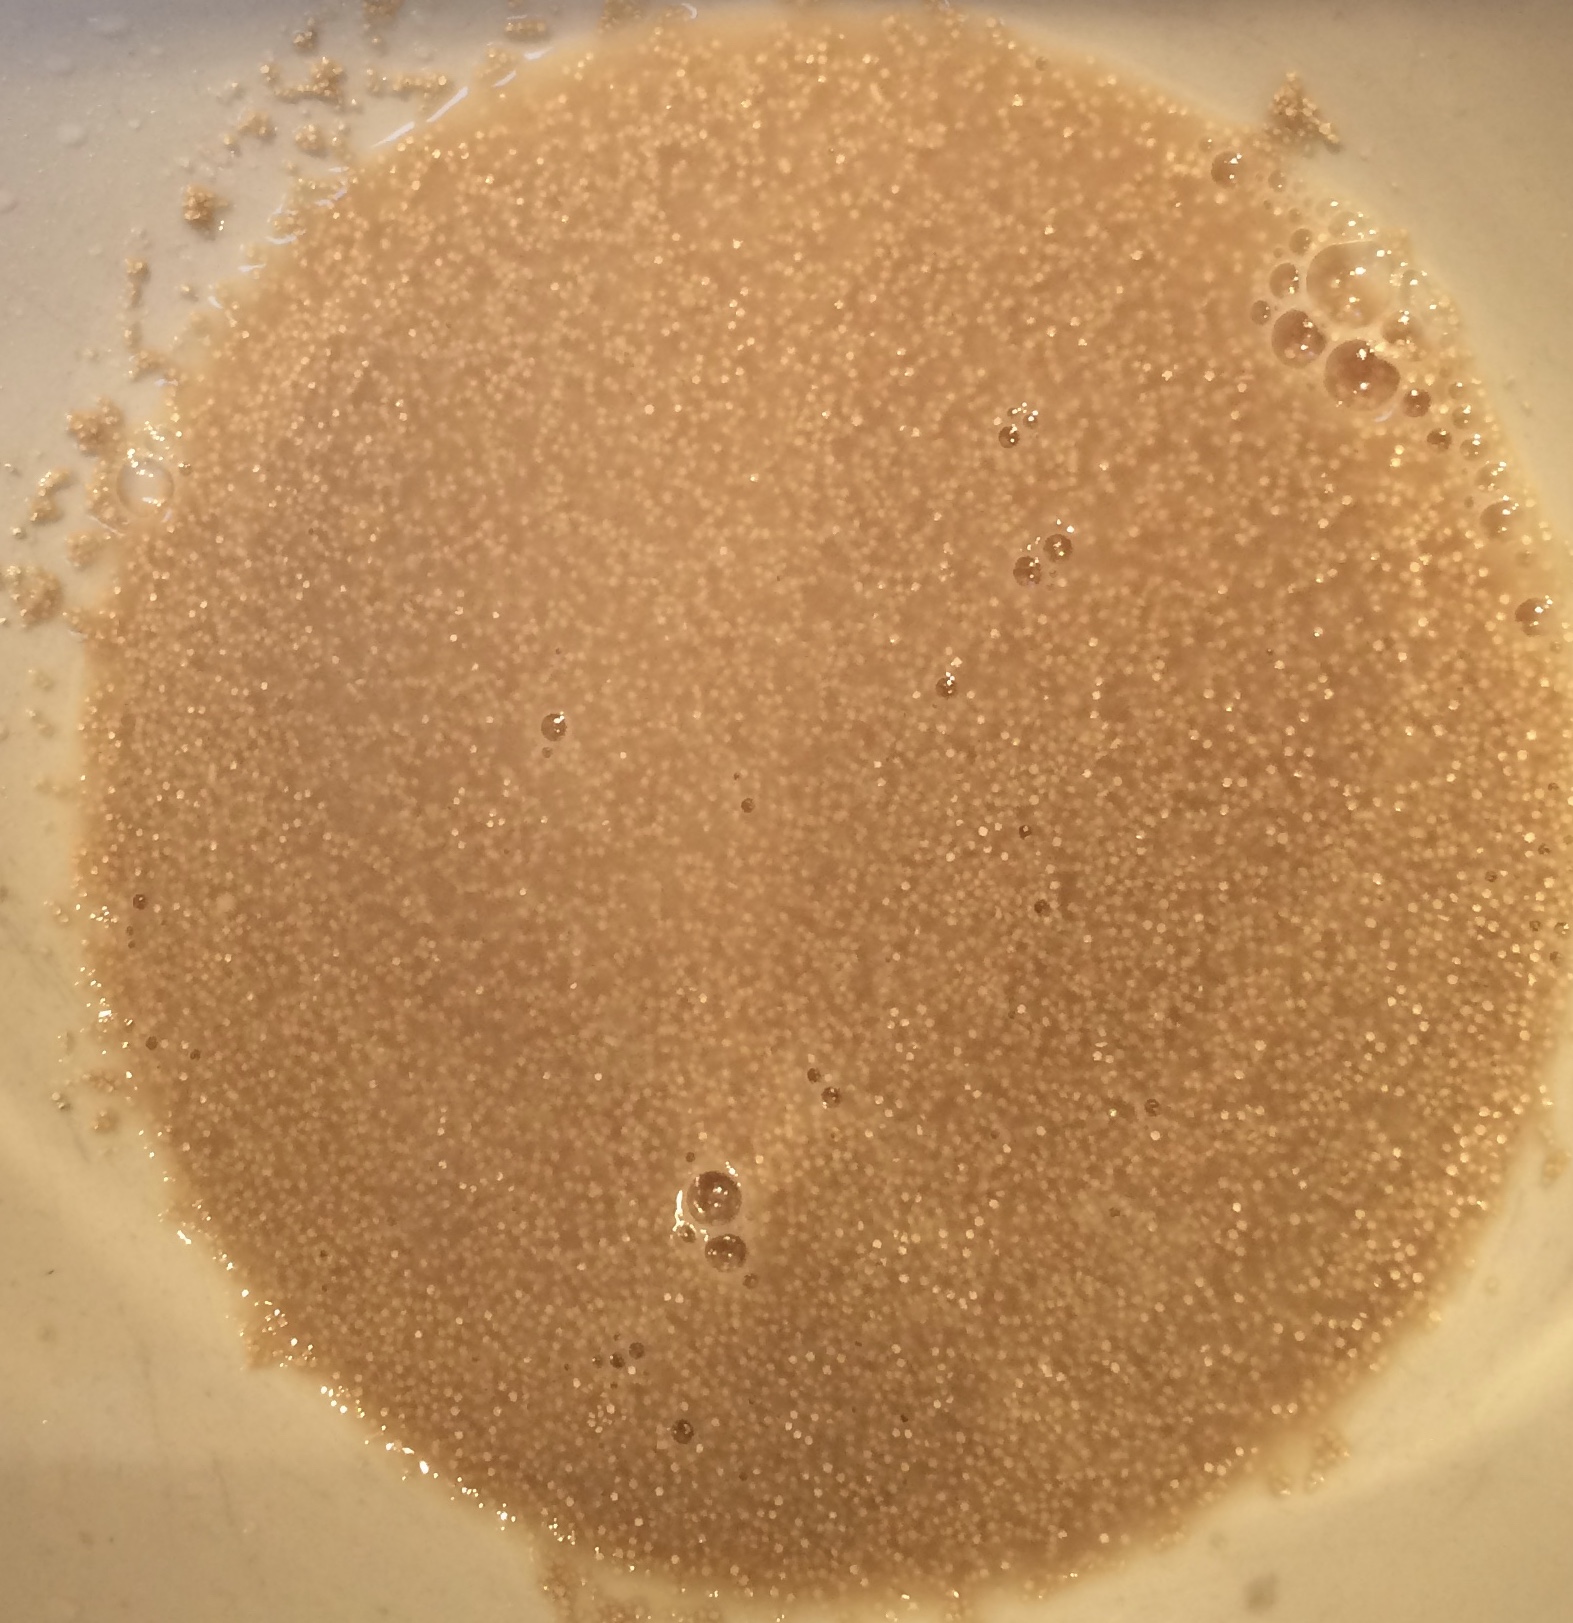
time: 10 minutes
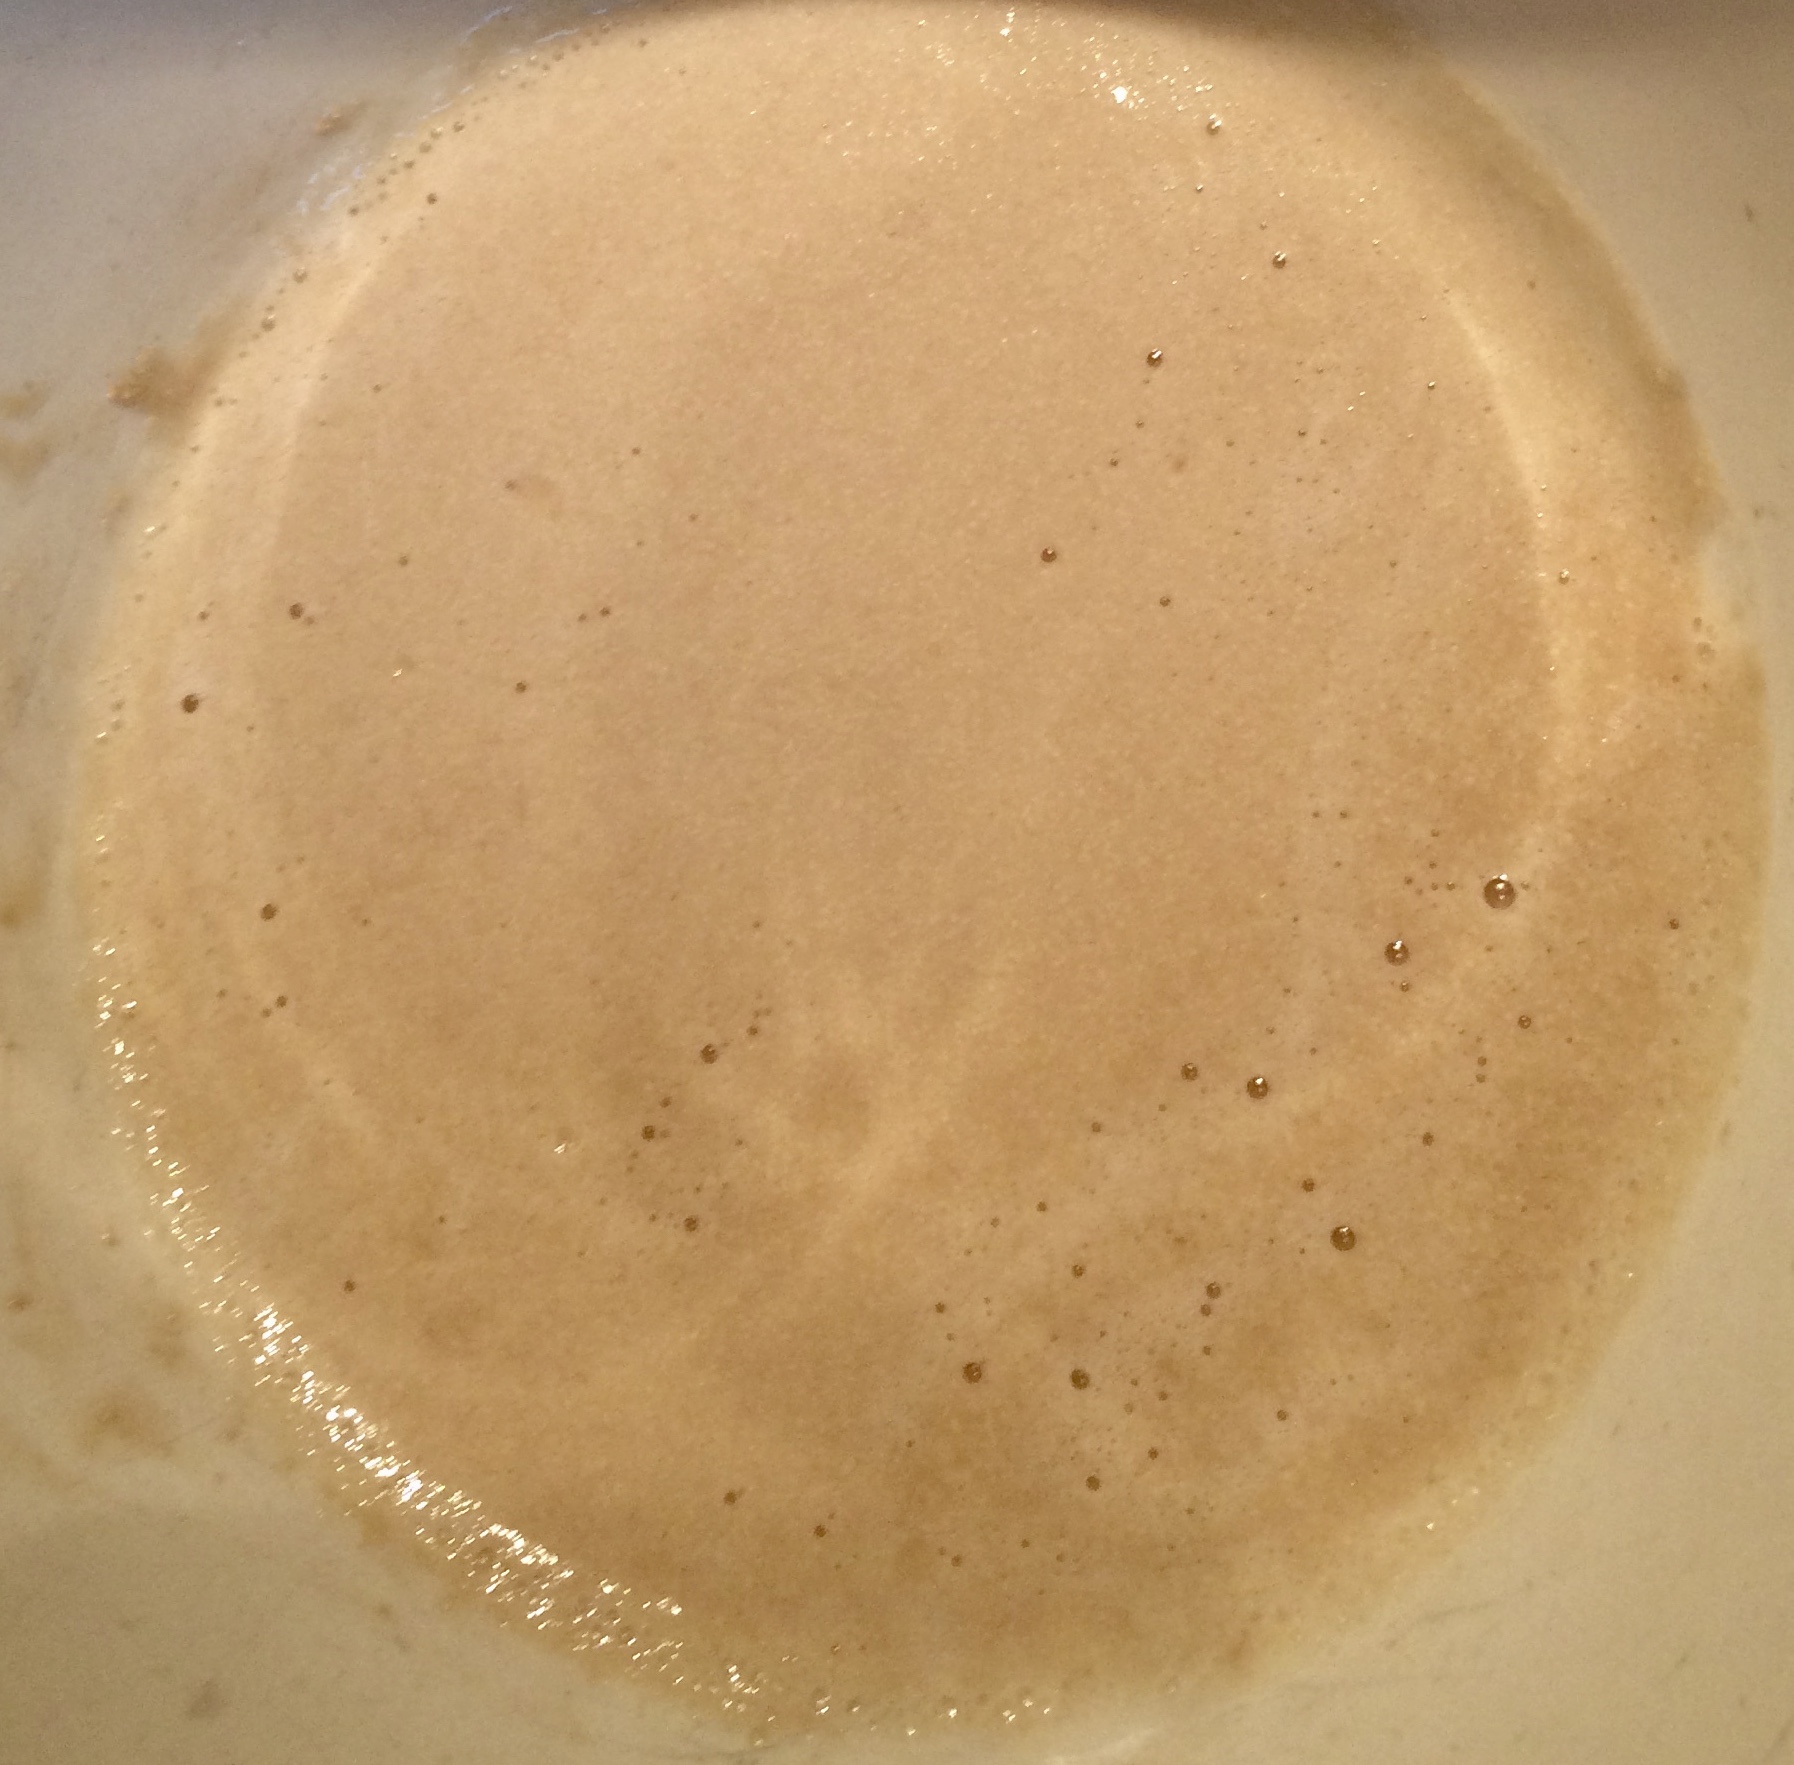
Add the cool milk ( not ice cold out of the refrigerator) and soft butter and whisk to combine.
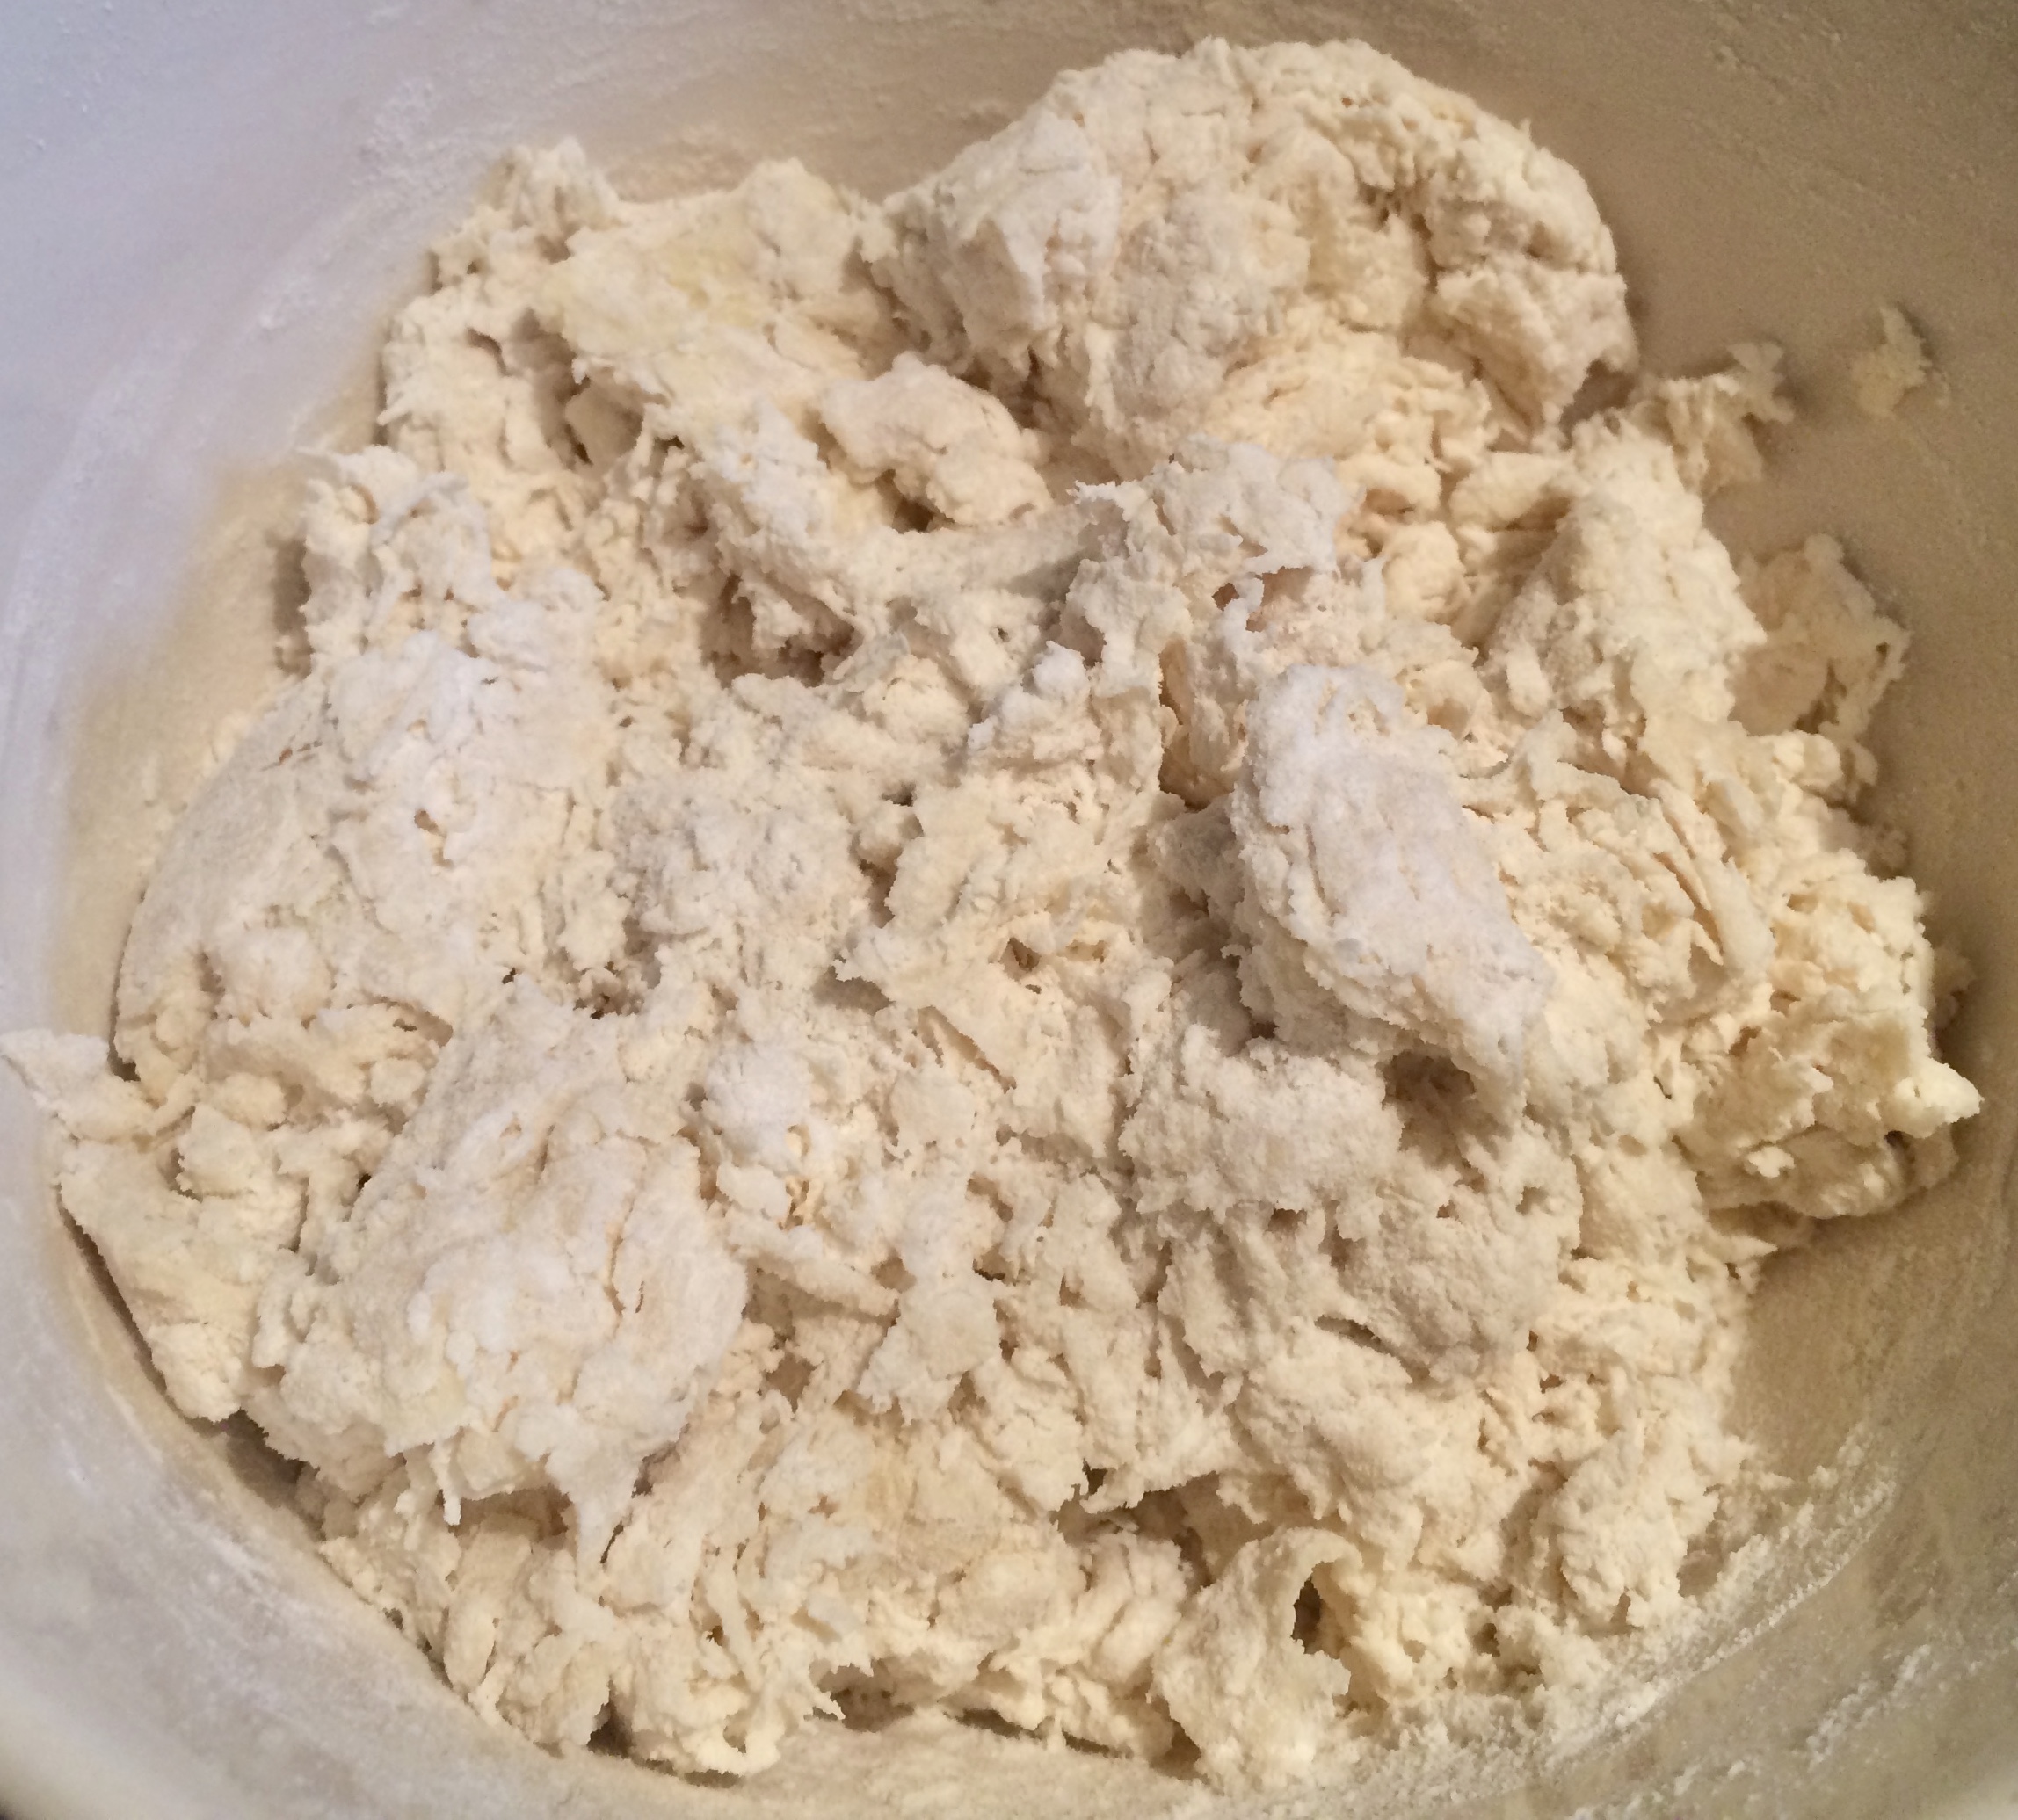
Add the flour and then the salt and mix until a shaggy mass forms.
Turn out onto a lightly floured board and knead for 3 to 4 minutes. Normally, bread is kneaded for a longer period but that is not necessary here. If you develop the gluten too much by kneading you will struggle to roll the dough out later on.
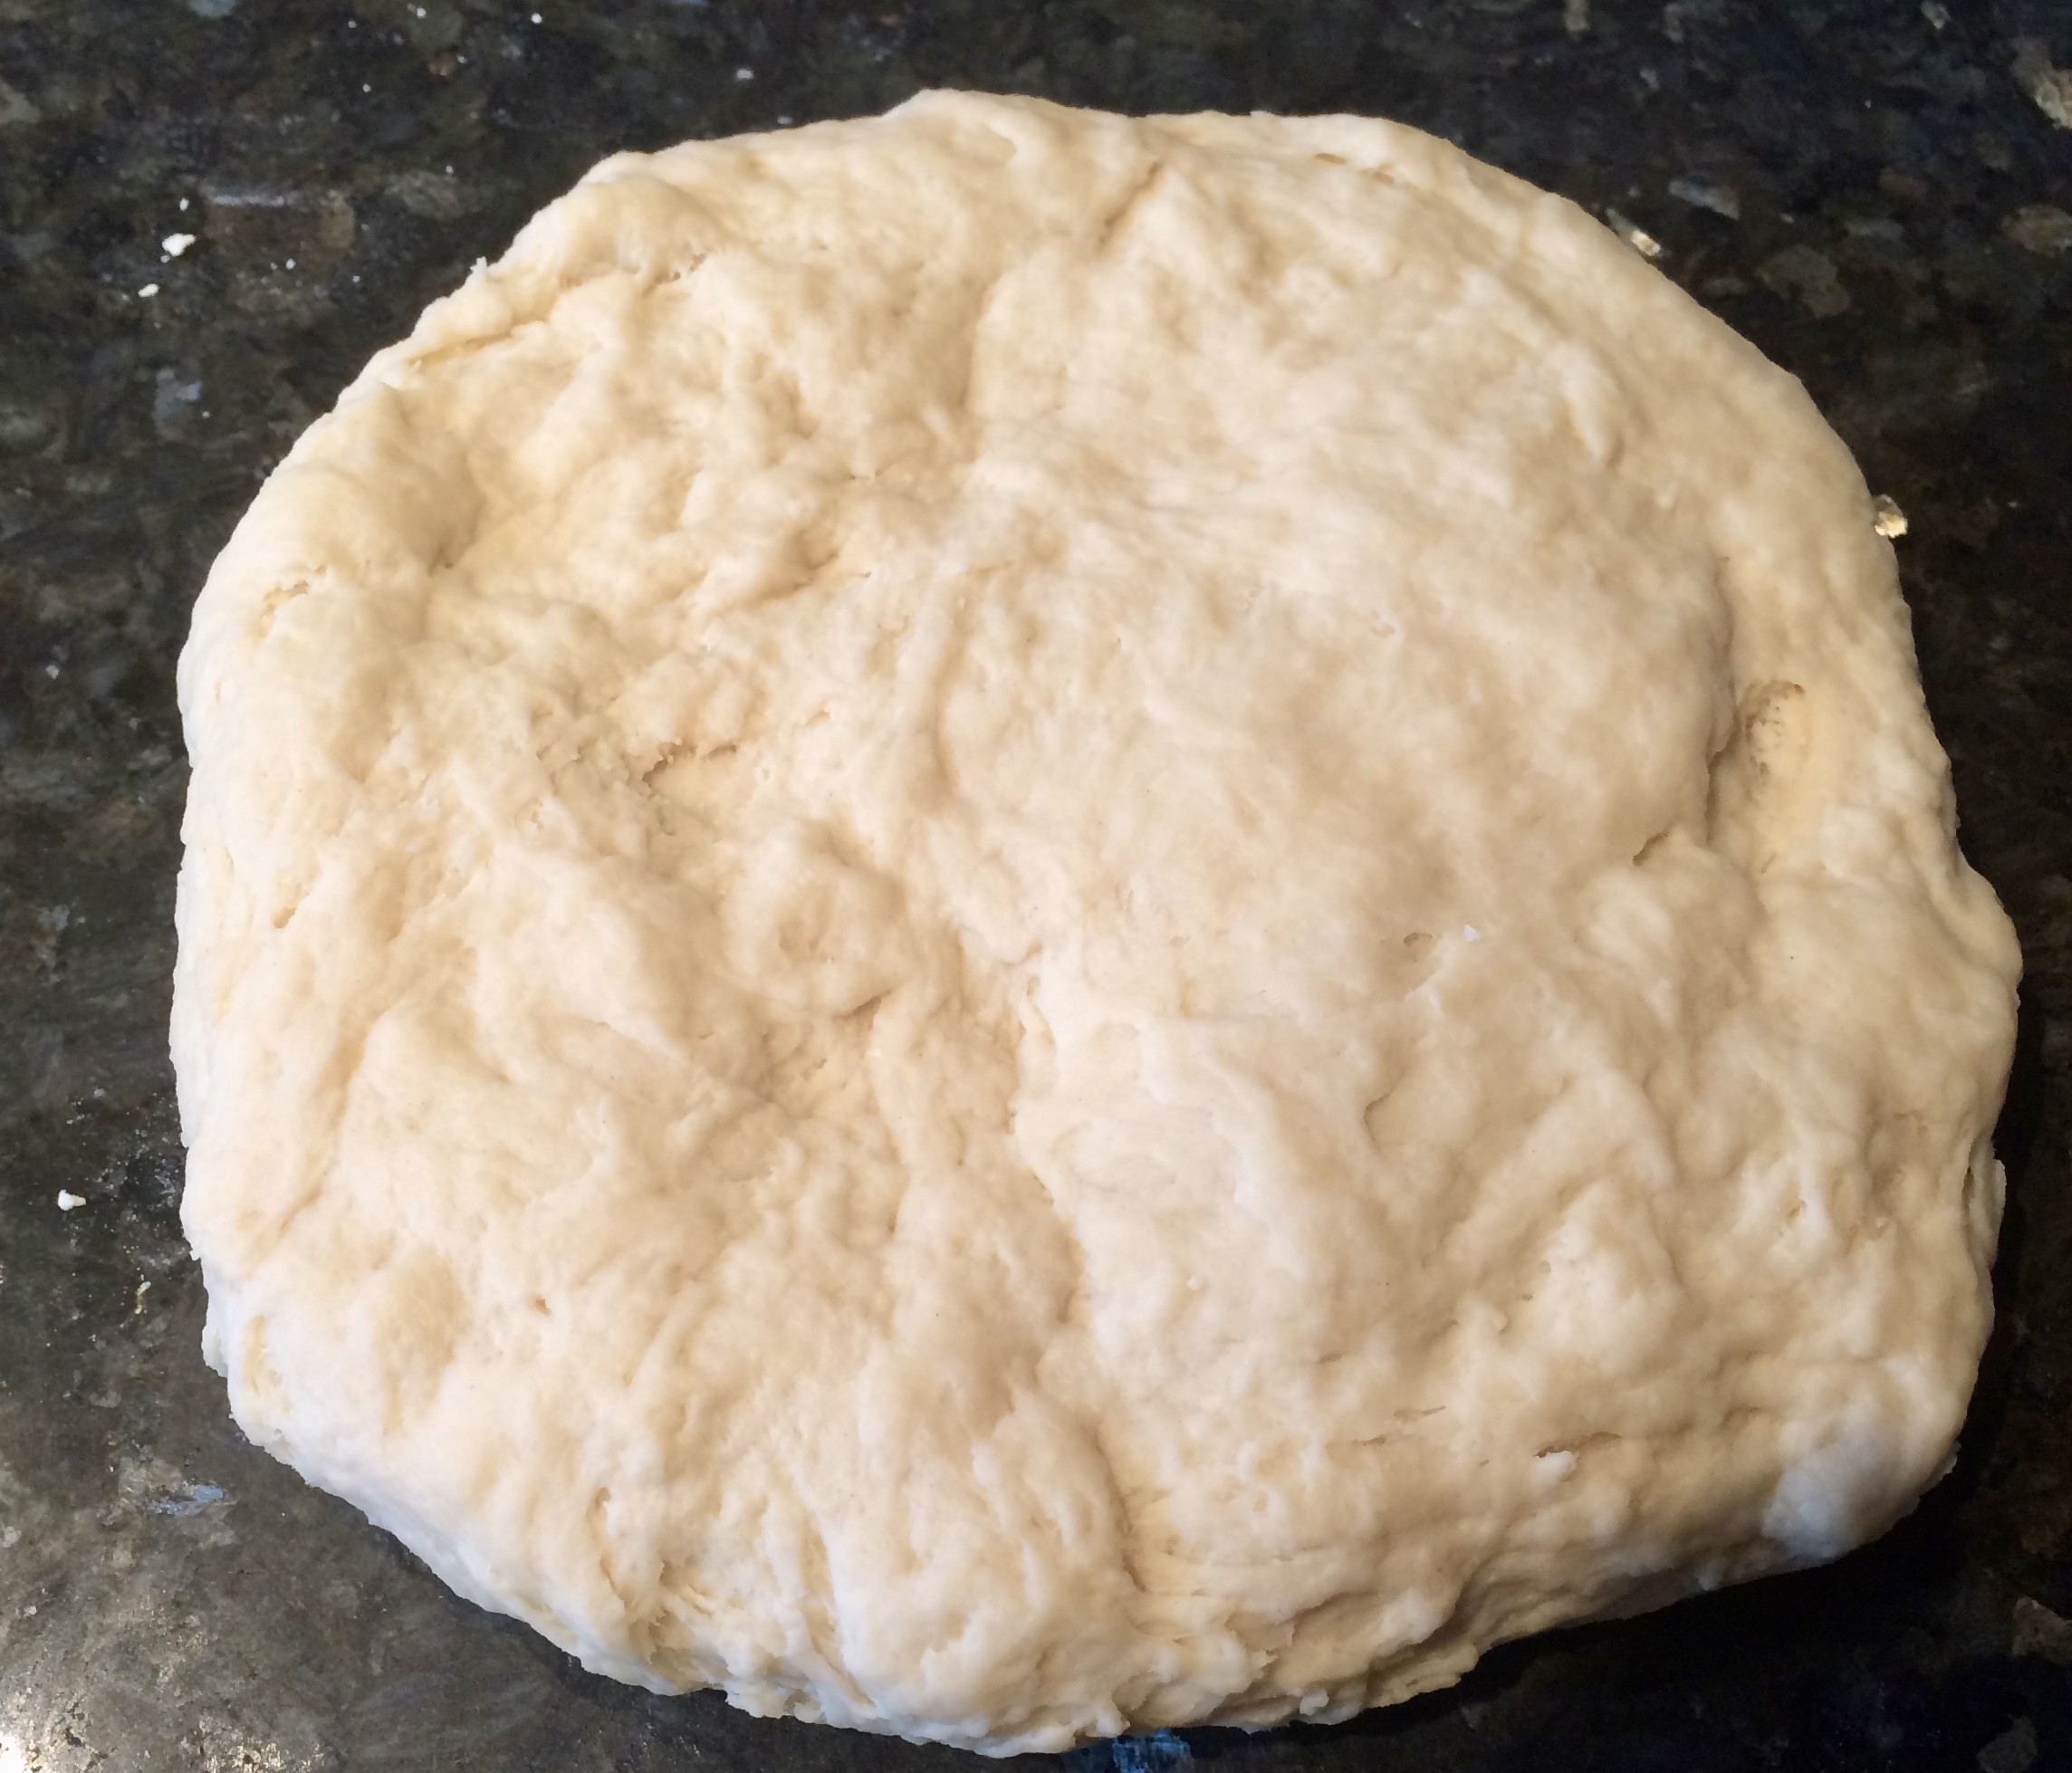
Pat the dough into a rough rectangle and wrap in plastic and refrigerate for a minimum of 30 minutes.
While you wait for the dough to relax, shape the butter block.
Beat the butter GENTLY into a flat block. I like to use the end of the rolling pin. Touching the butter with your hands tends to melt the butter and you want the butter to be pliable but remain cool.
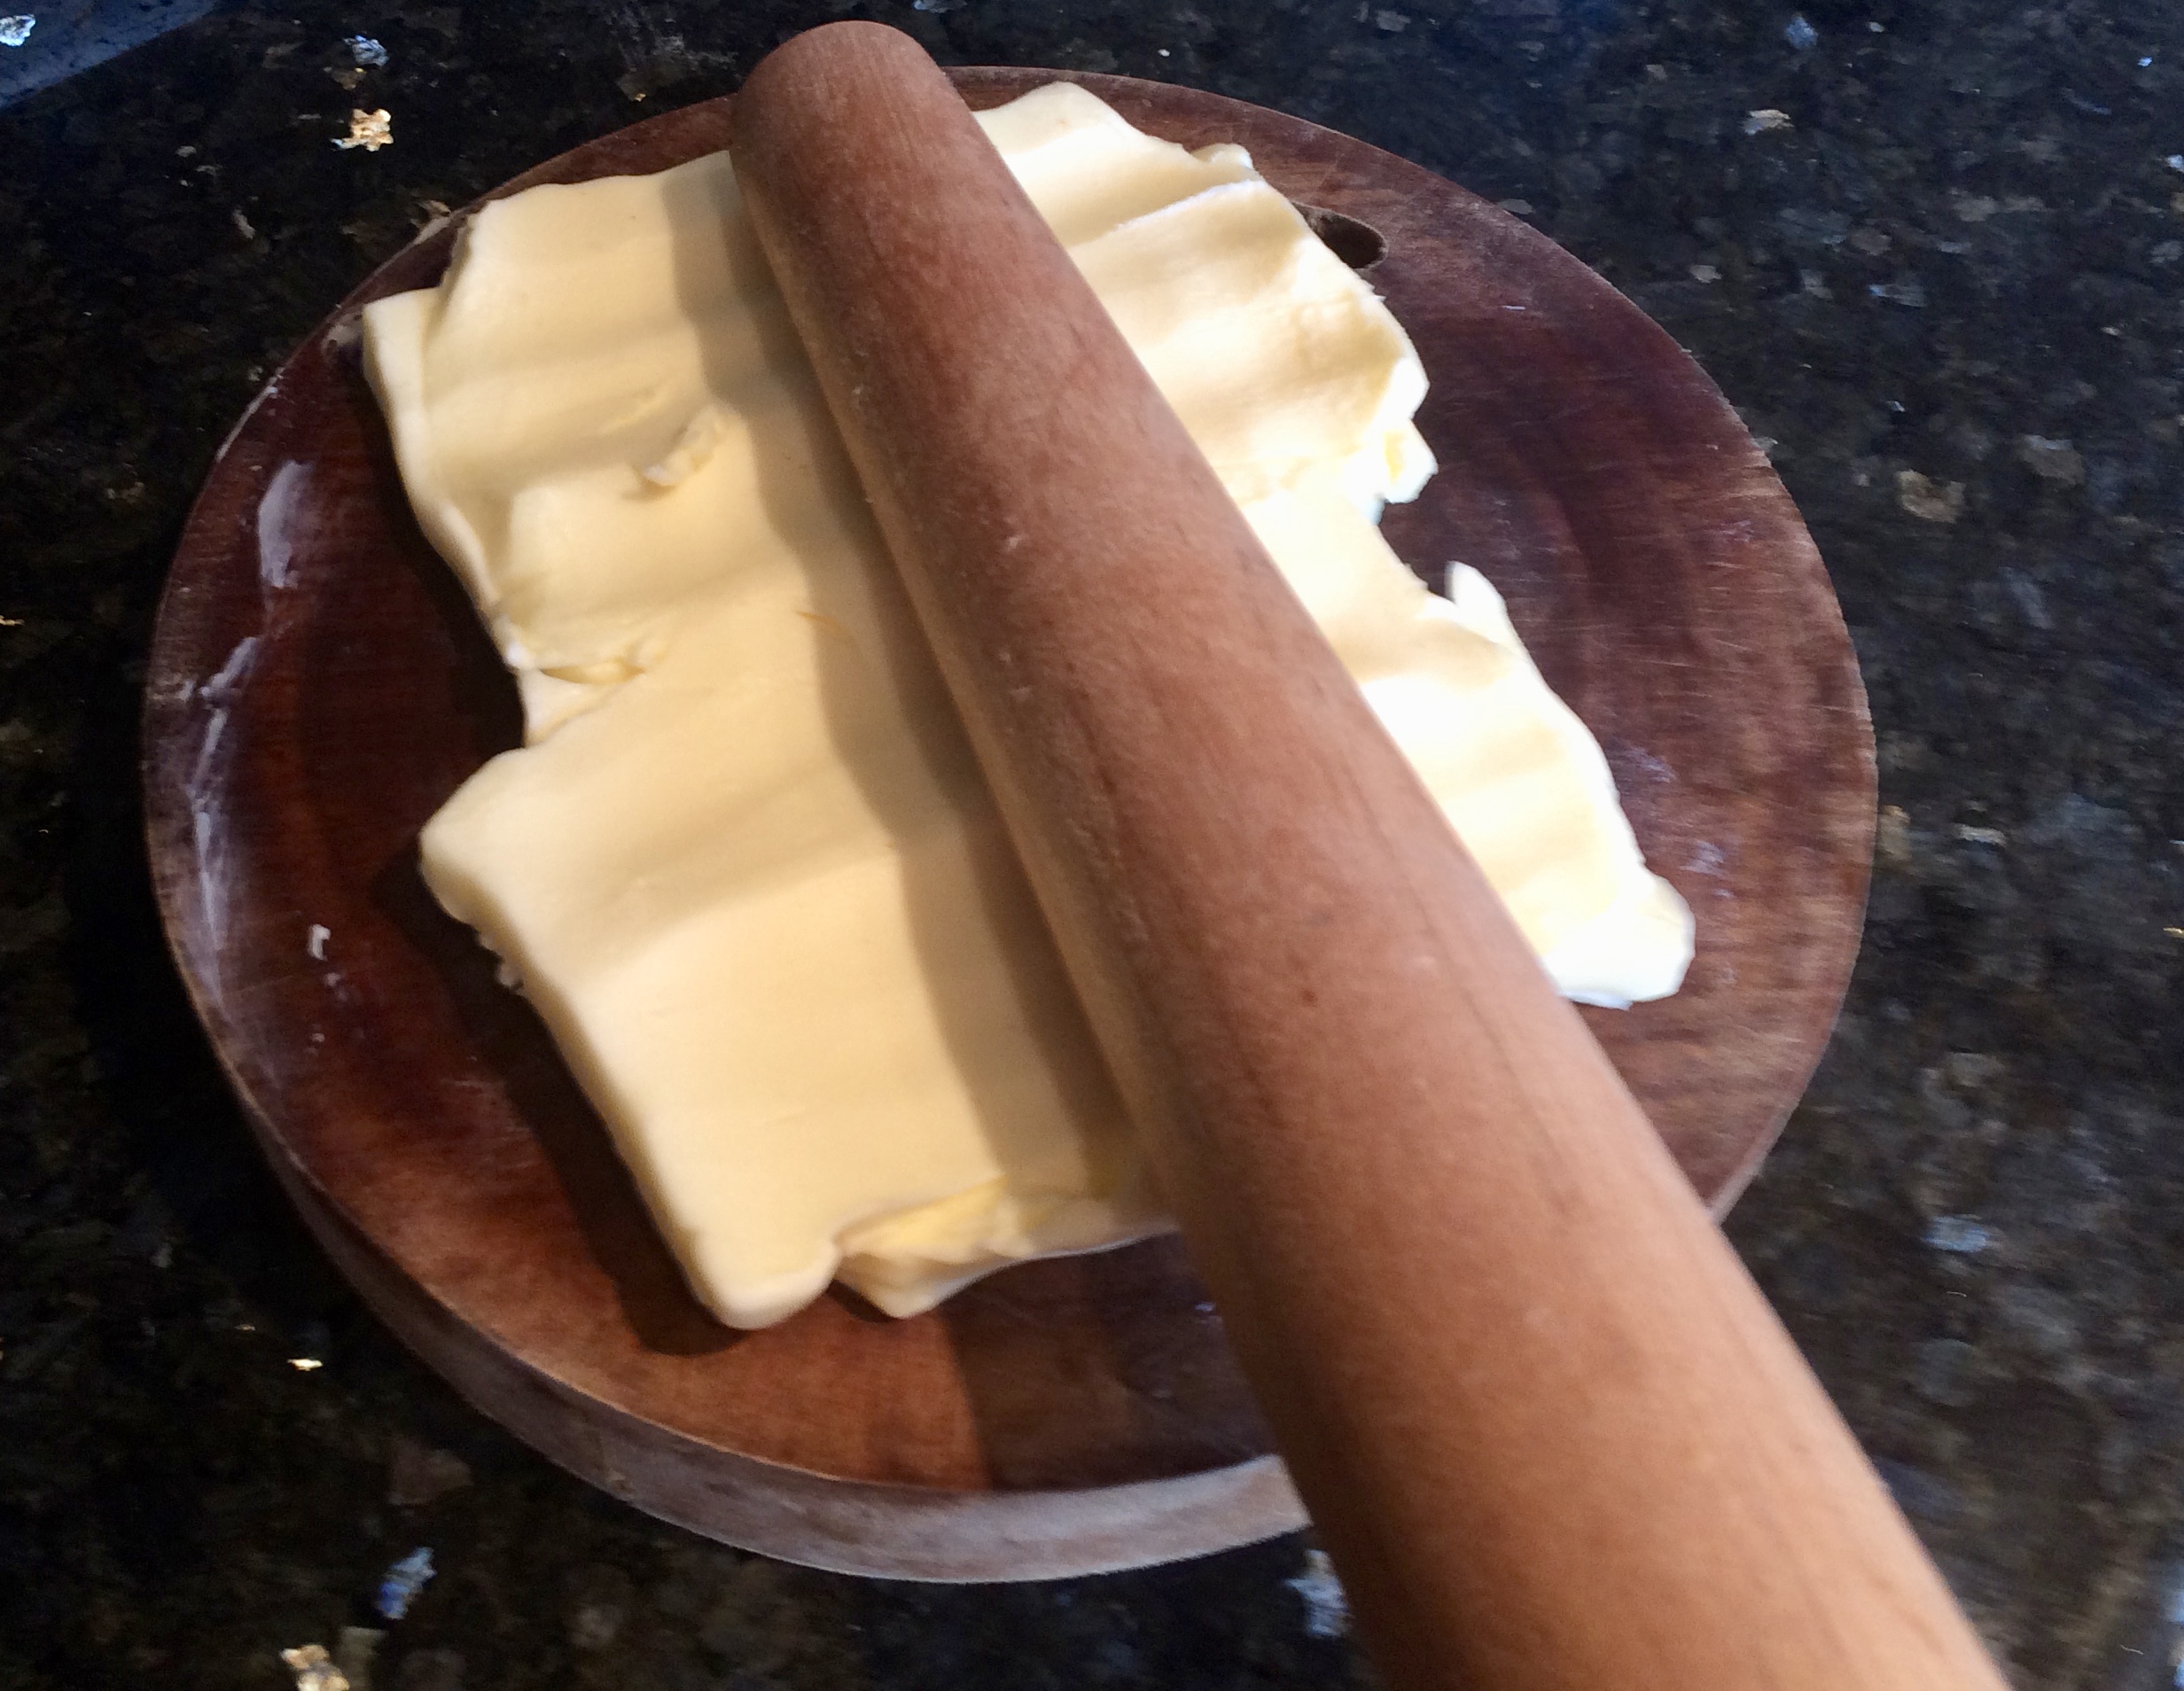
If you are using a European style butter (which I highly recommend!) such as Plugra then simply form the block of butter to the size. If you are using an American style butter (Land O Lakes is a good example) then beat 2 tablespoons flour into the dough. Just sprinkle it over the top of the dough and it will work itself in as you shape the butter. European style butter has a higher fat content and has less water. The flour is used with American style butter to absorb the bit of extra liquid contained in the butter. Look for a butter with at least 82% fat content to skip the flour addition.
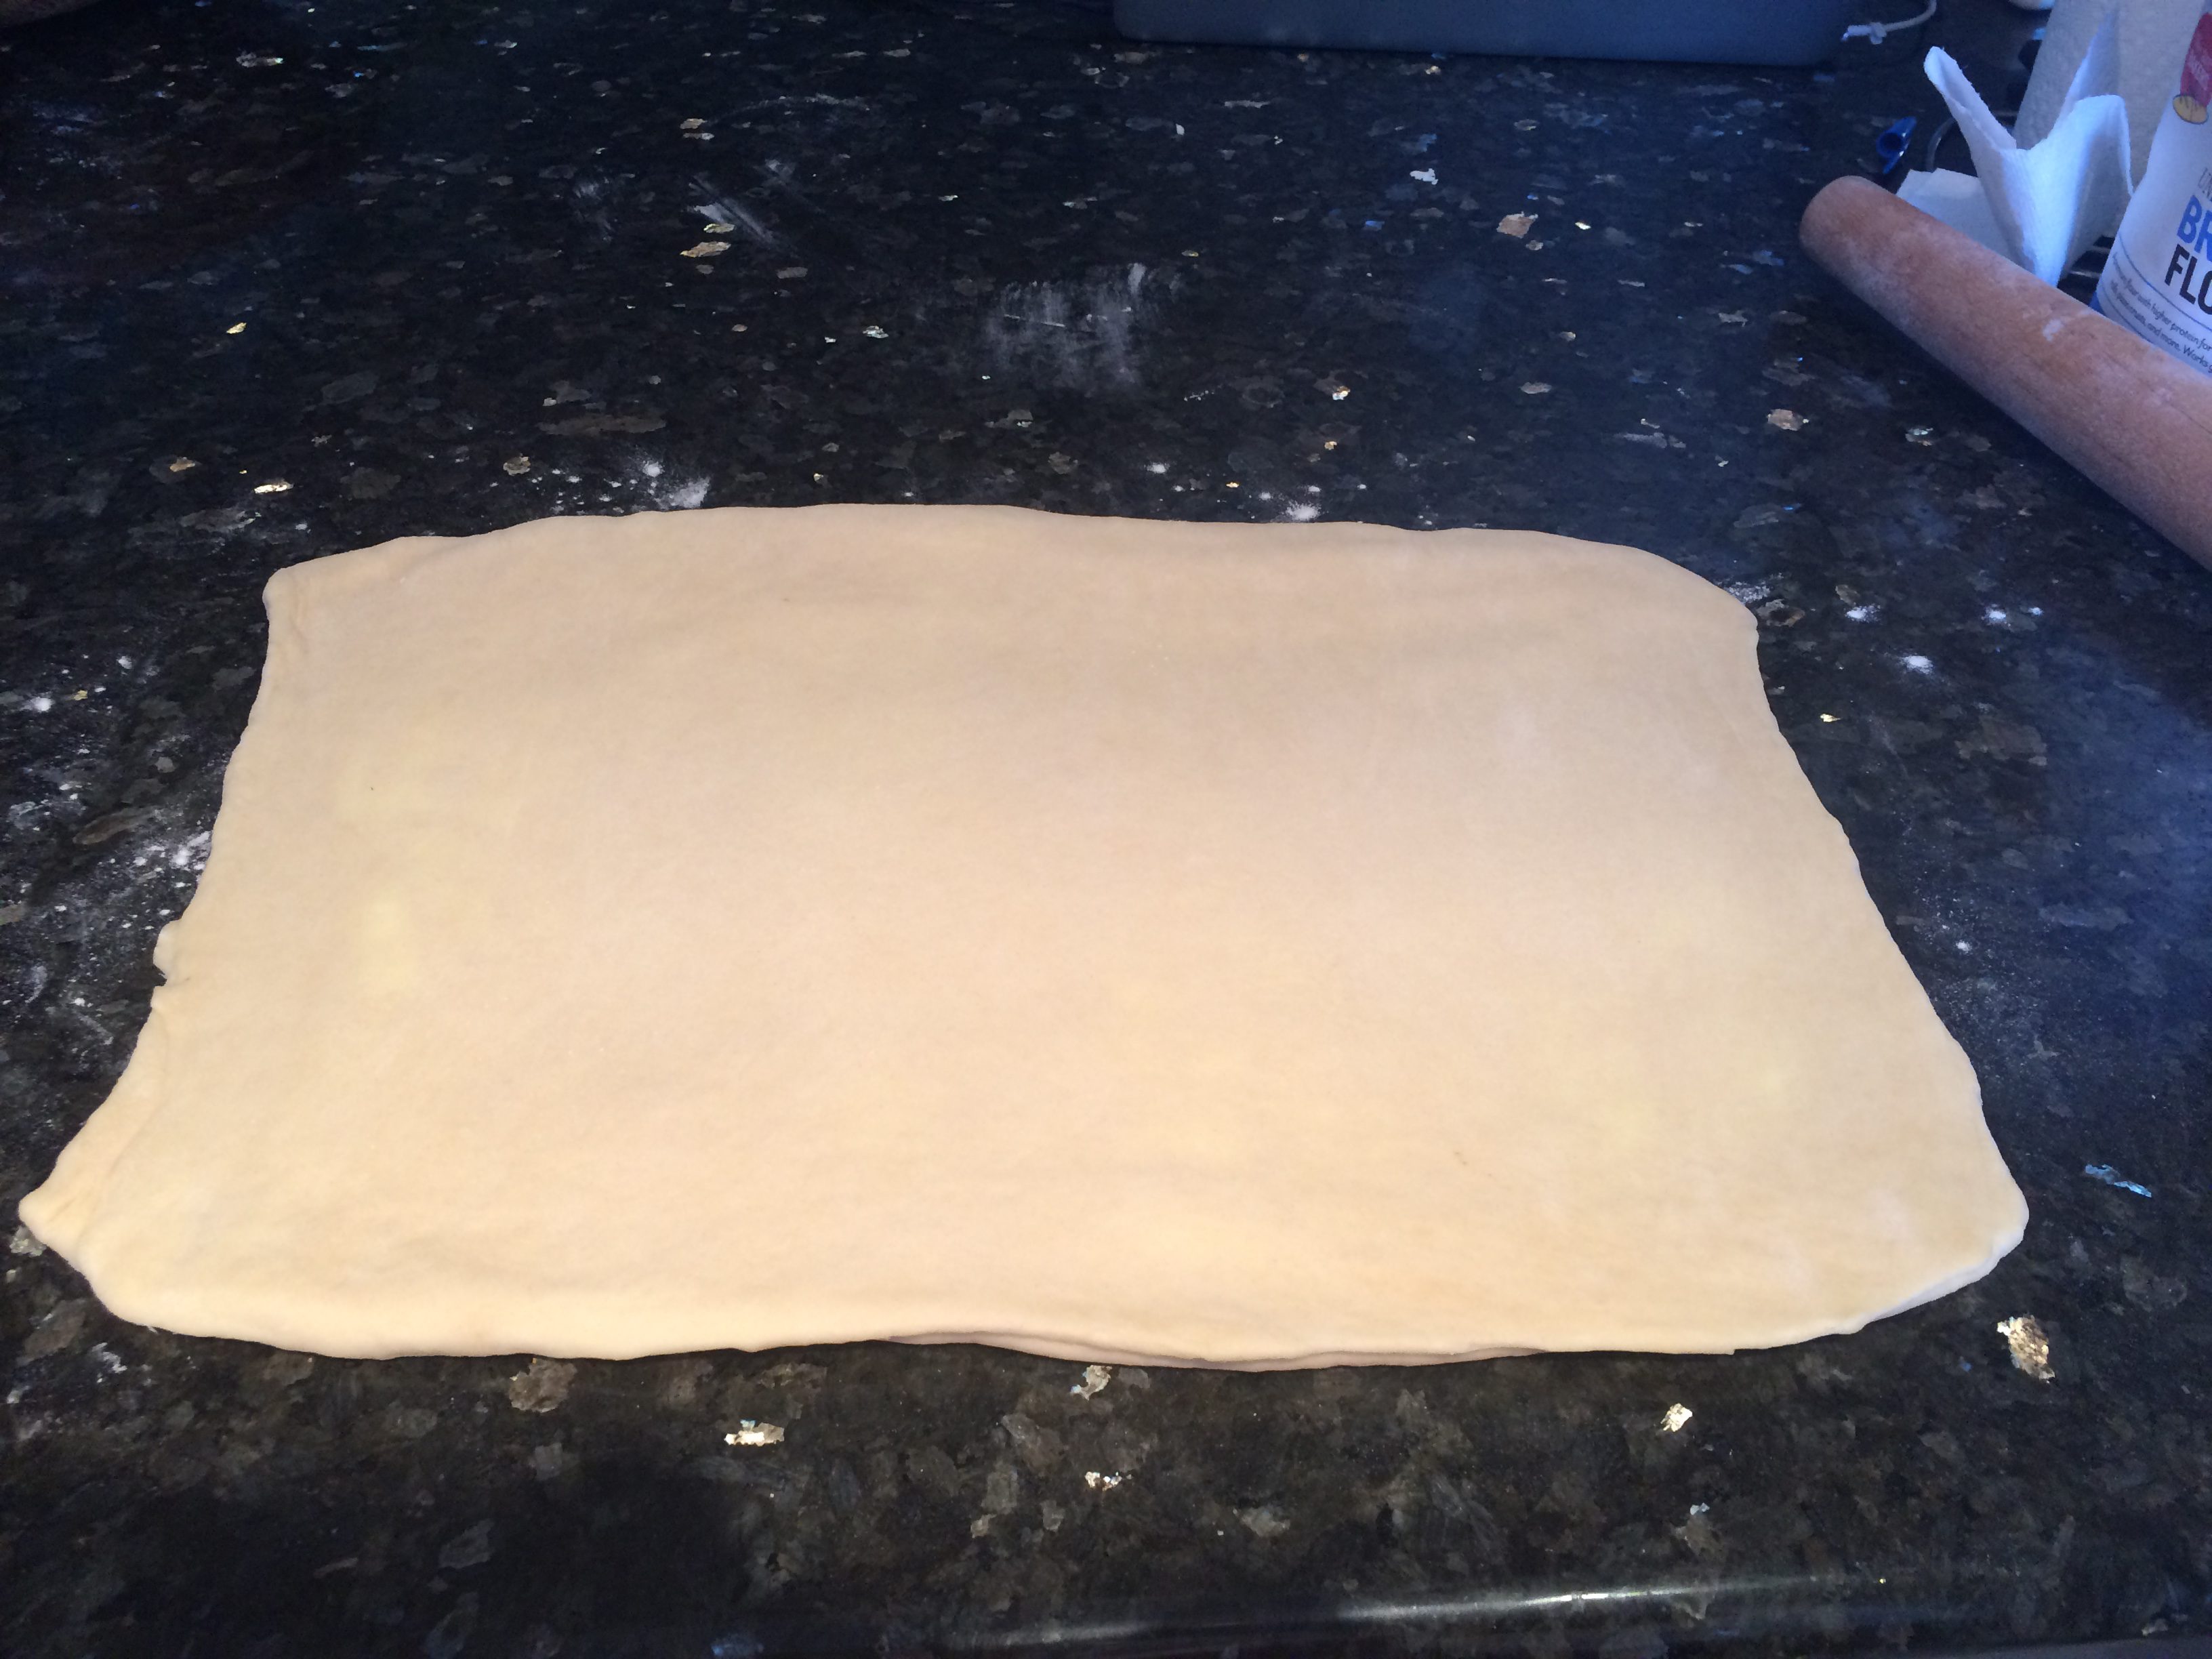
Roll the dough out. My dough rectangle is approximately 9″ by 15″. Place the butter on the right 2/3rd’s of the dough and use a small offset spatula to help move the butter around if necessary.
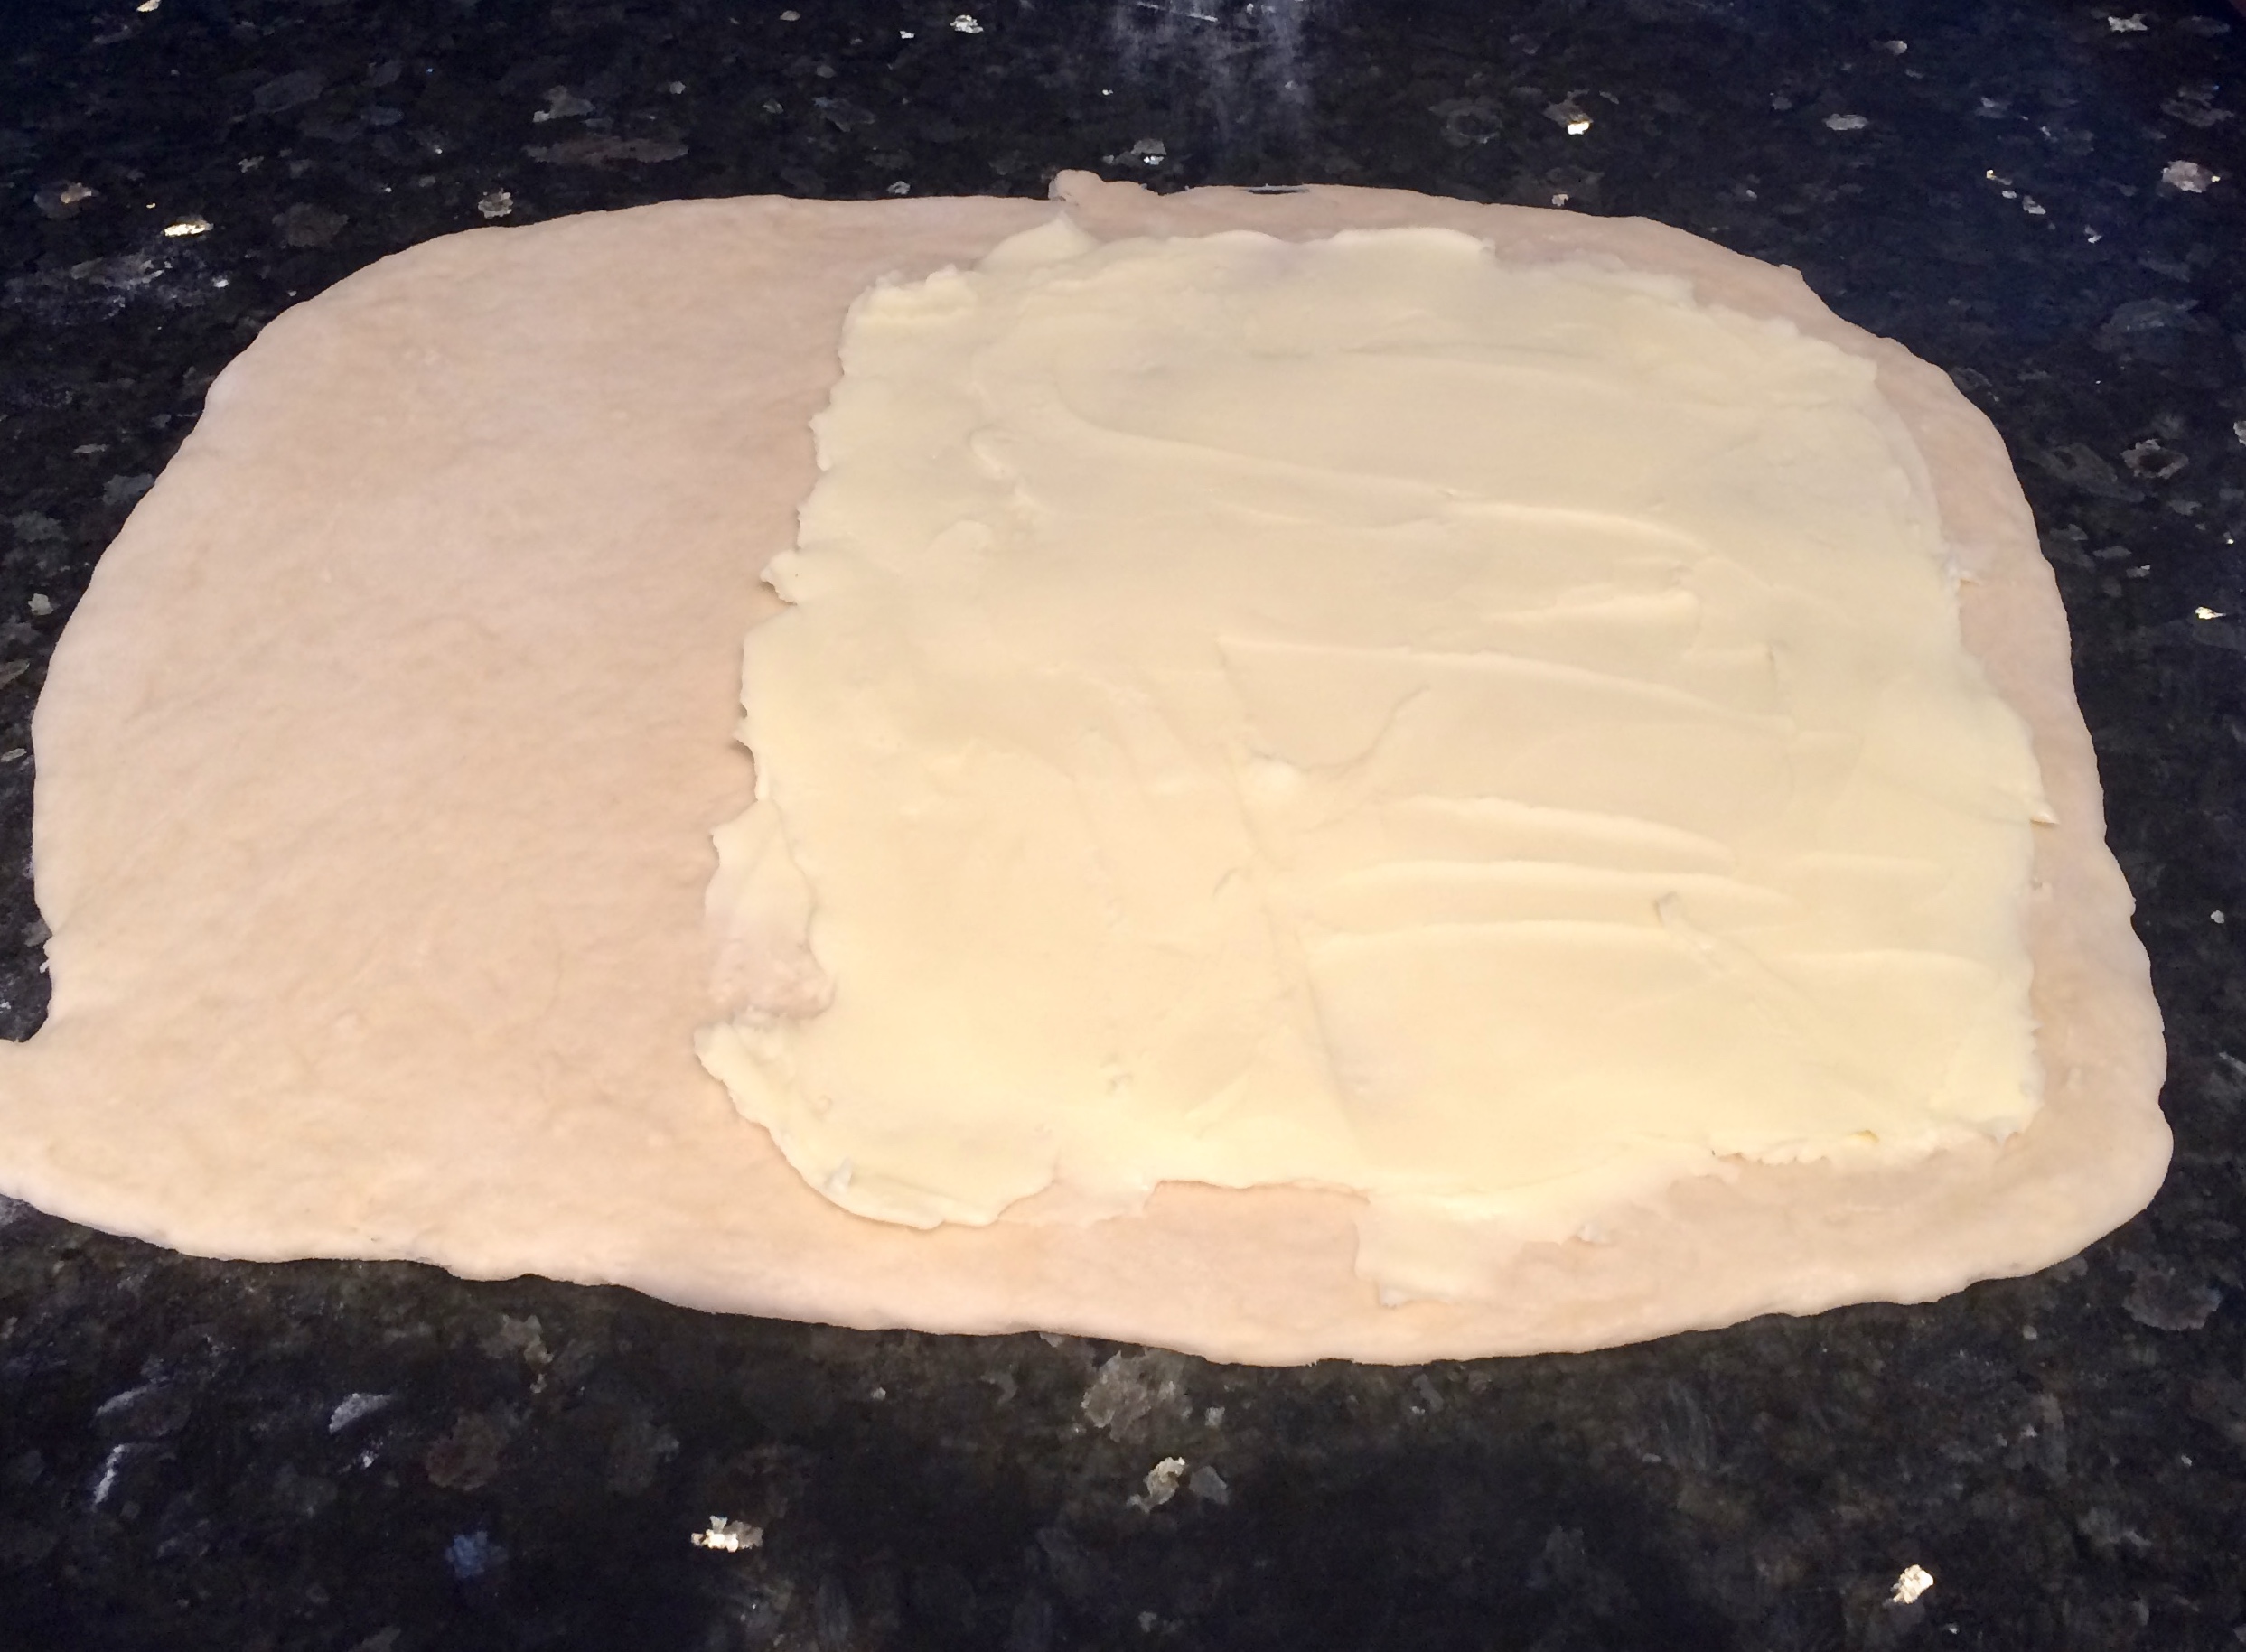
Fold the dough “letter style” by folding the portion of dough with no butter (the left side over first as in the picture below and then fold the right side over, making sure the edges meet and the corners are square.
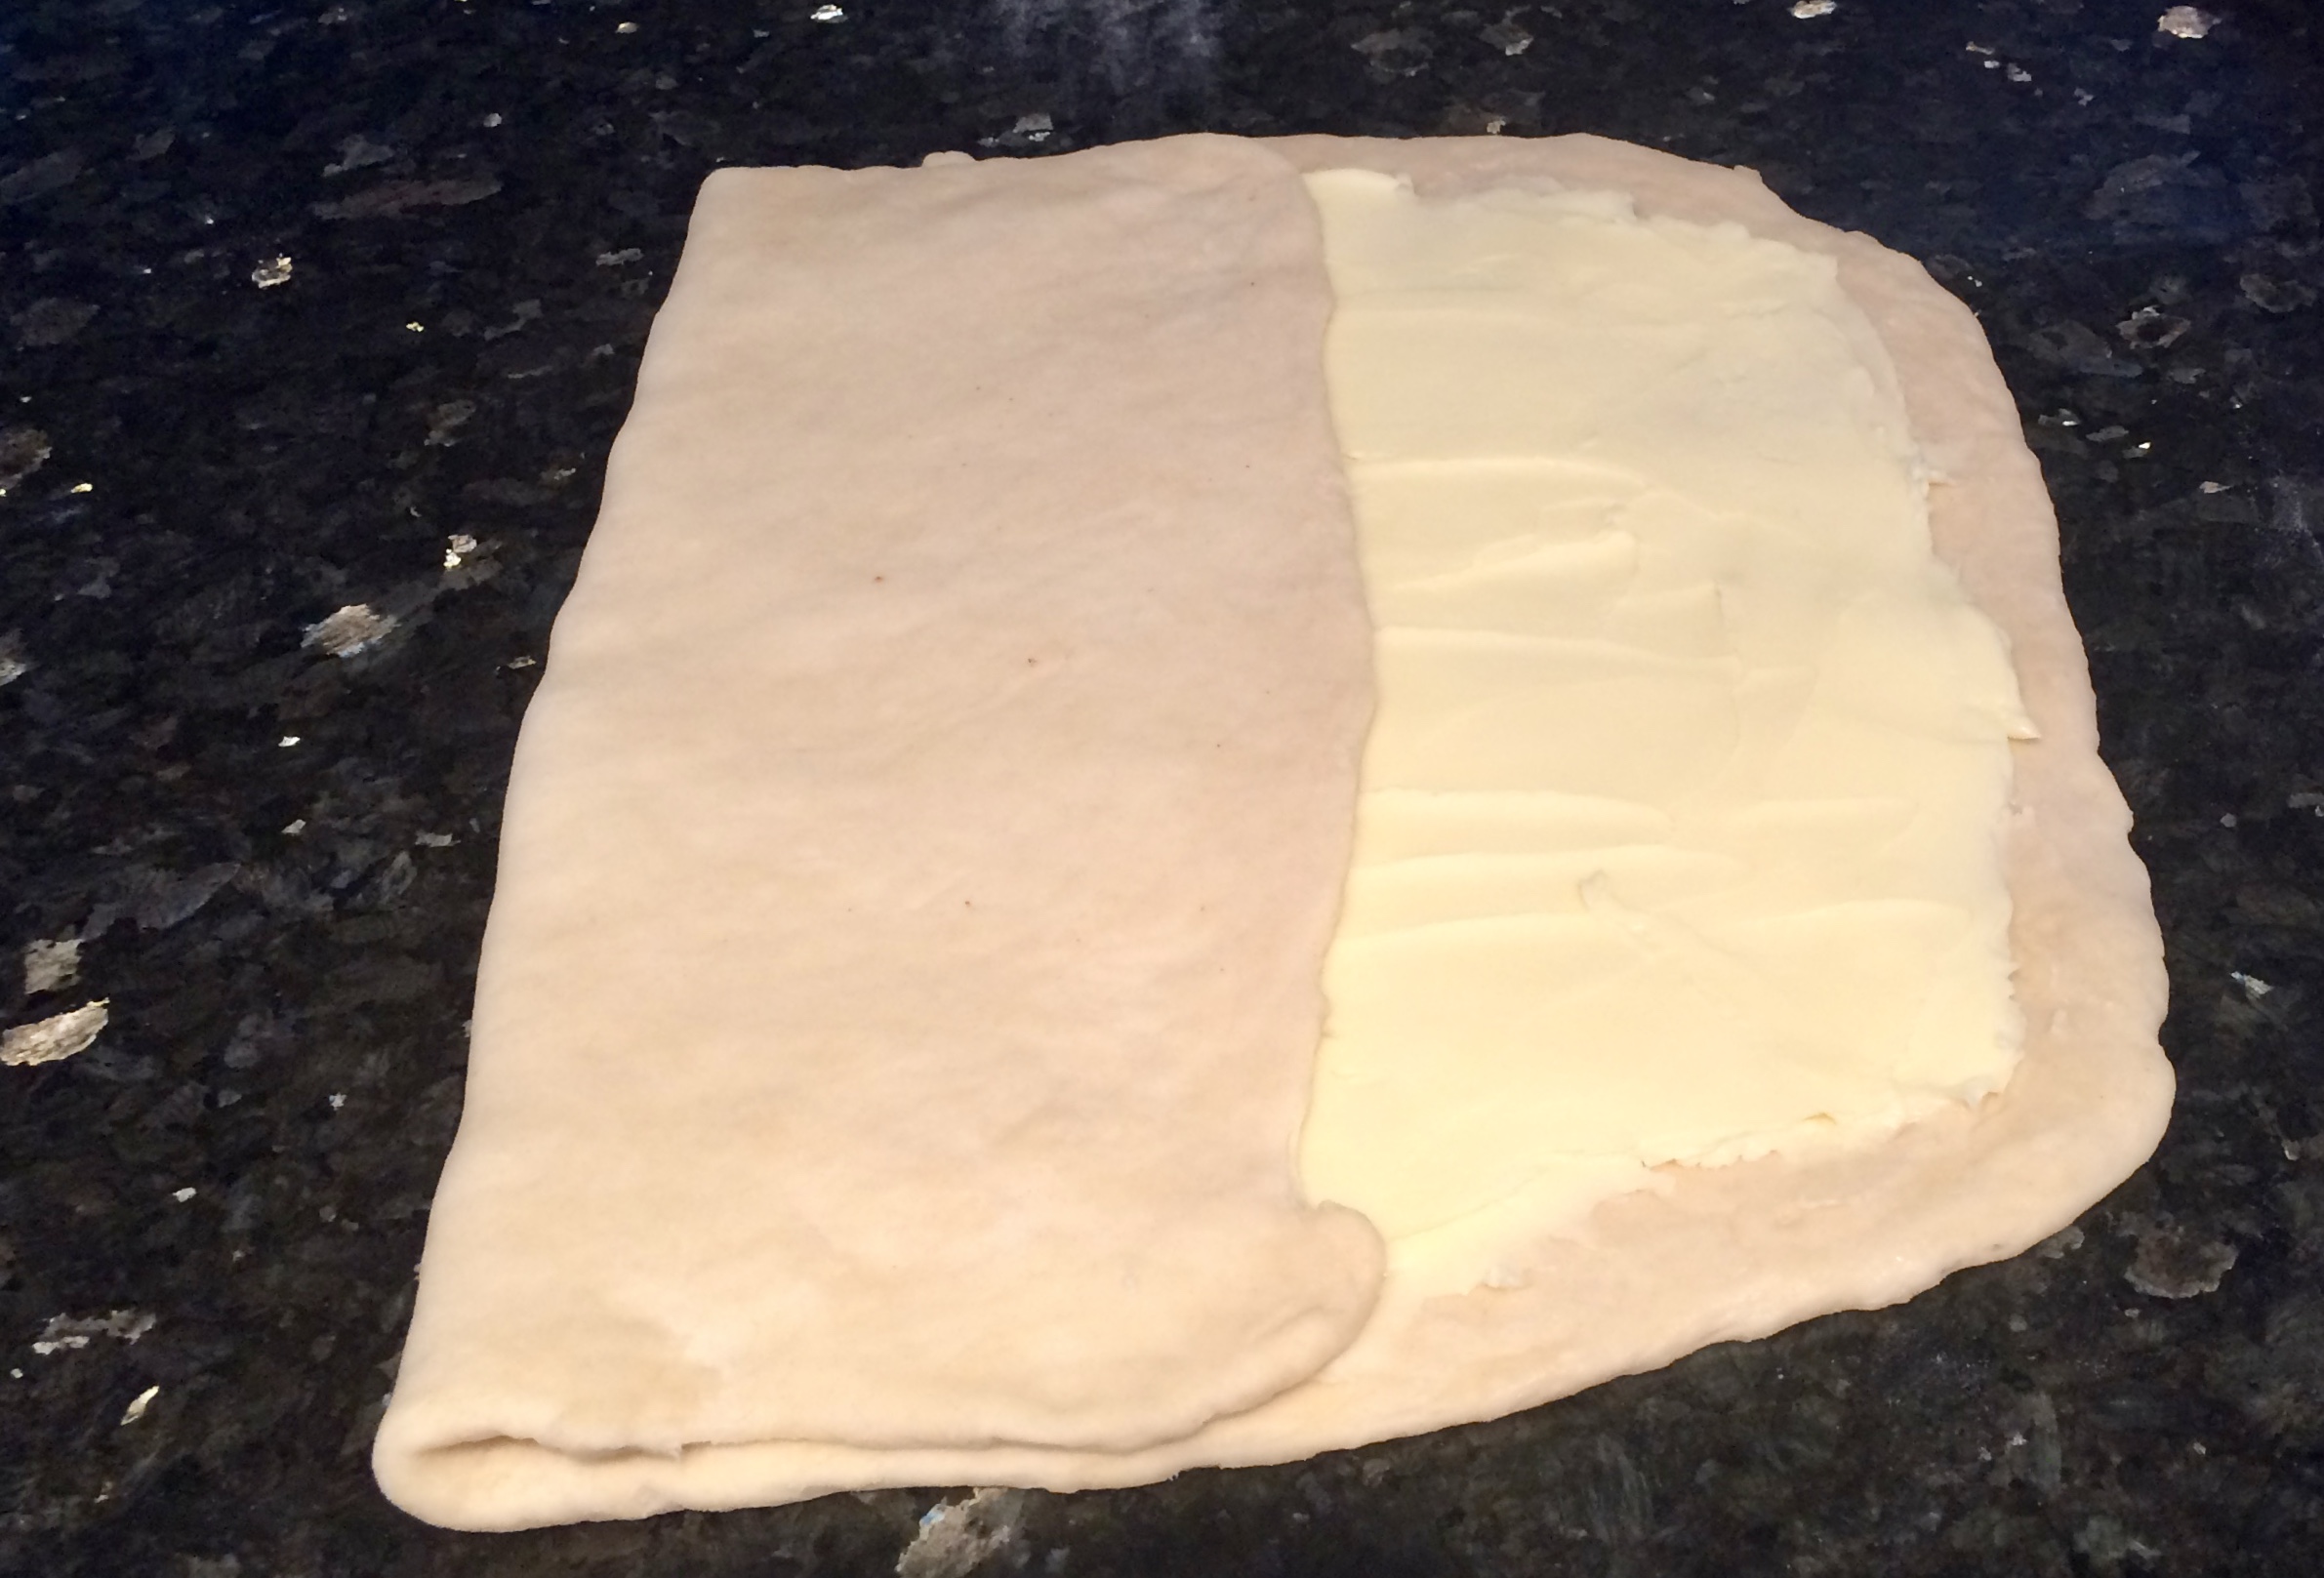
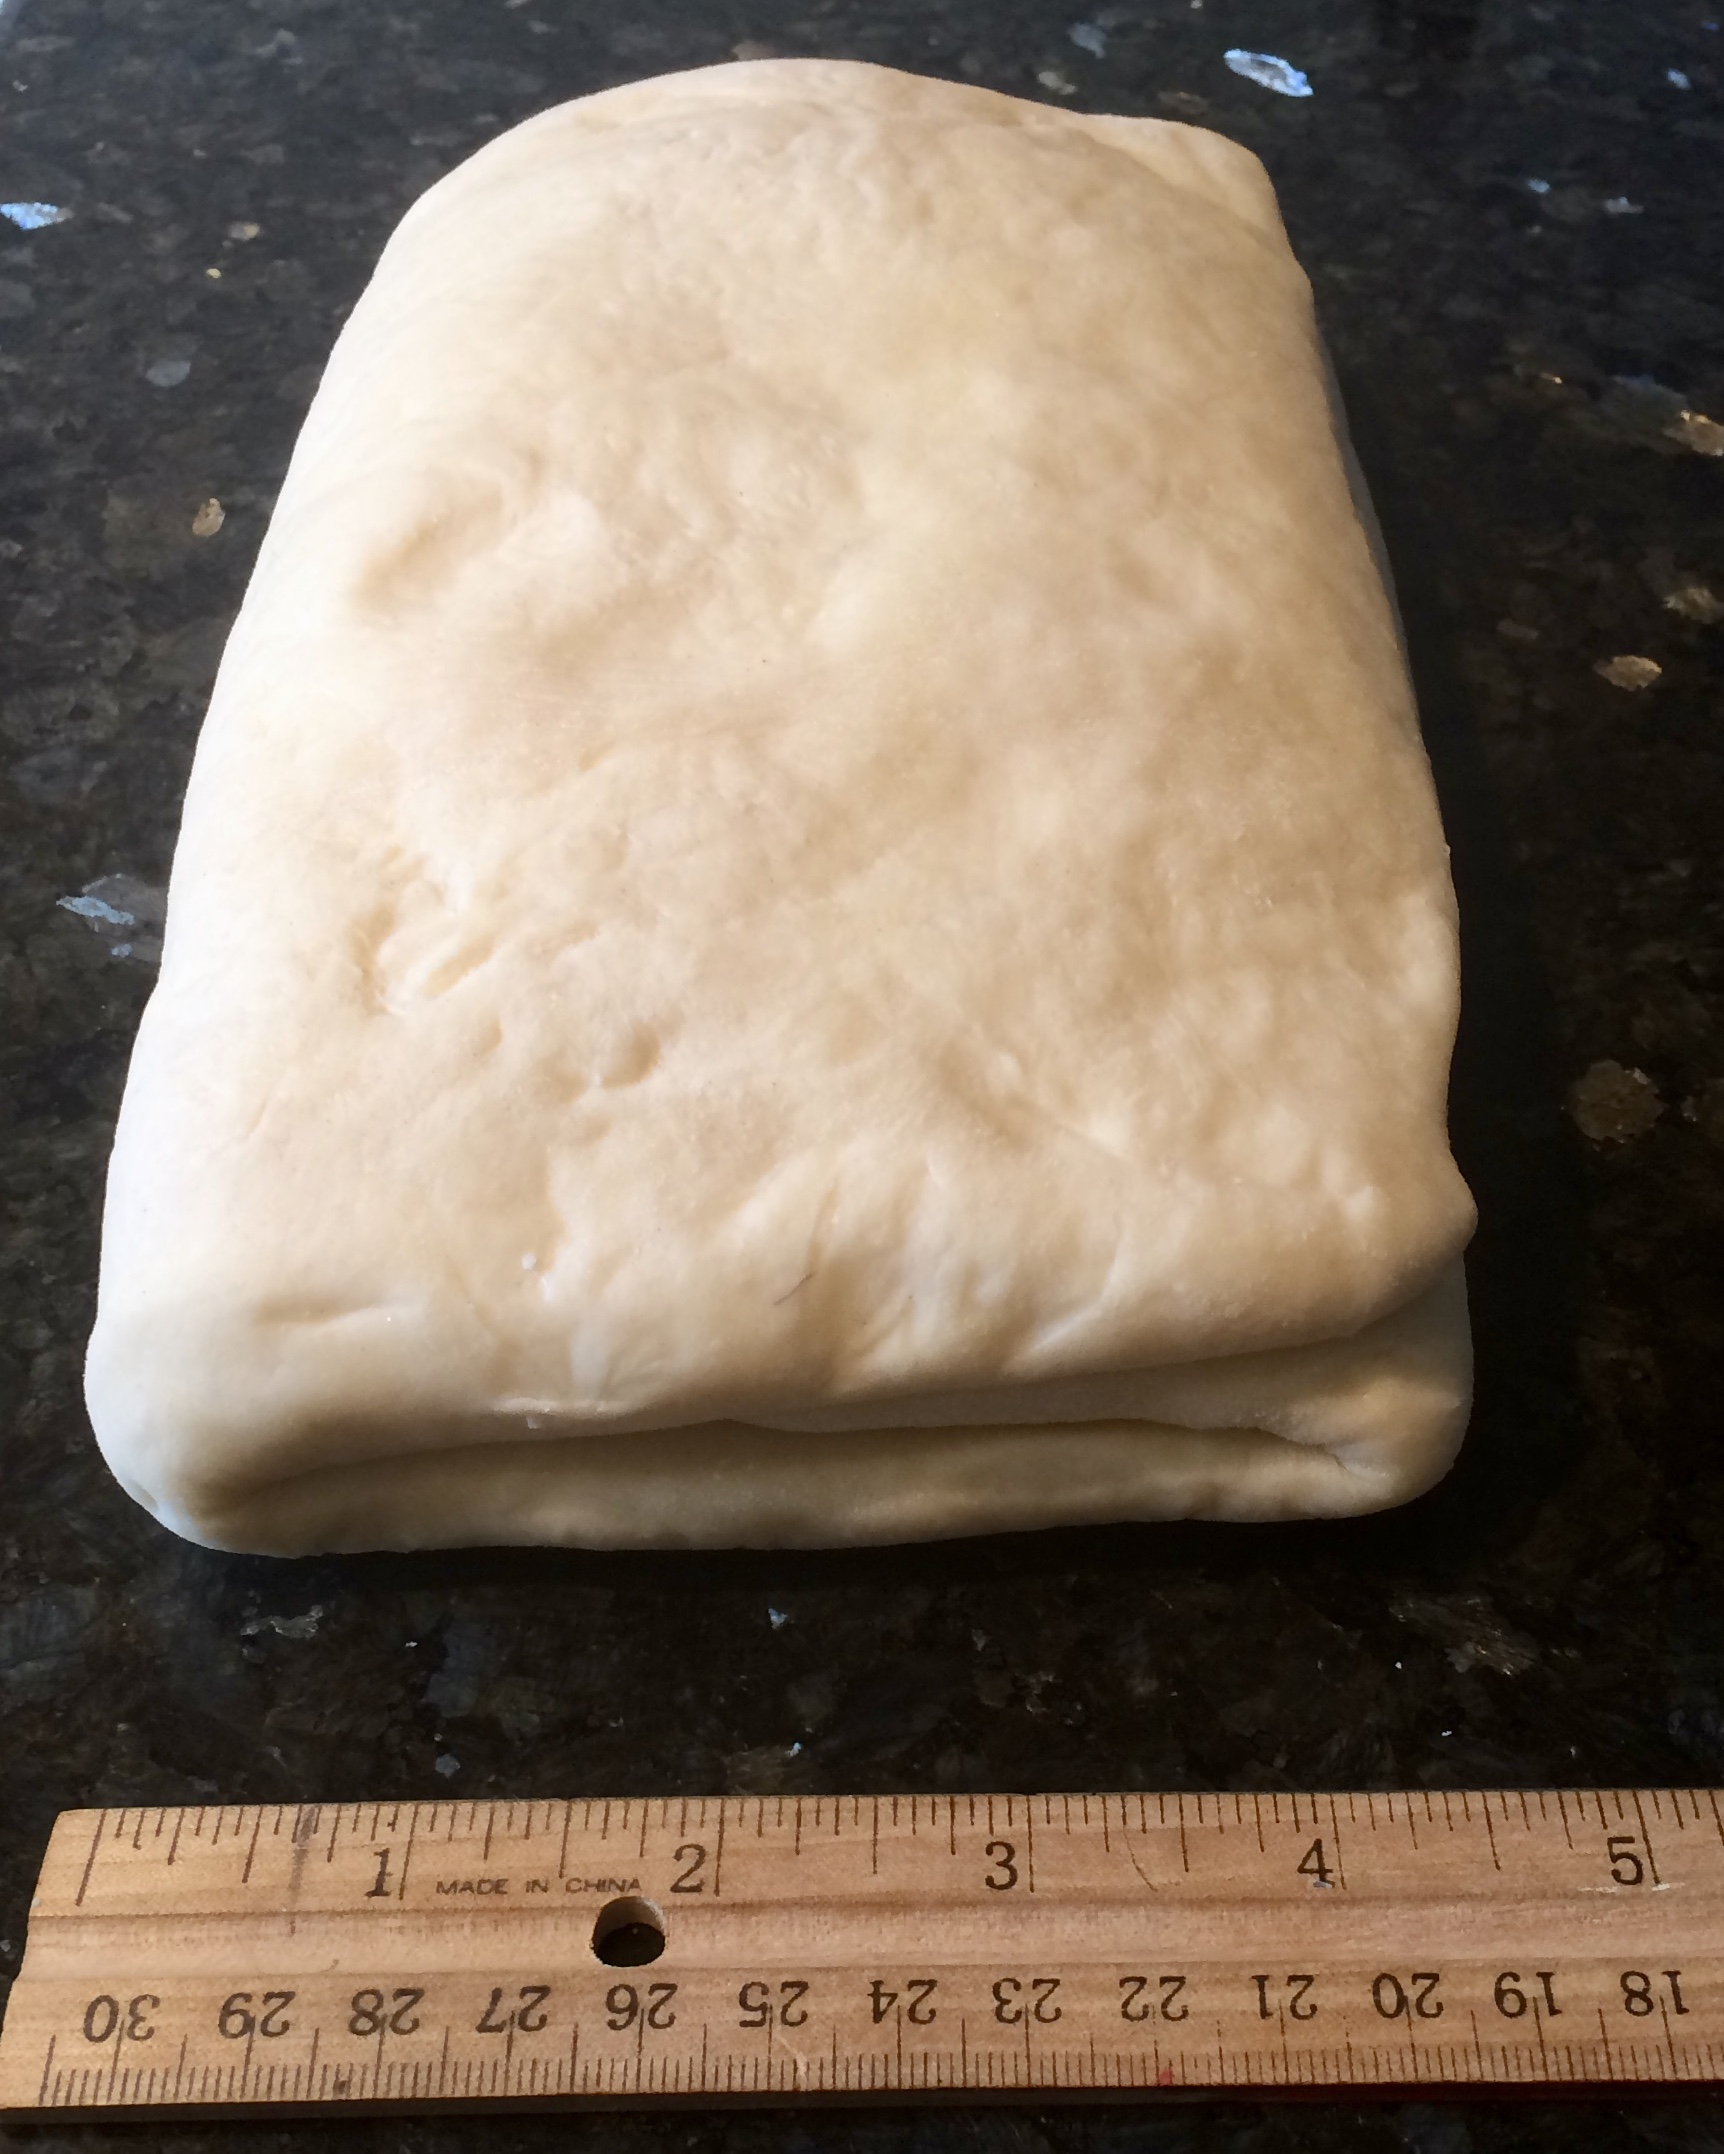
Rotate the dough 90 degrees. You will repeat this rolling and folding sequence and you should do it the same way each time. For example, always fold the left side of the dough in first and always rotate the dough in a counter-clockwise direction. I make sure my dough always ends up with the seam facing me so that I can be consistent about rolling and folding.
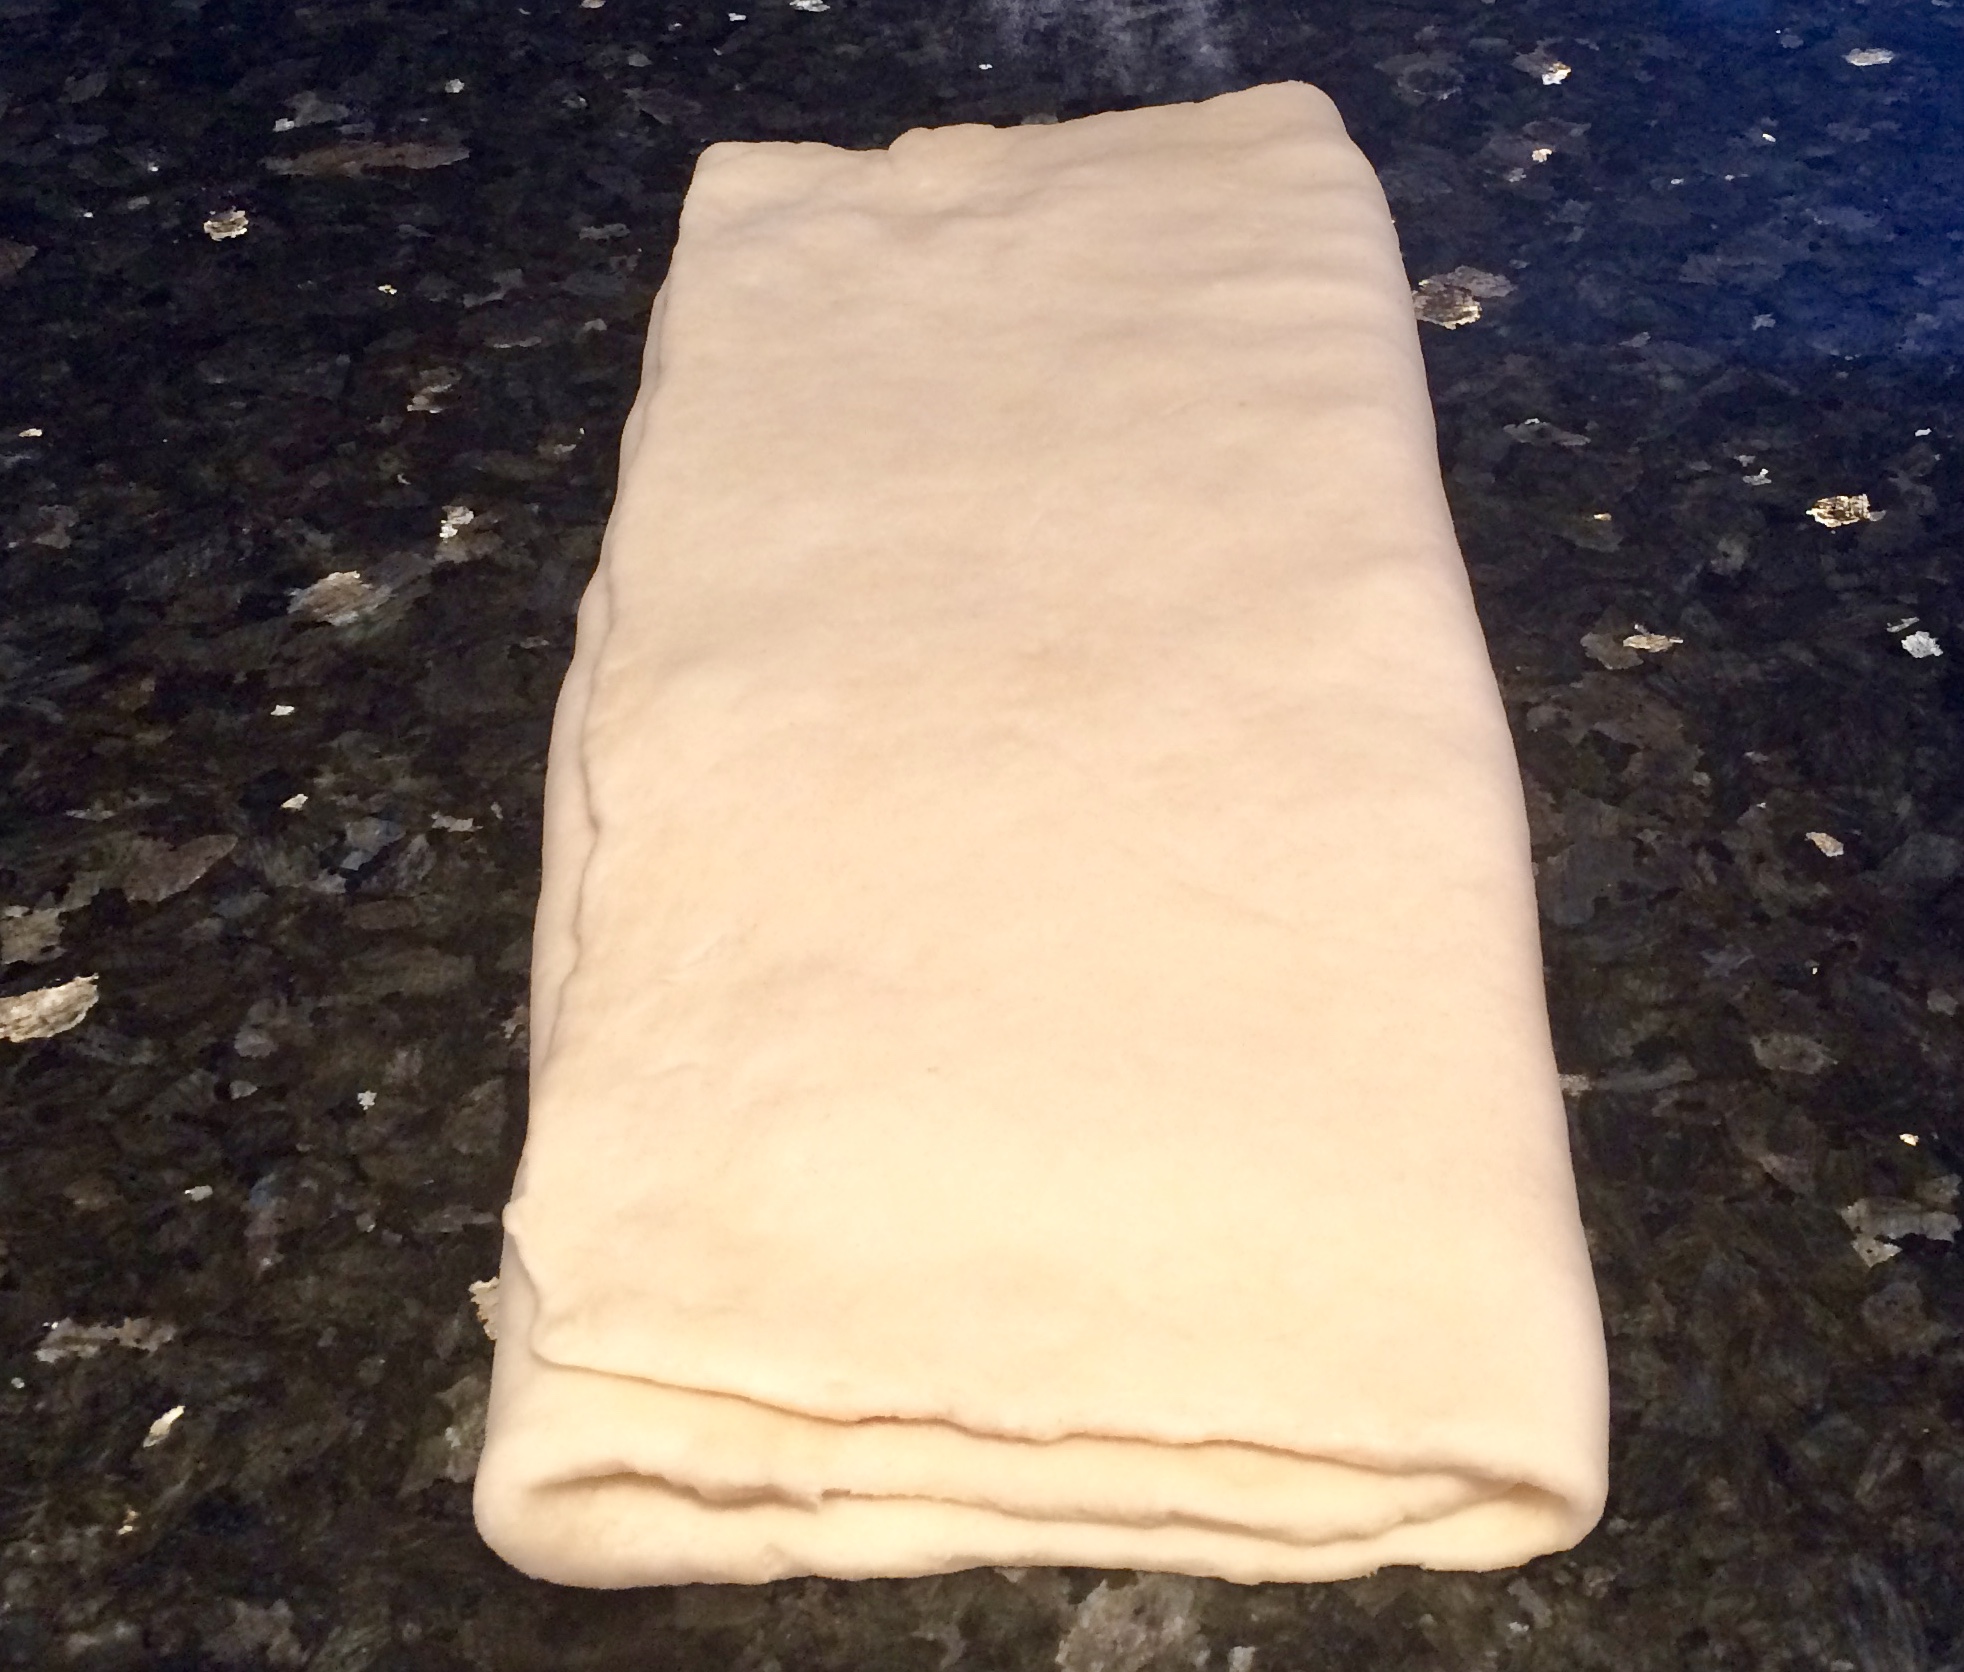
Roll the dough out to the same size as before, approximately 9″ by 15″, and fold like a letter again. **It is very important during the rolling and folding process that the dough and the butter be the same consistency. You are creating very thin layers of butter and dough in this process. If the dough is hard and the butter is soft you will have to exert so much pressure to roll the dough that all the butter will squeeze out around the edges. If the dough is soft and the butter is hard, the butter distribution will be uneven in the layers and the dough won’t rise nicely in the oven.** Wrap and refrigerate 20 minutes. This will allow the dough to relax and enable you to roll it out again more easily.
Roll and fold 2 more times and then refrigerate.
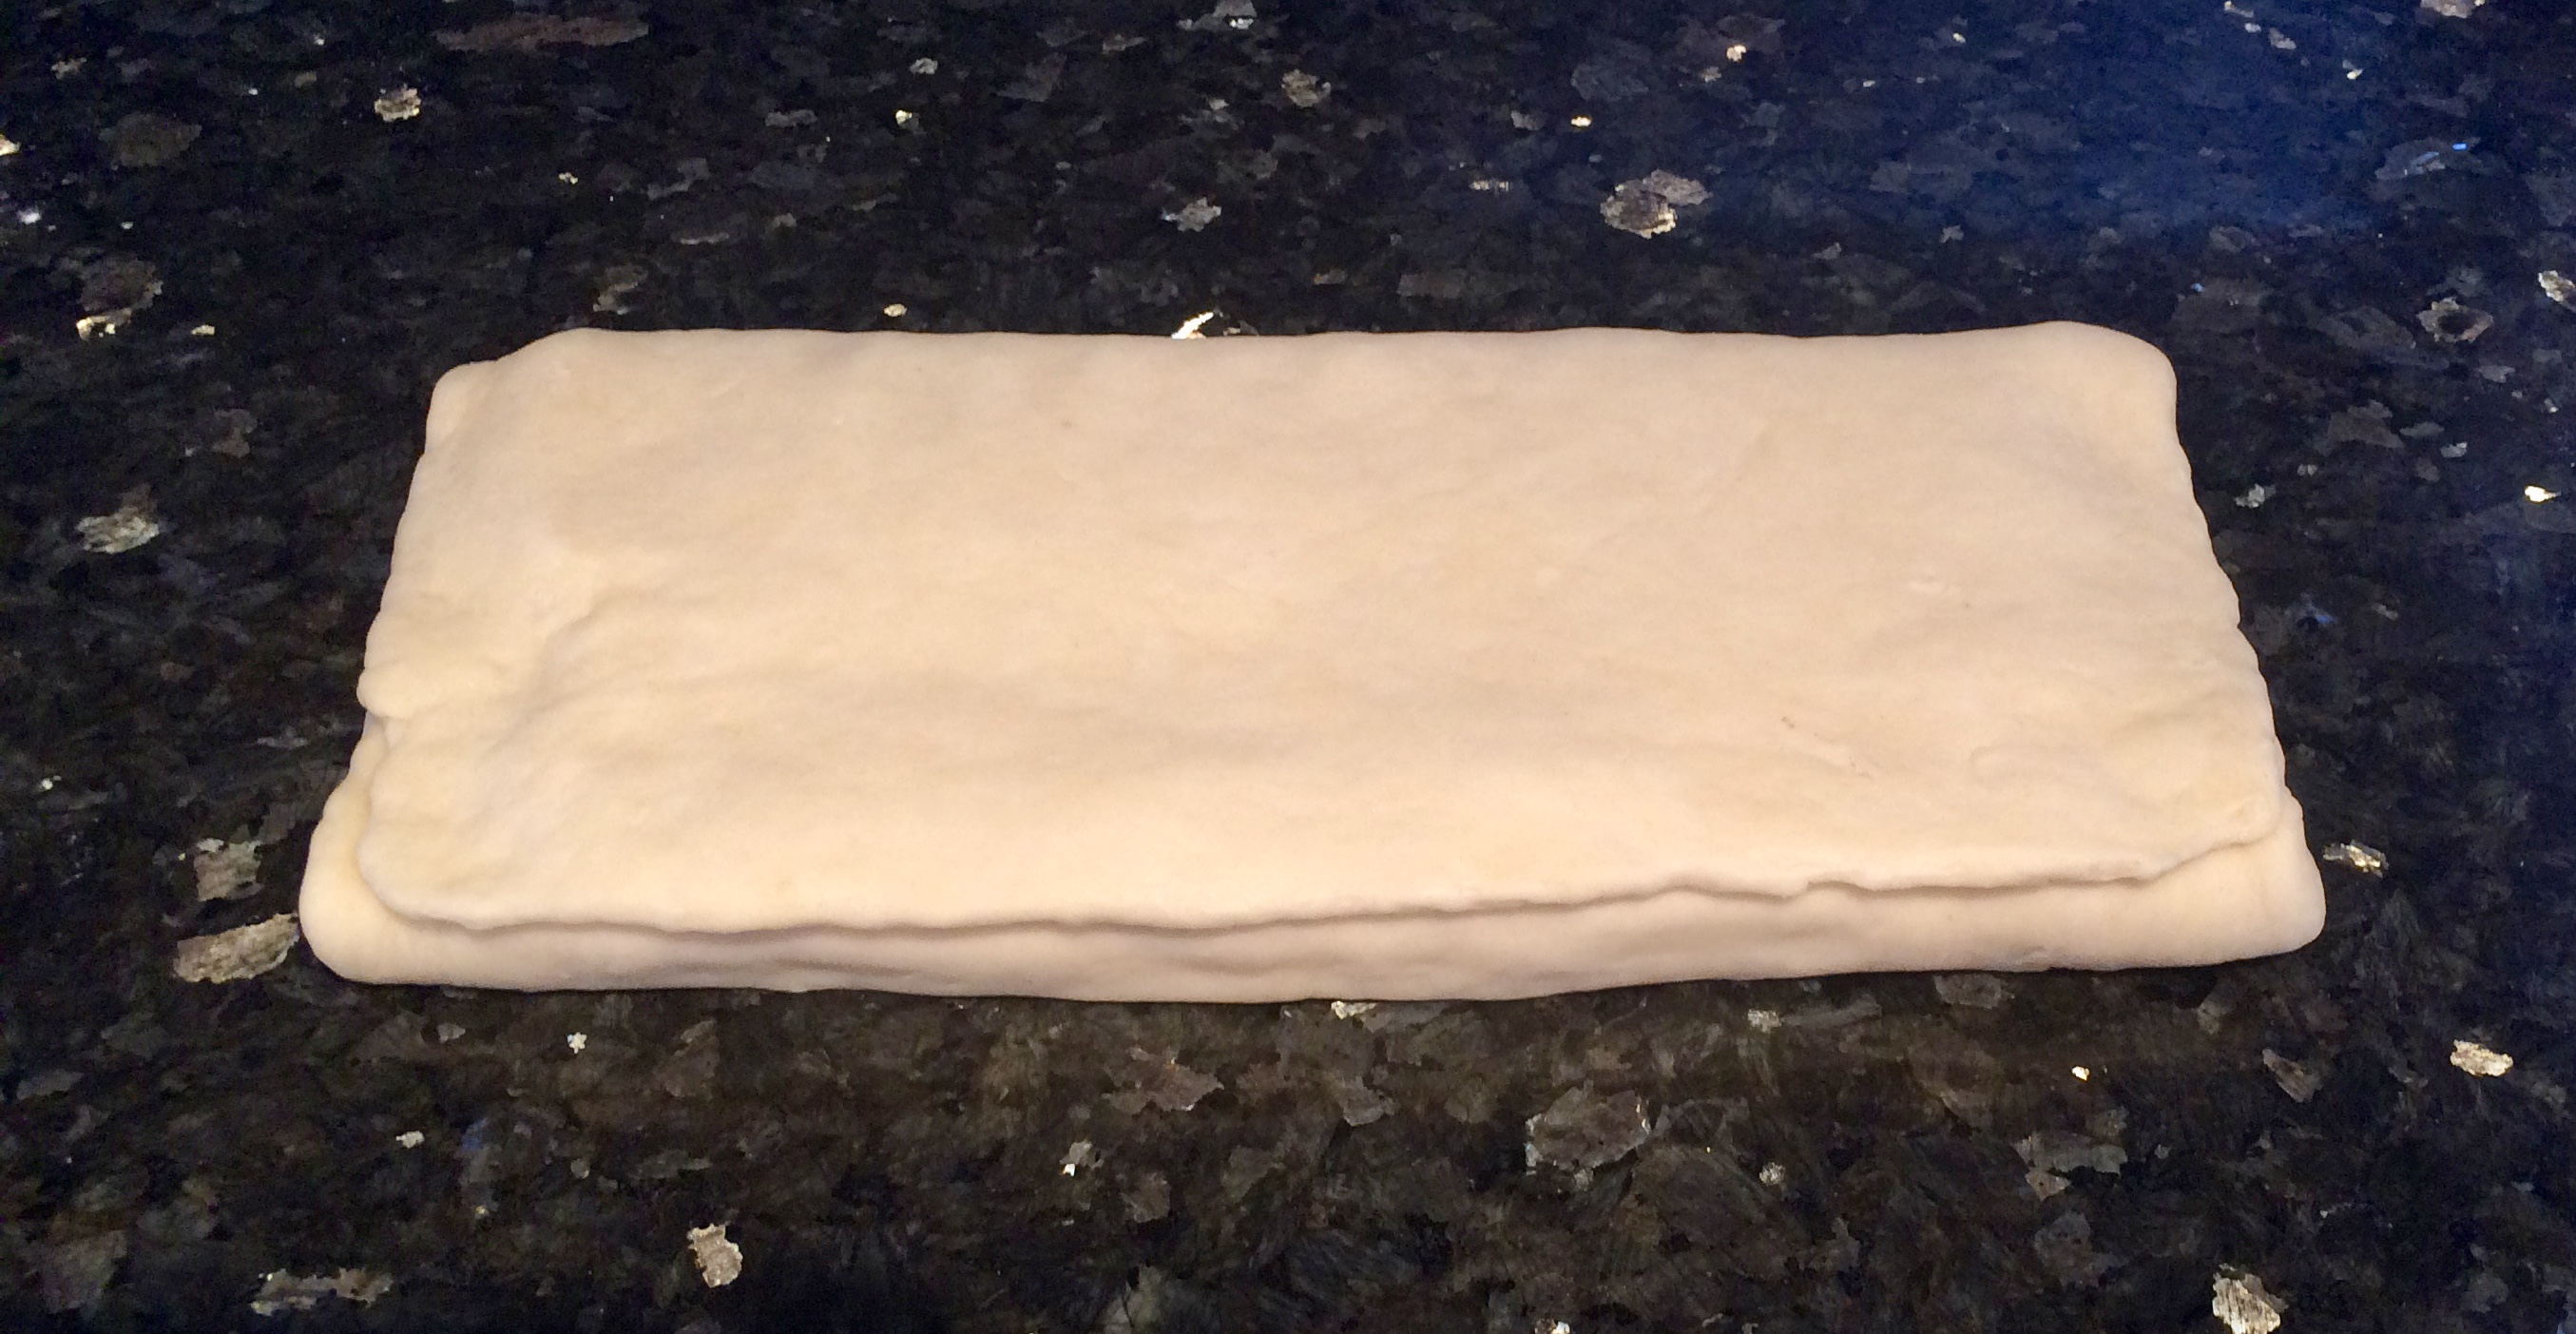
finished dough

I like to refrigerate my dough overnight so that the gluten can completely relax. If you want to shape and bake the croissants the same day then let your dough rest at least 45 minutes in the refrigerator before continuing.
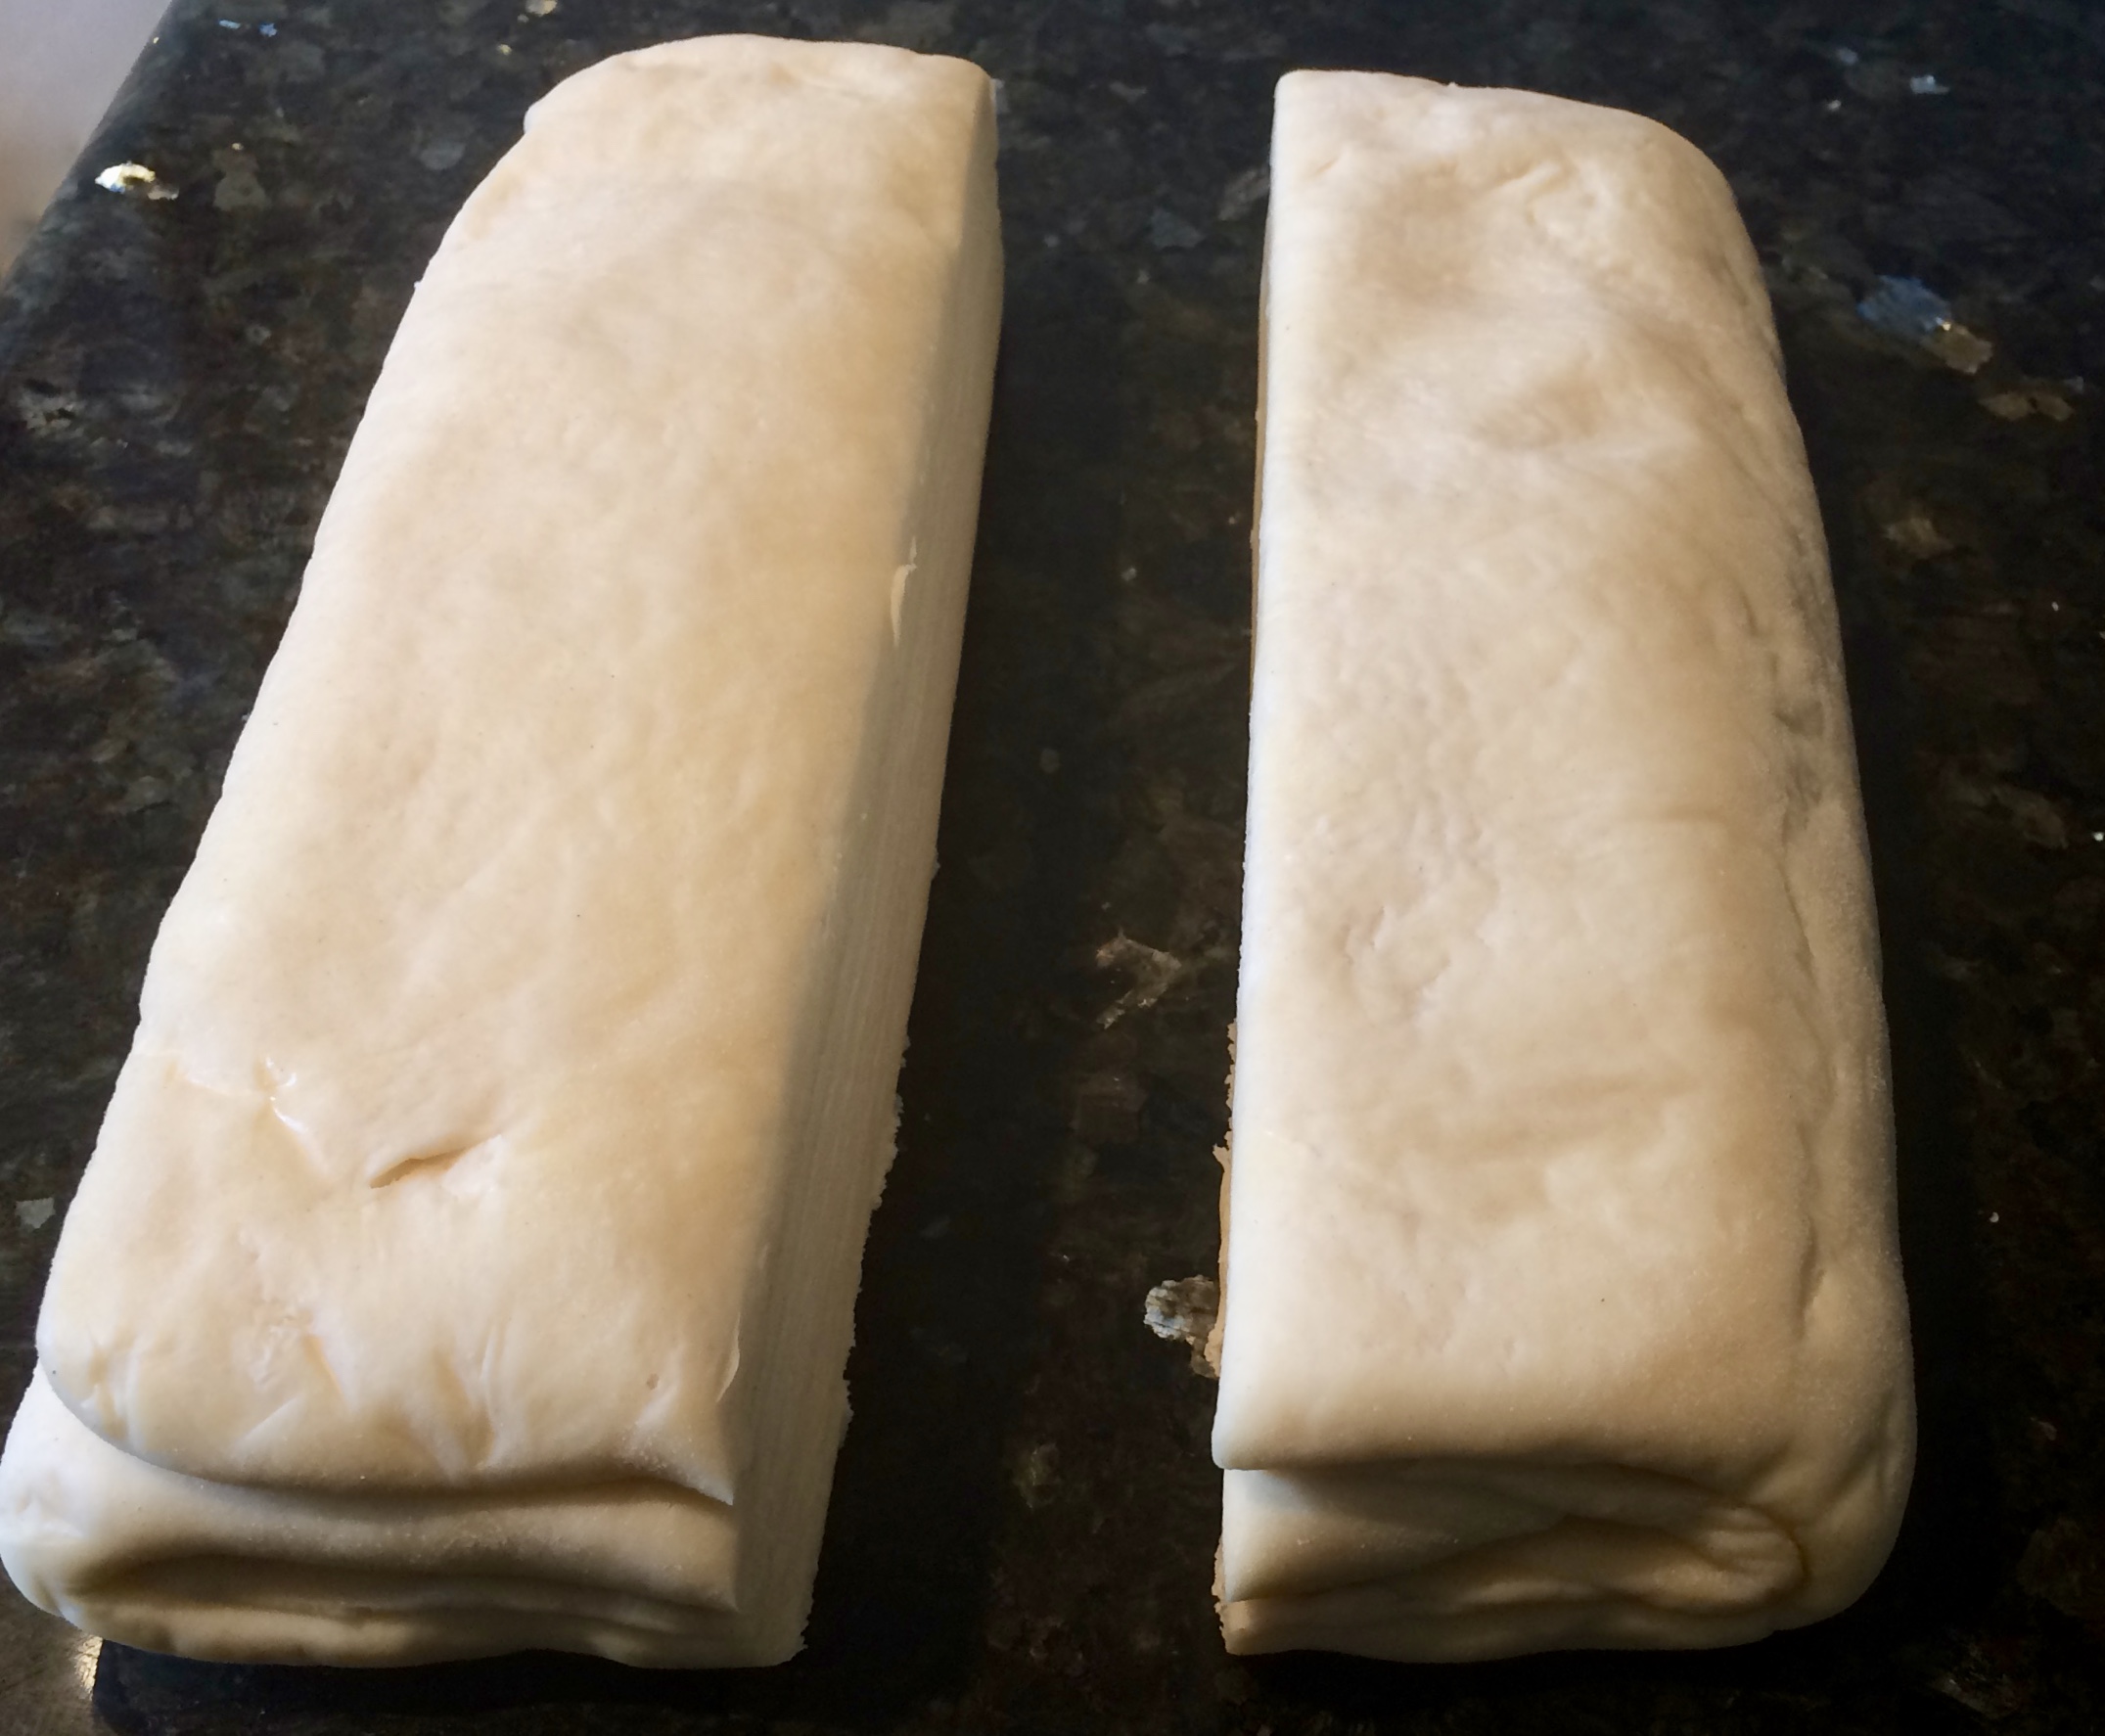
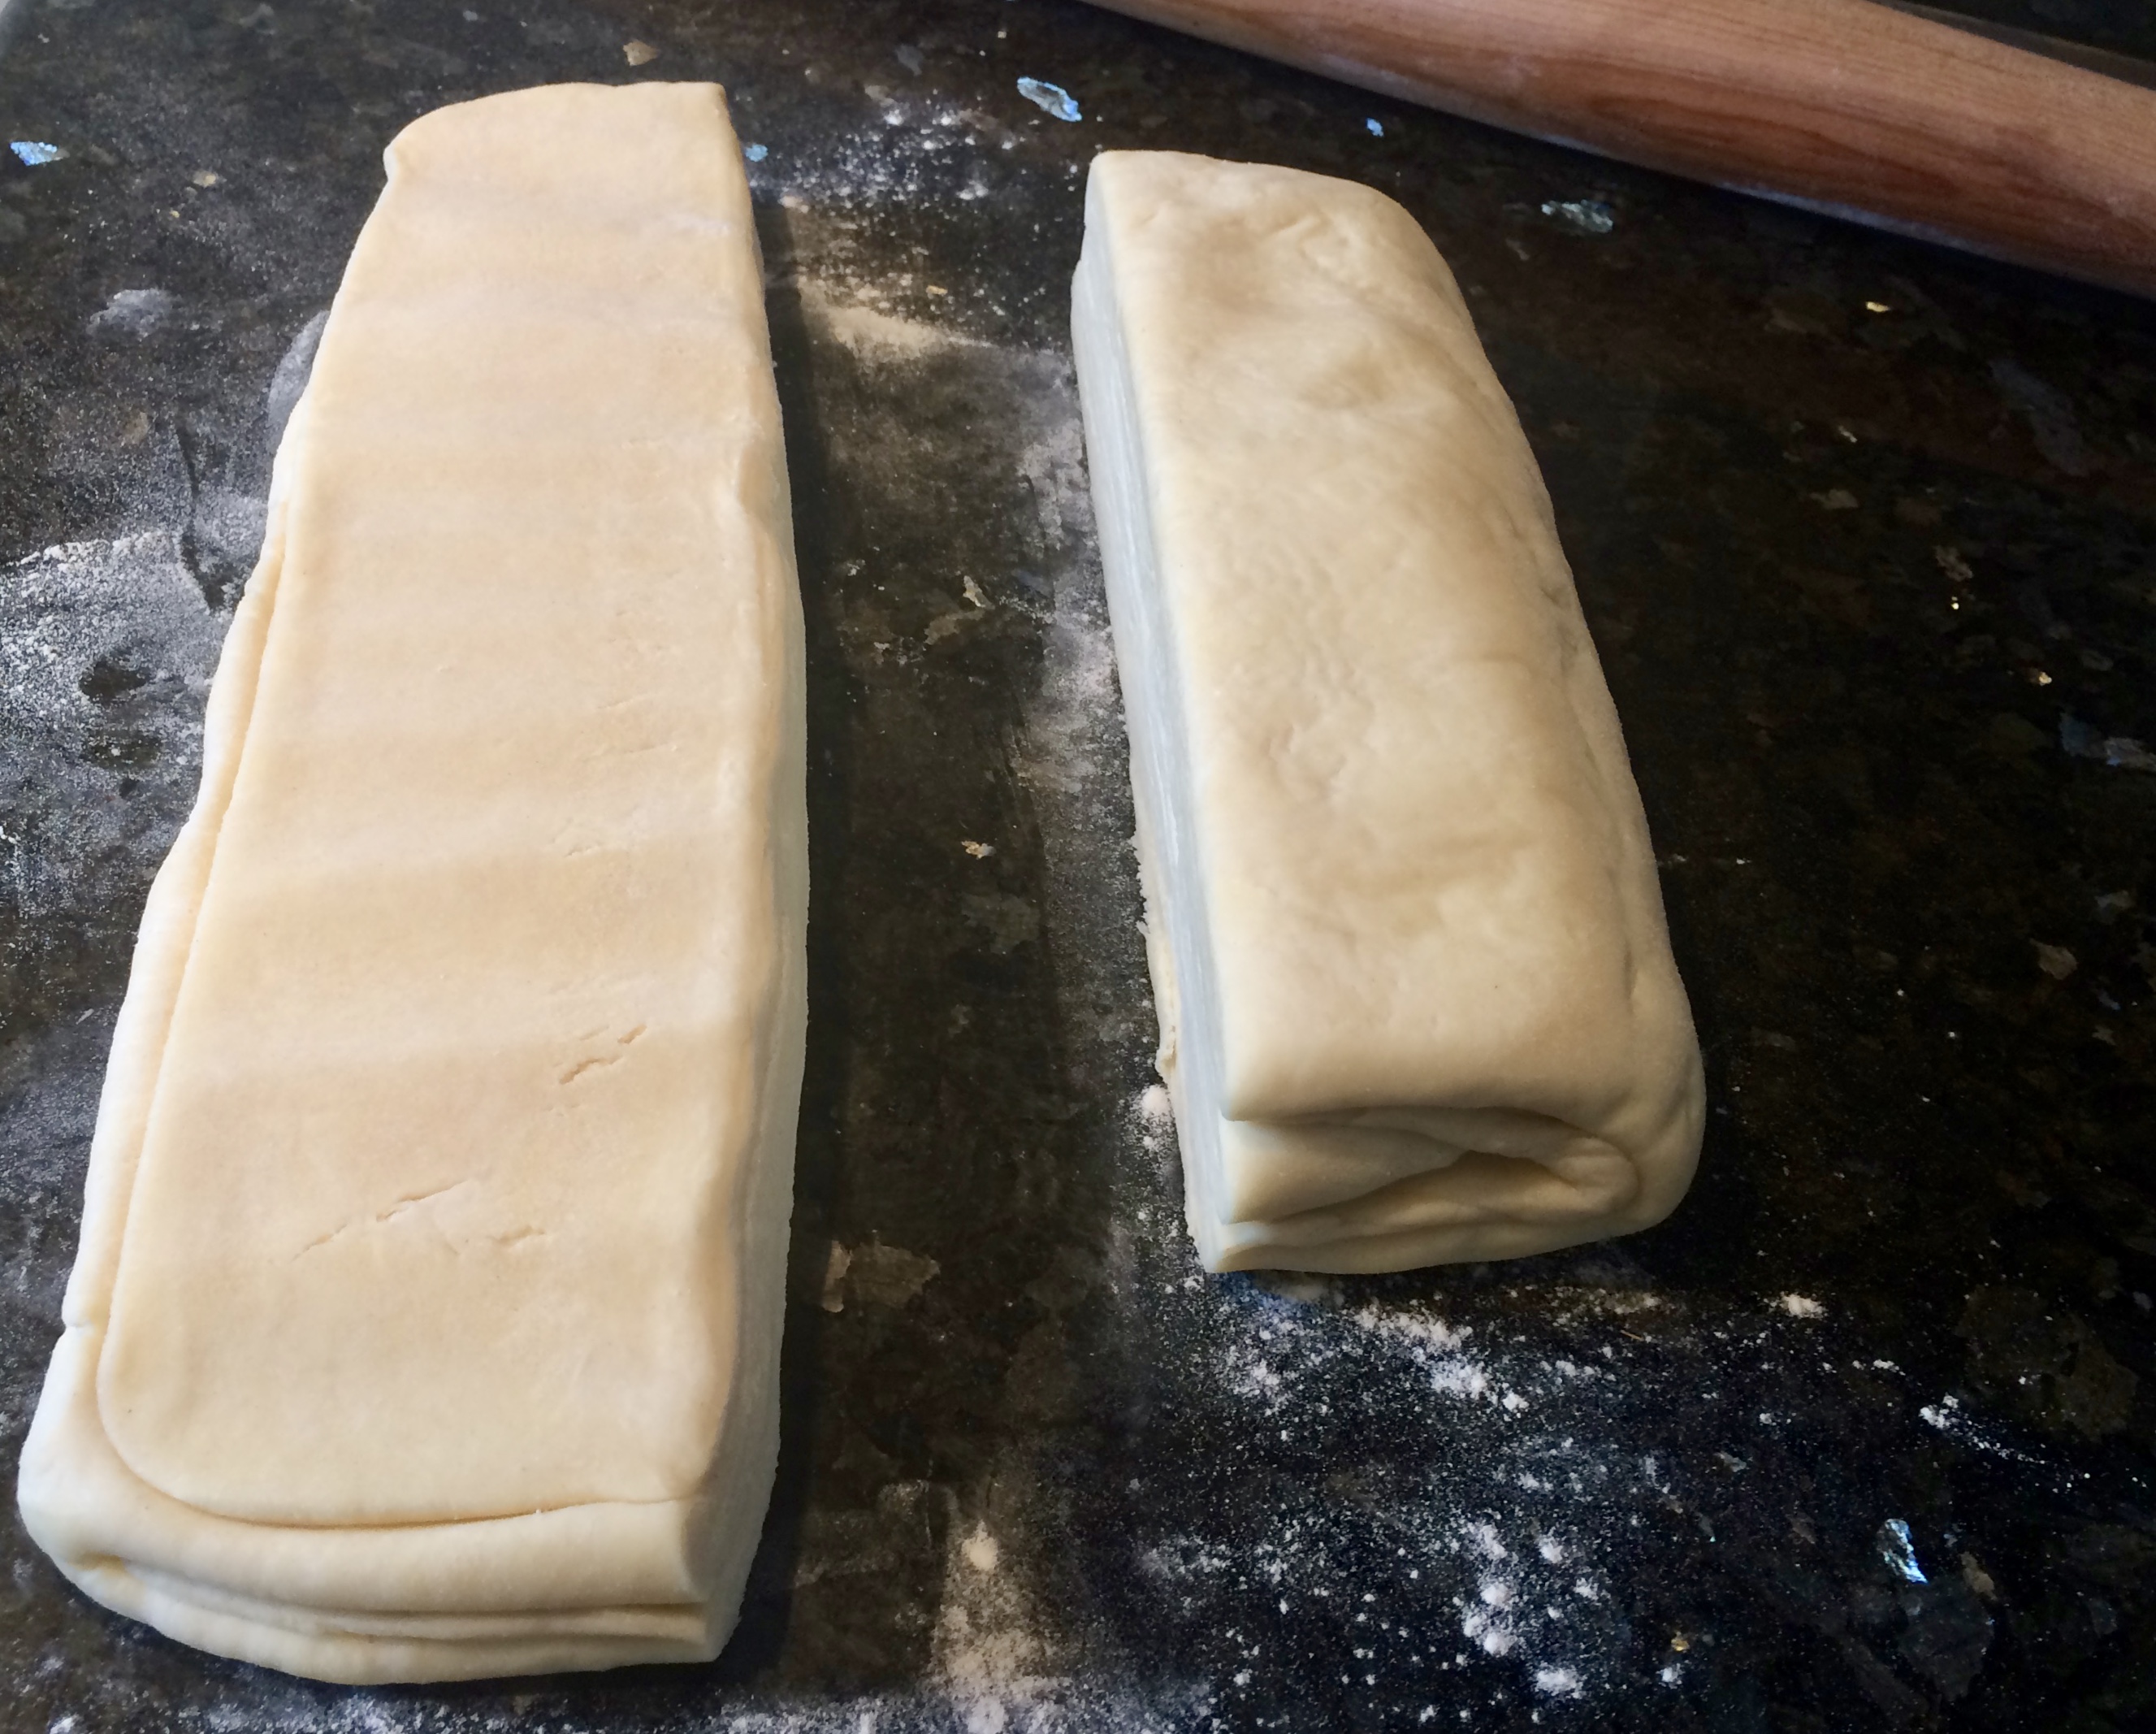
I have a small space so I like to cut my dough to make it a more manageable size. If you have tons of space you can skip that and just start rolling.
Once again, I use the rolling pin to gently flatten the cold dough to a more manageable thickness for rolling. You’ve worked very hard to get nice layers of butter and dough so don’t be too rough!
Roll the dough to approximately 30″ by 6″.
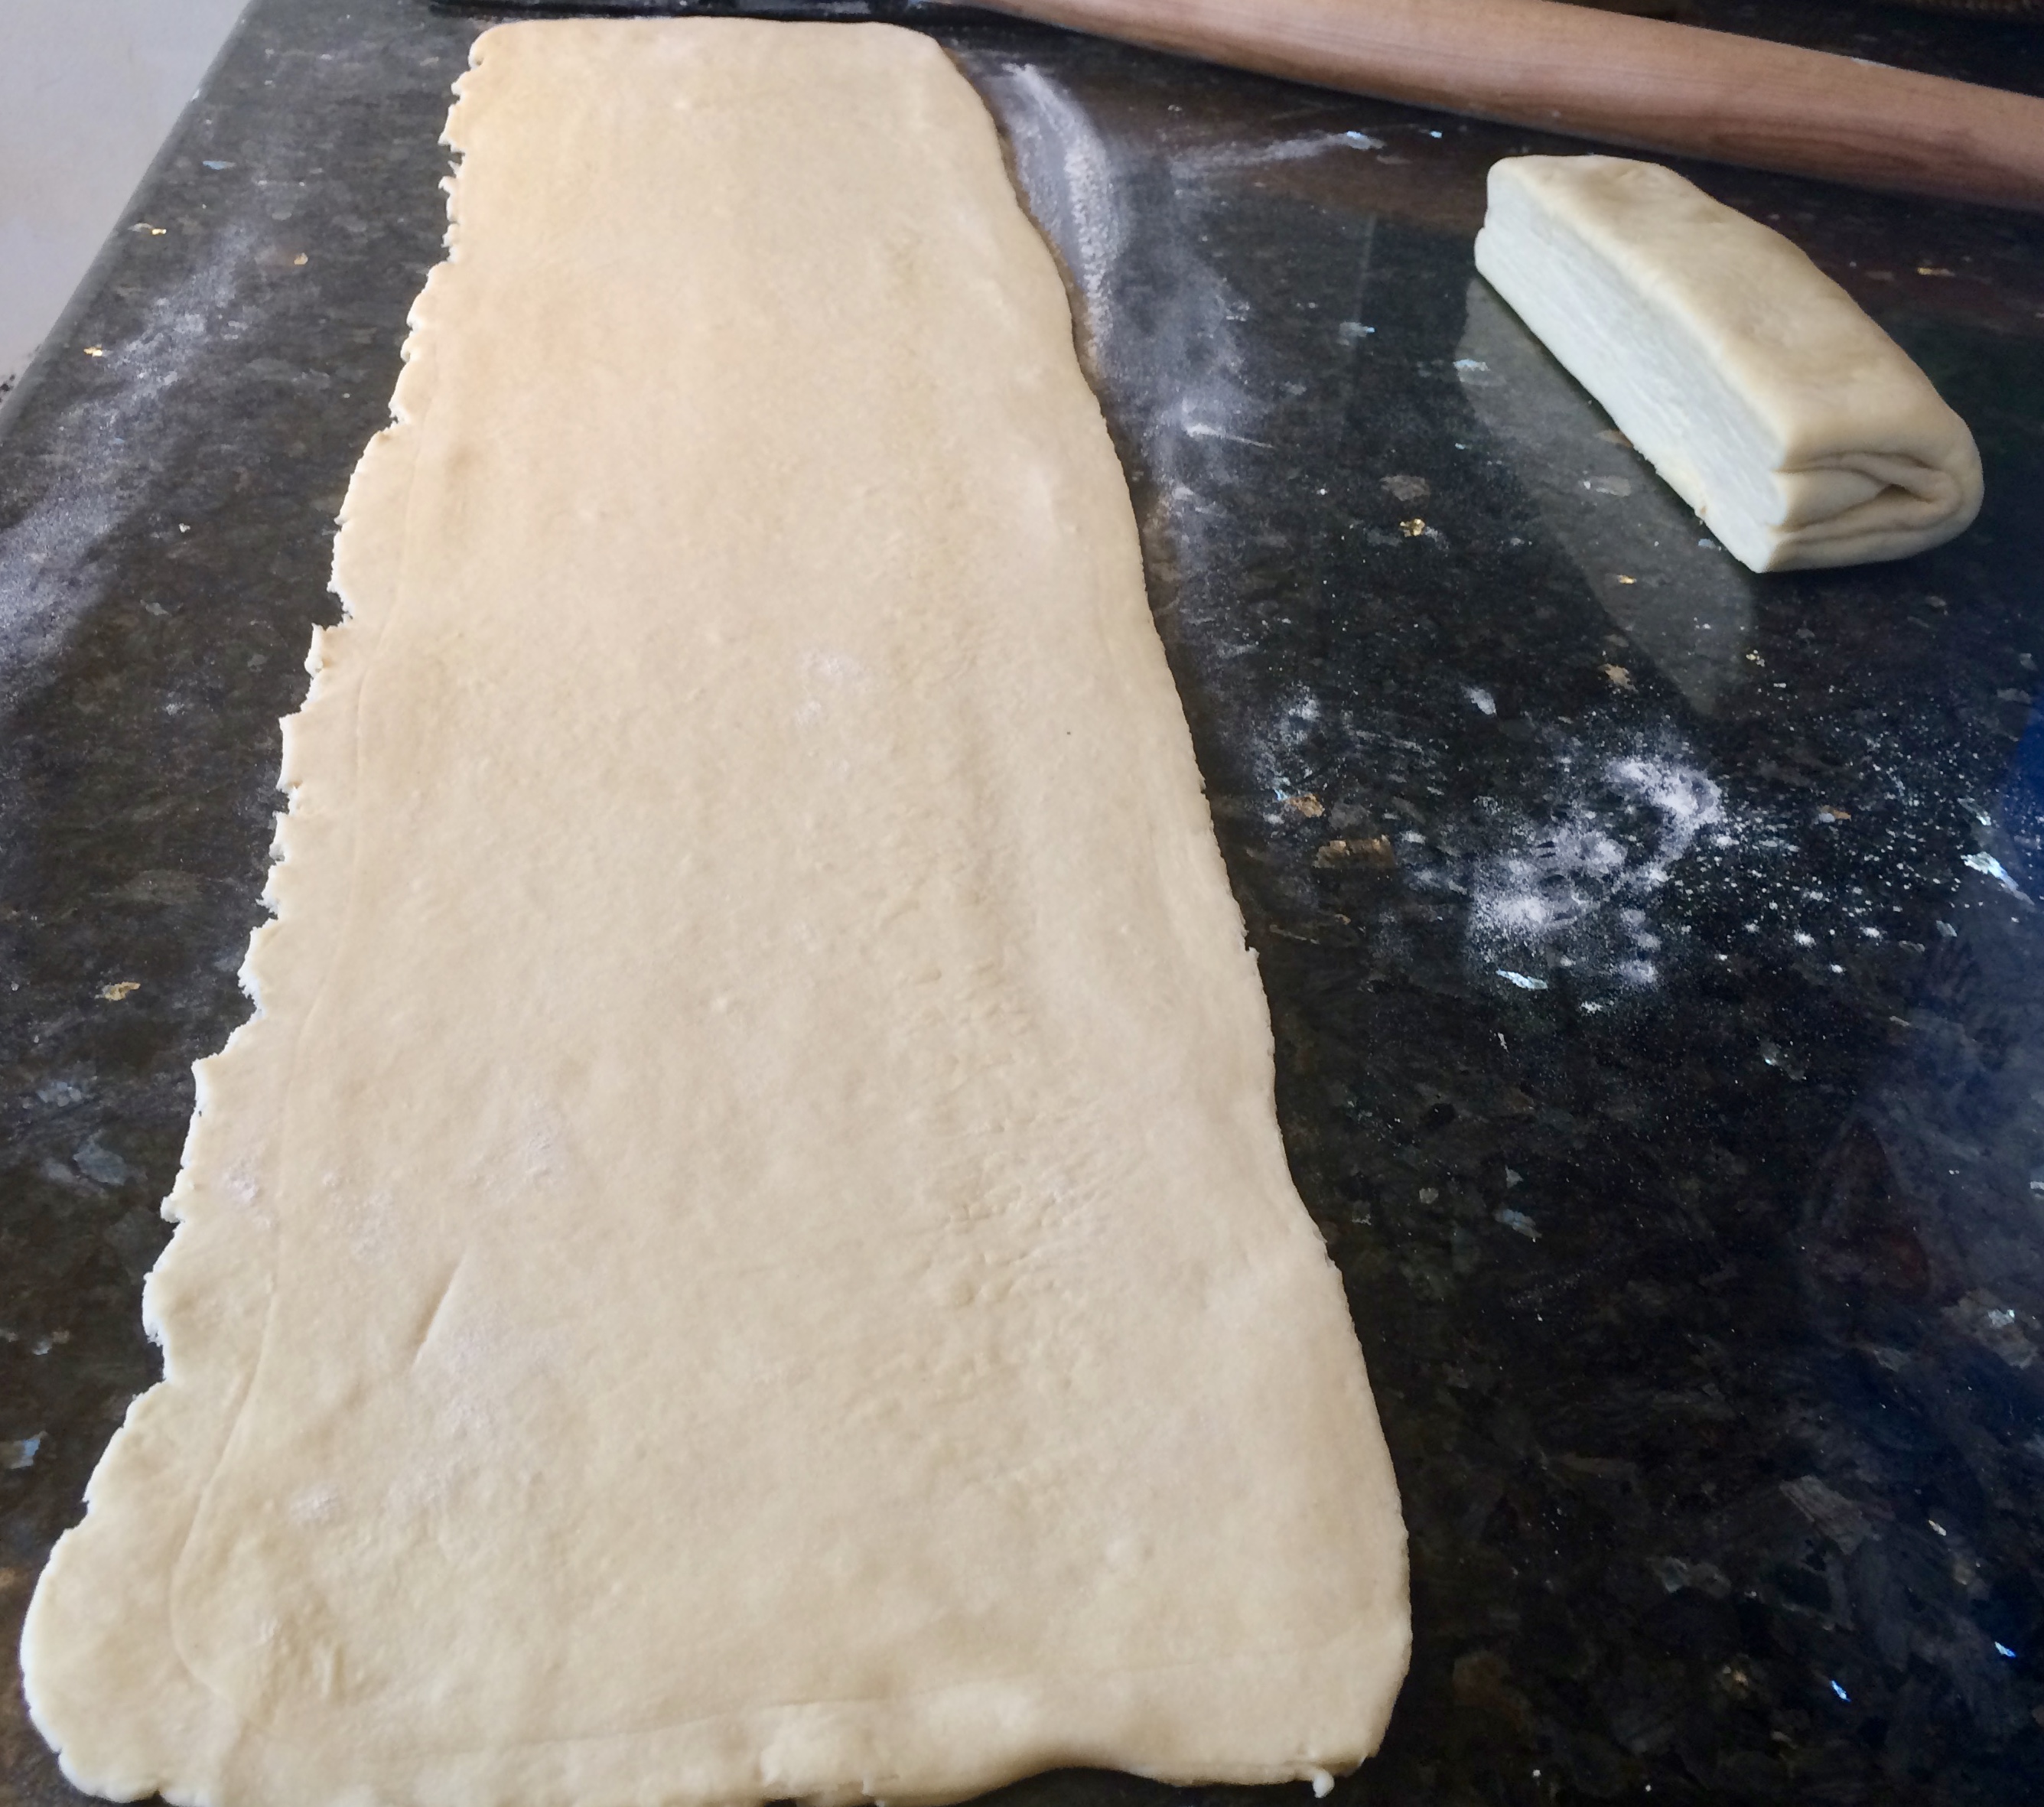
Be sure when you are rolling not to bear down so hard that you squeeze the butter layers out of the dough. You’ve worked hard to make all those layers so roll with care! It is very important that the dough remain cool. If the room you work in is too hot then the butter will soften and will work itself into the dough rather than staying as a distinct layer.
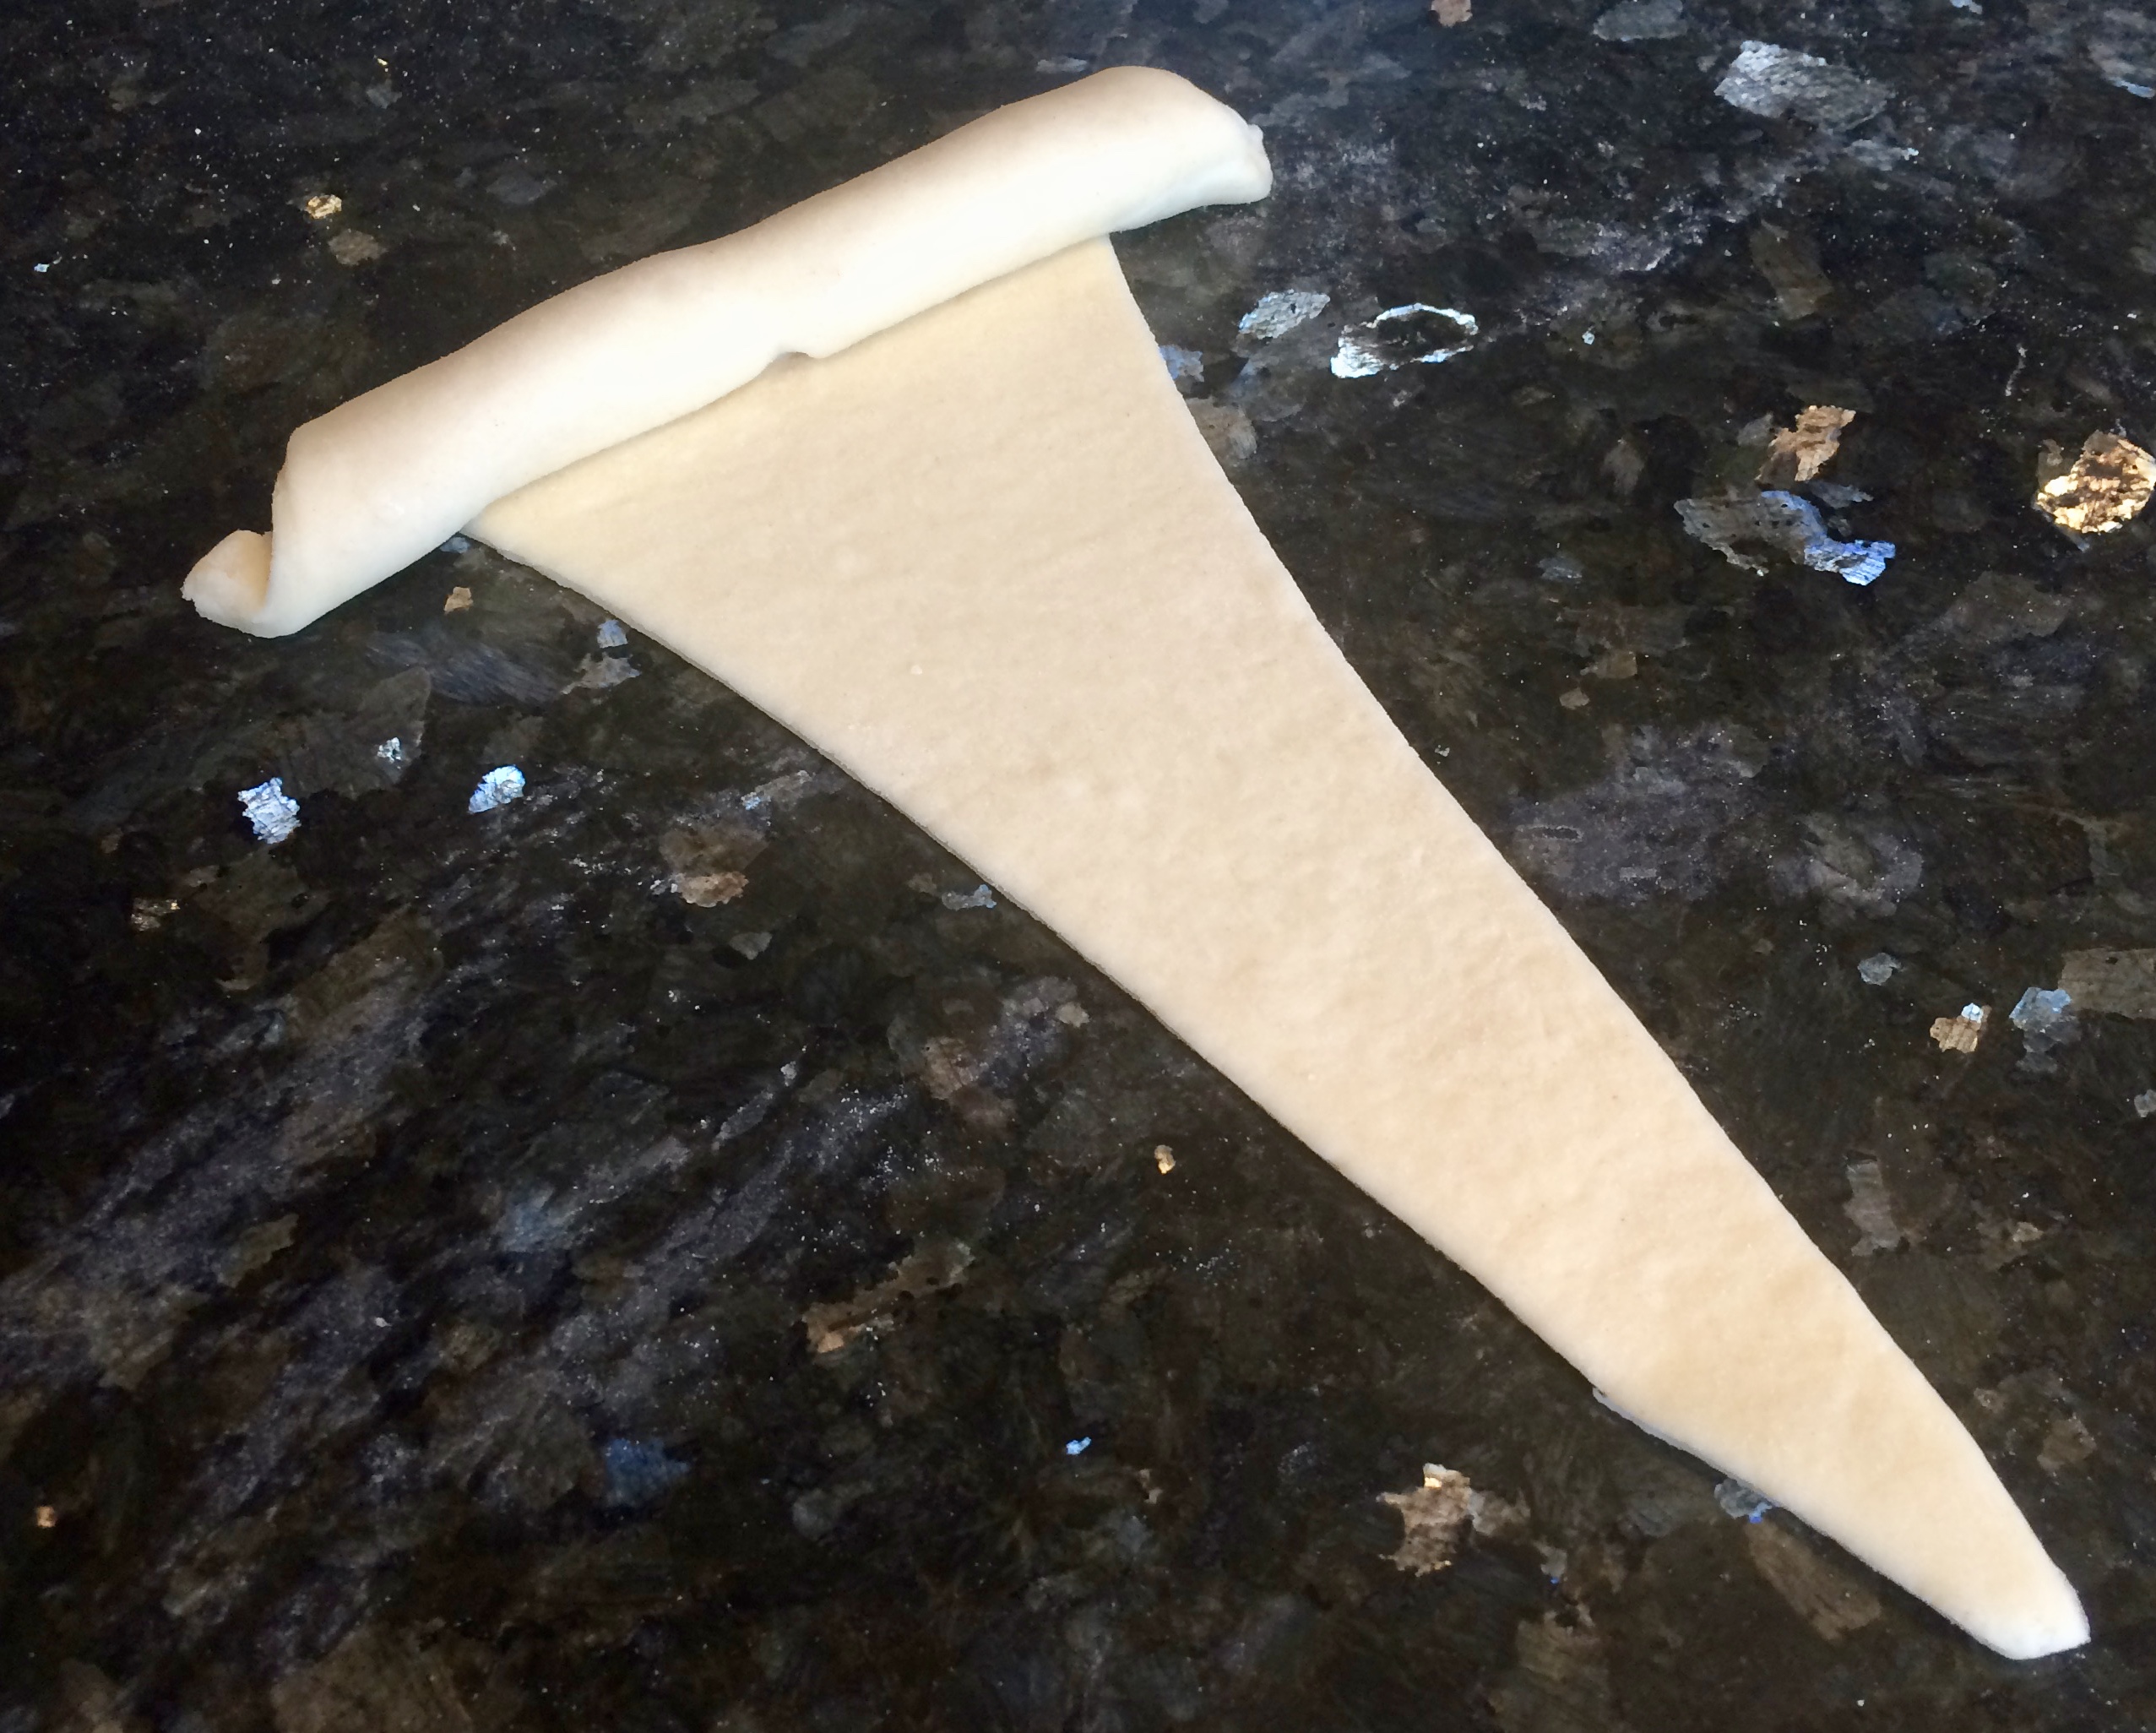
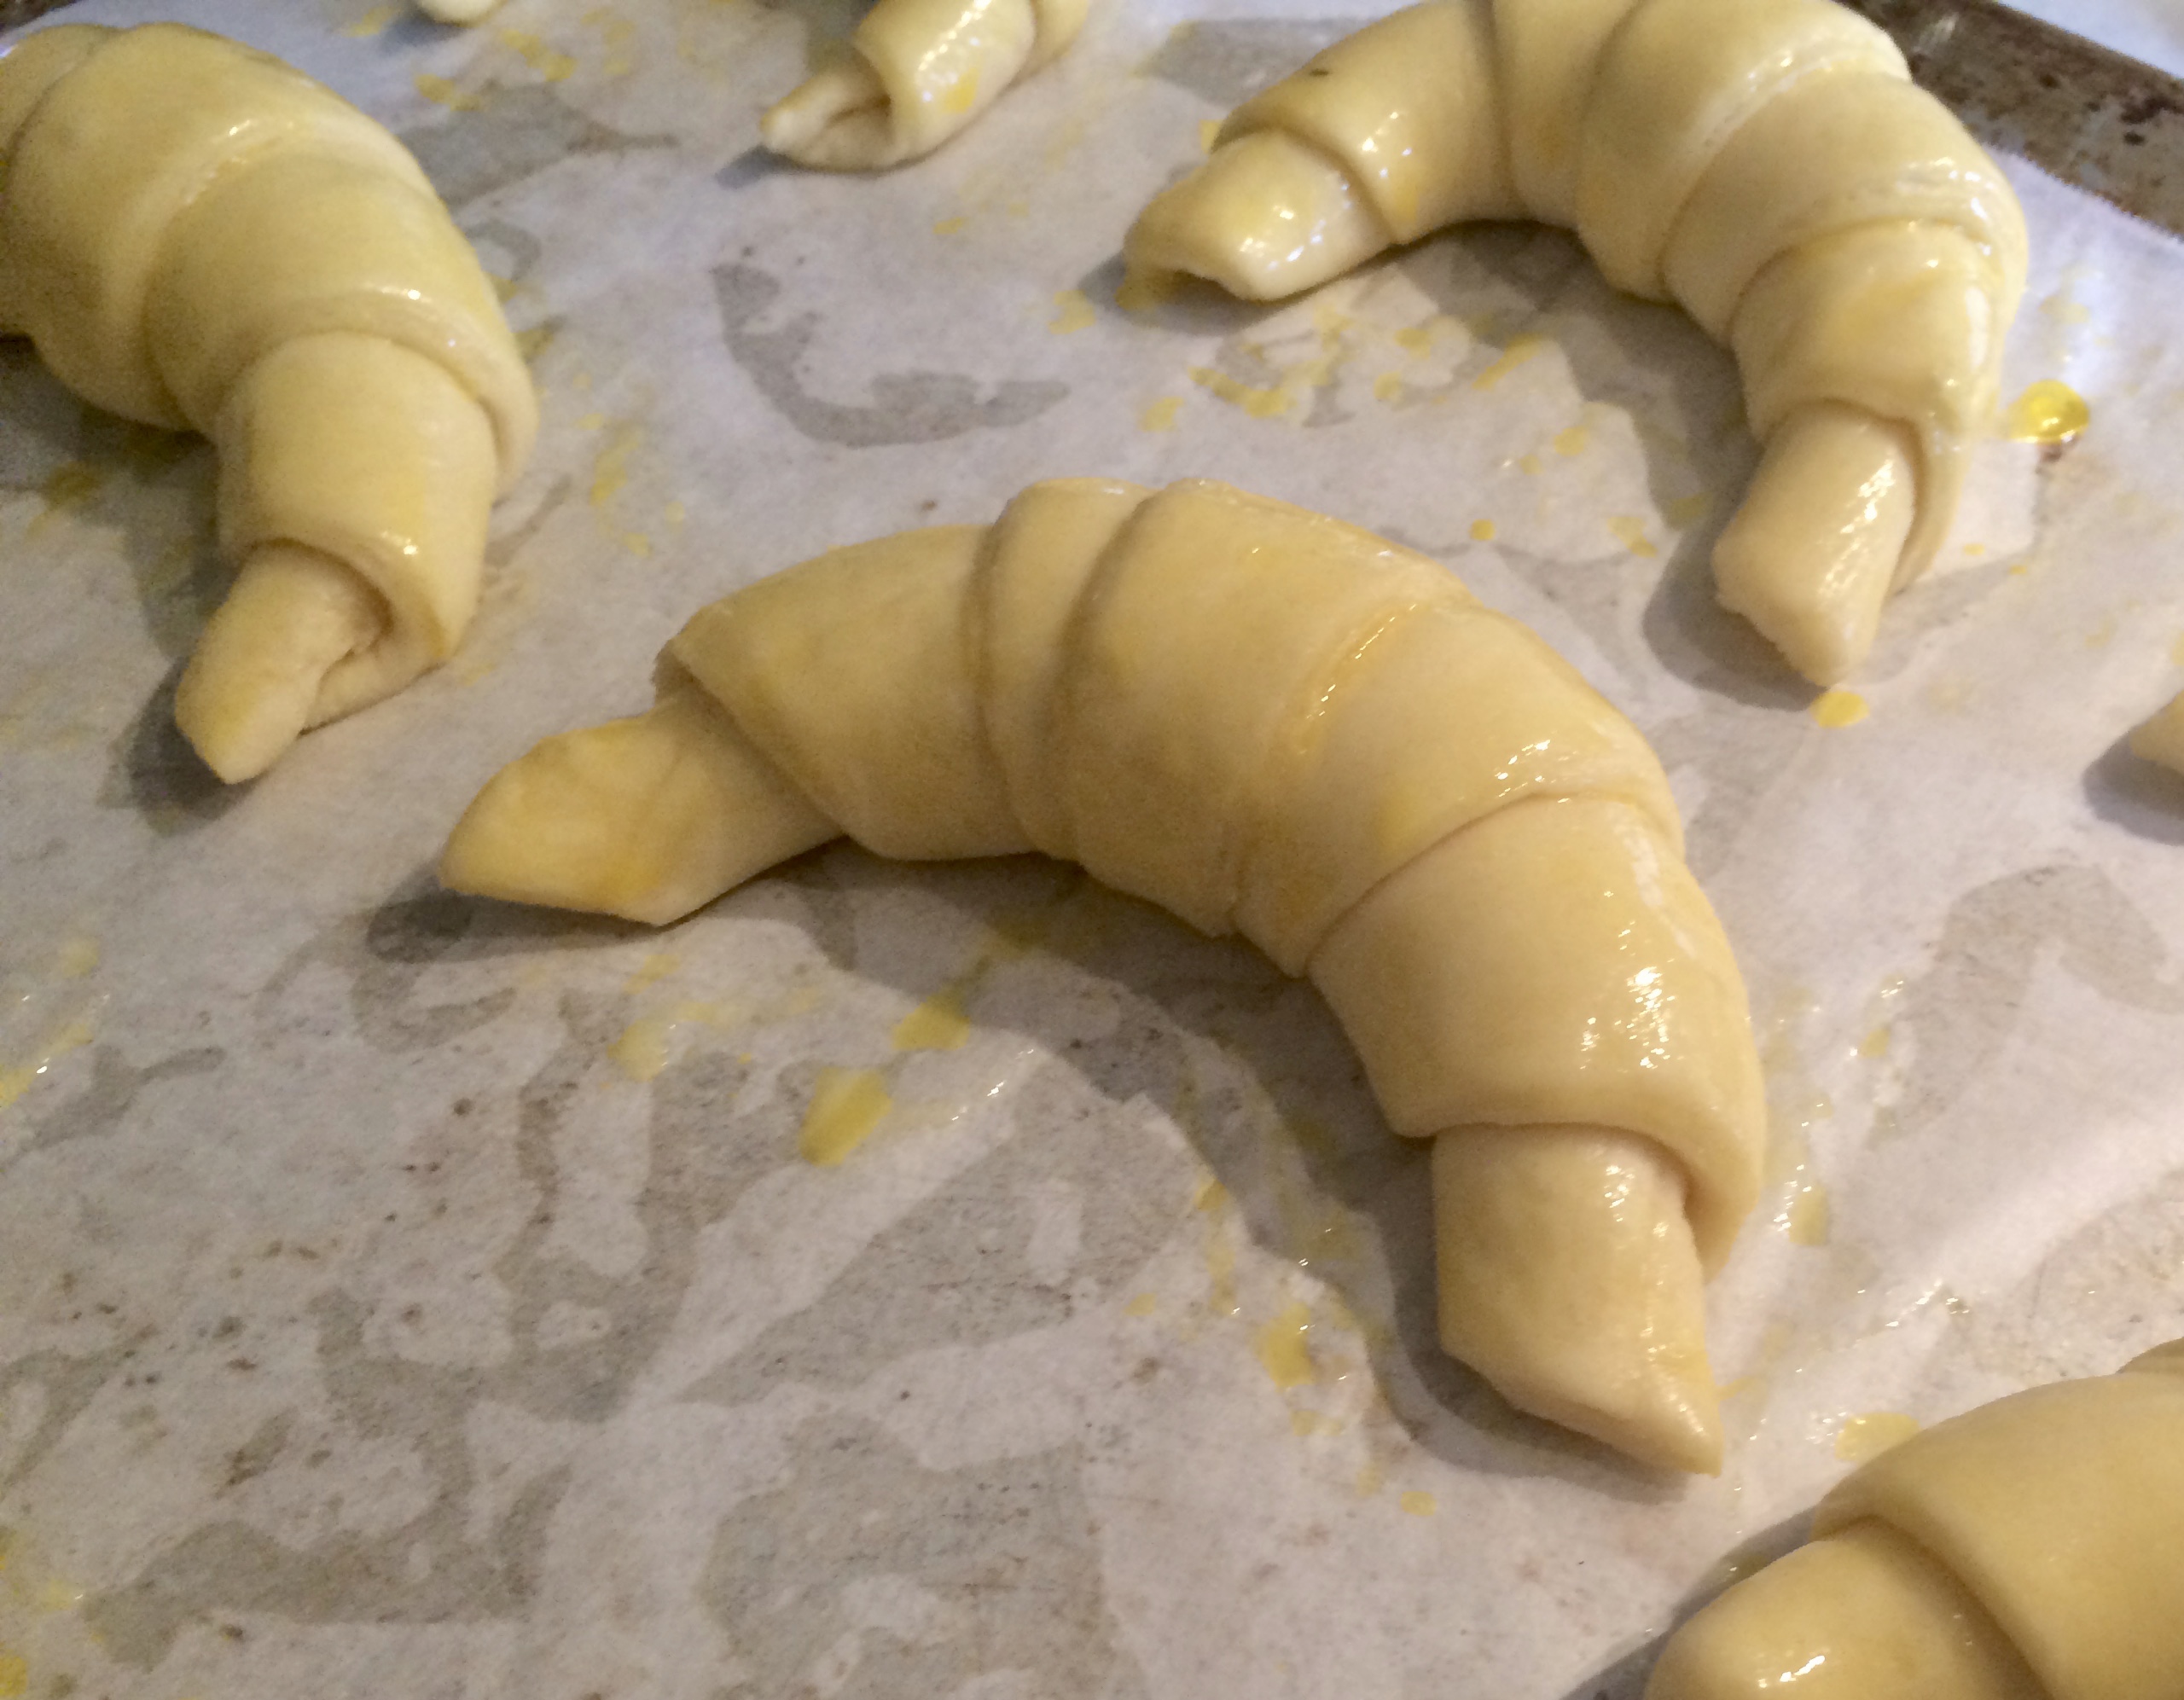
Cut the croissants into rectangles approximately 4″ on the wide end.
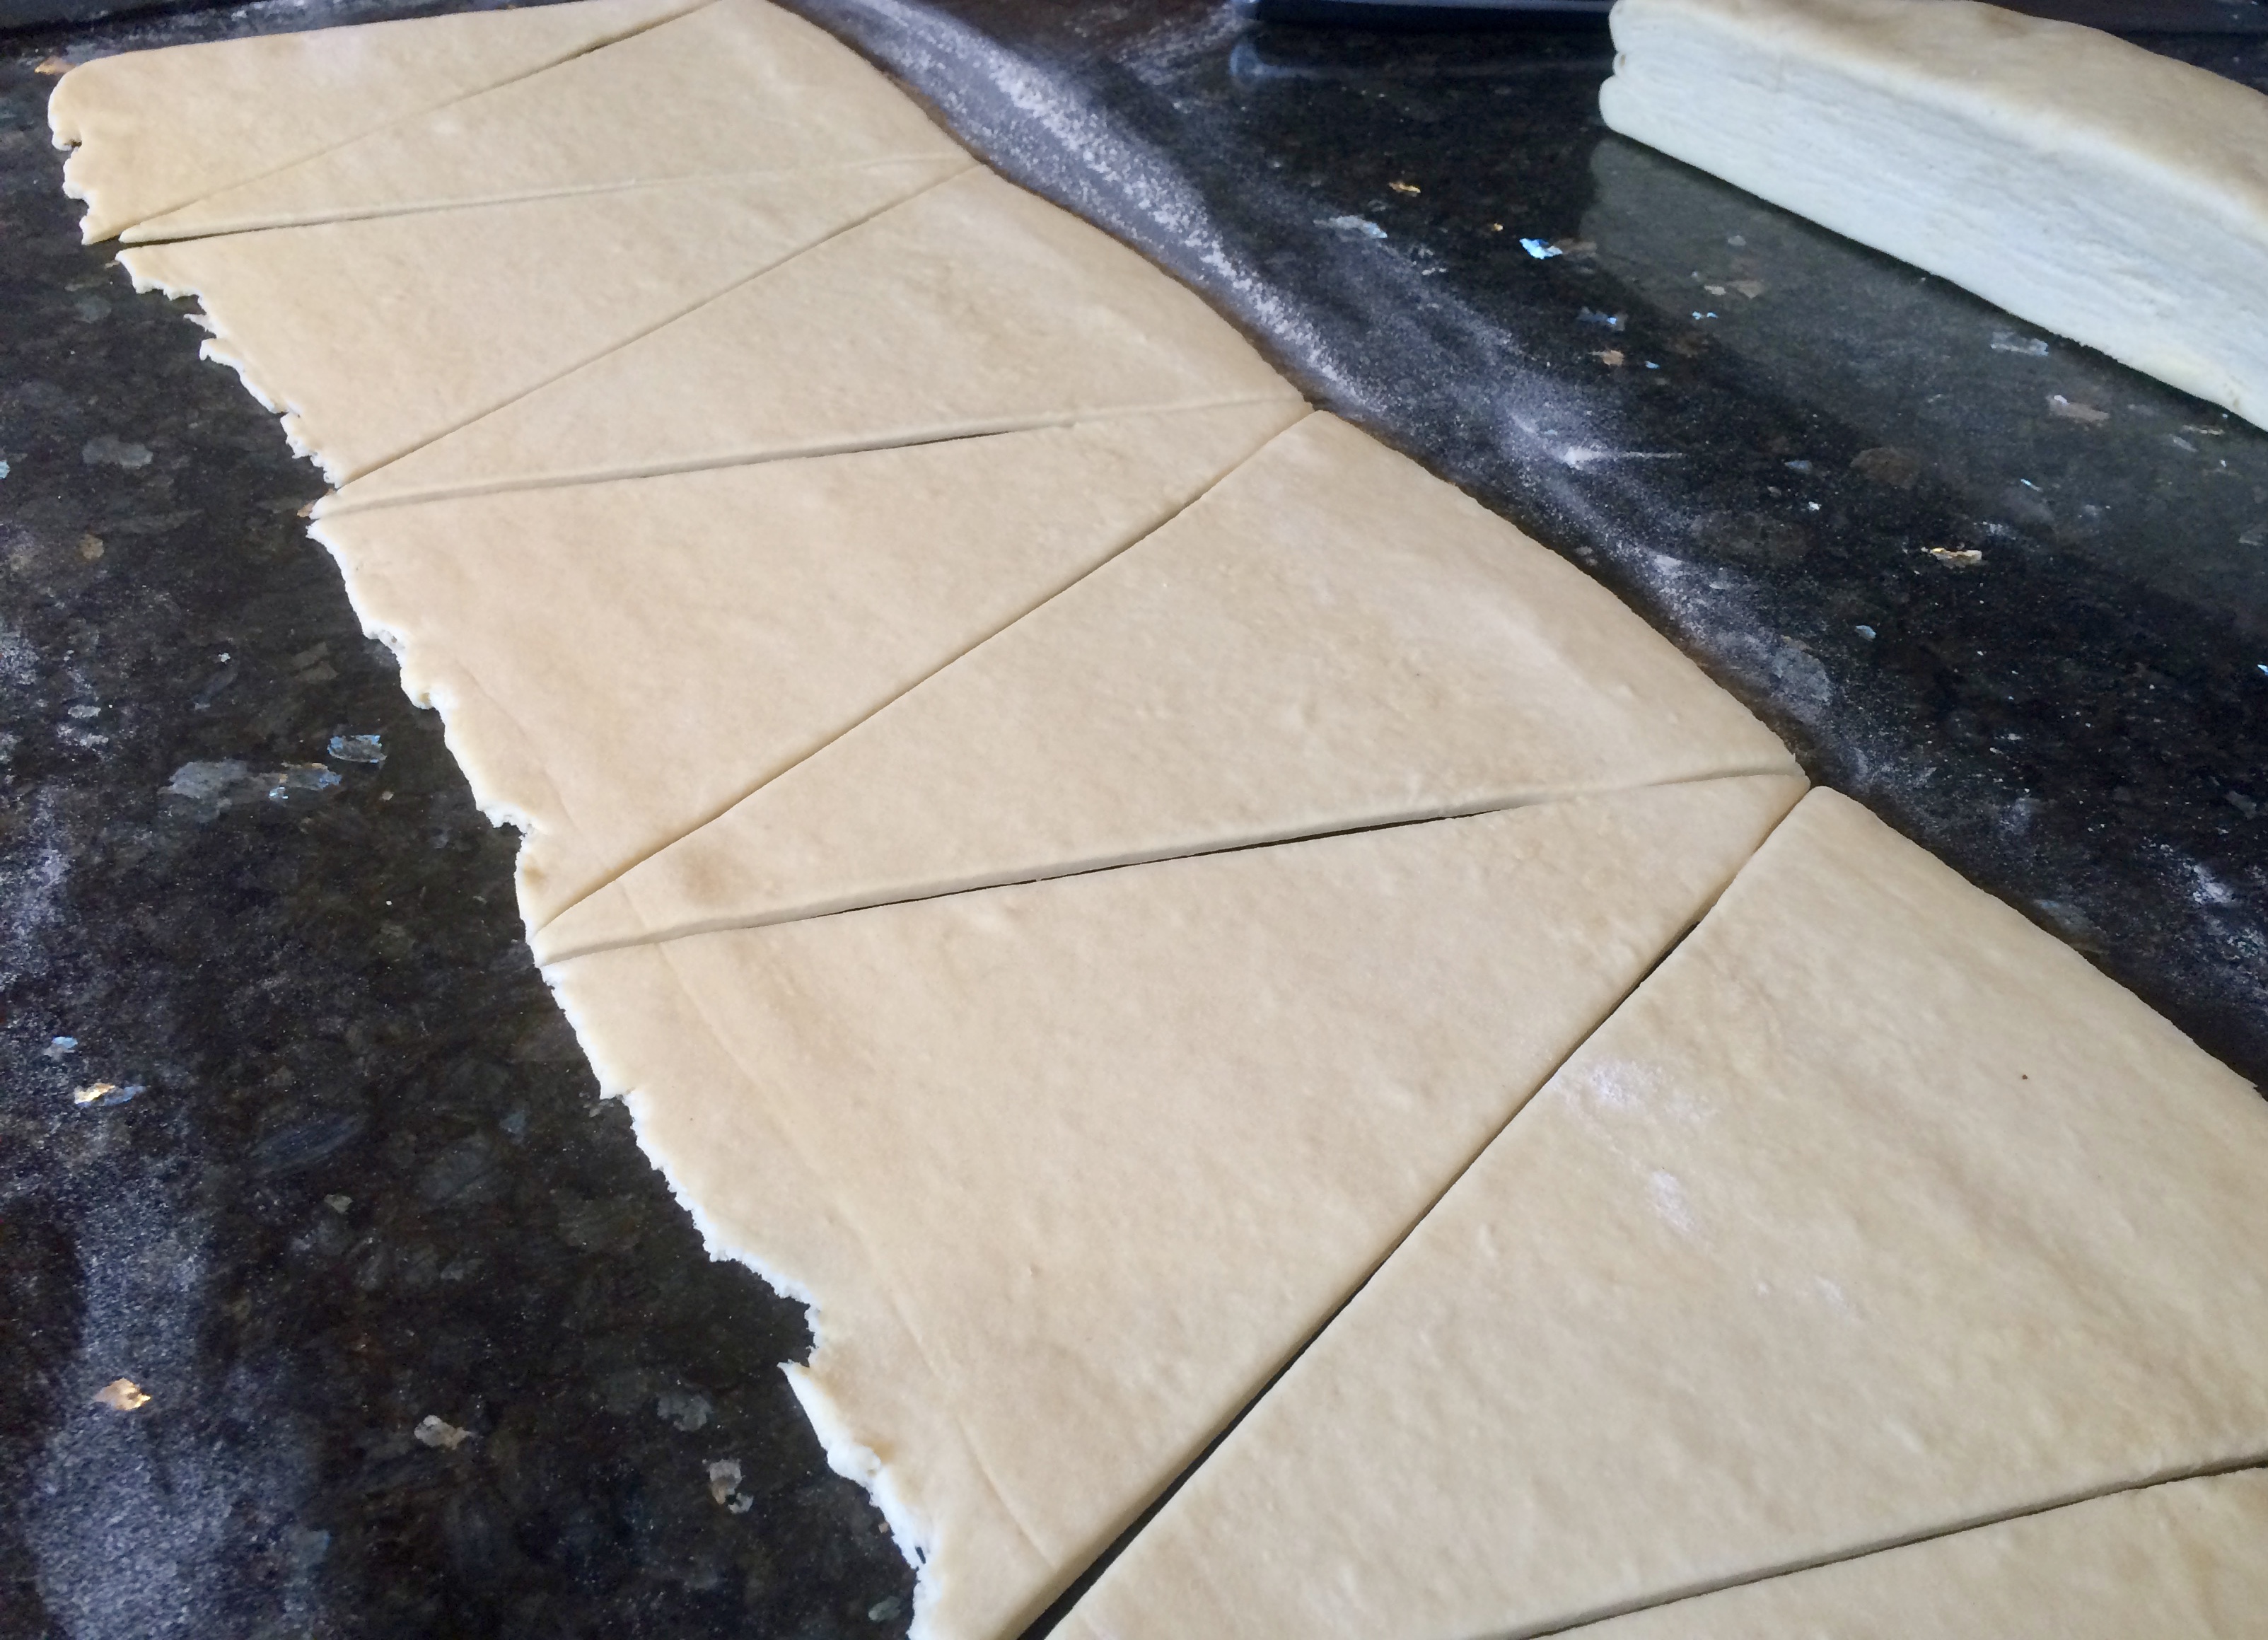
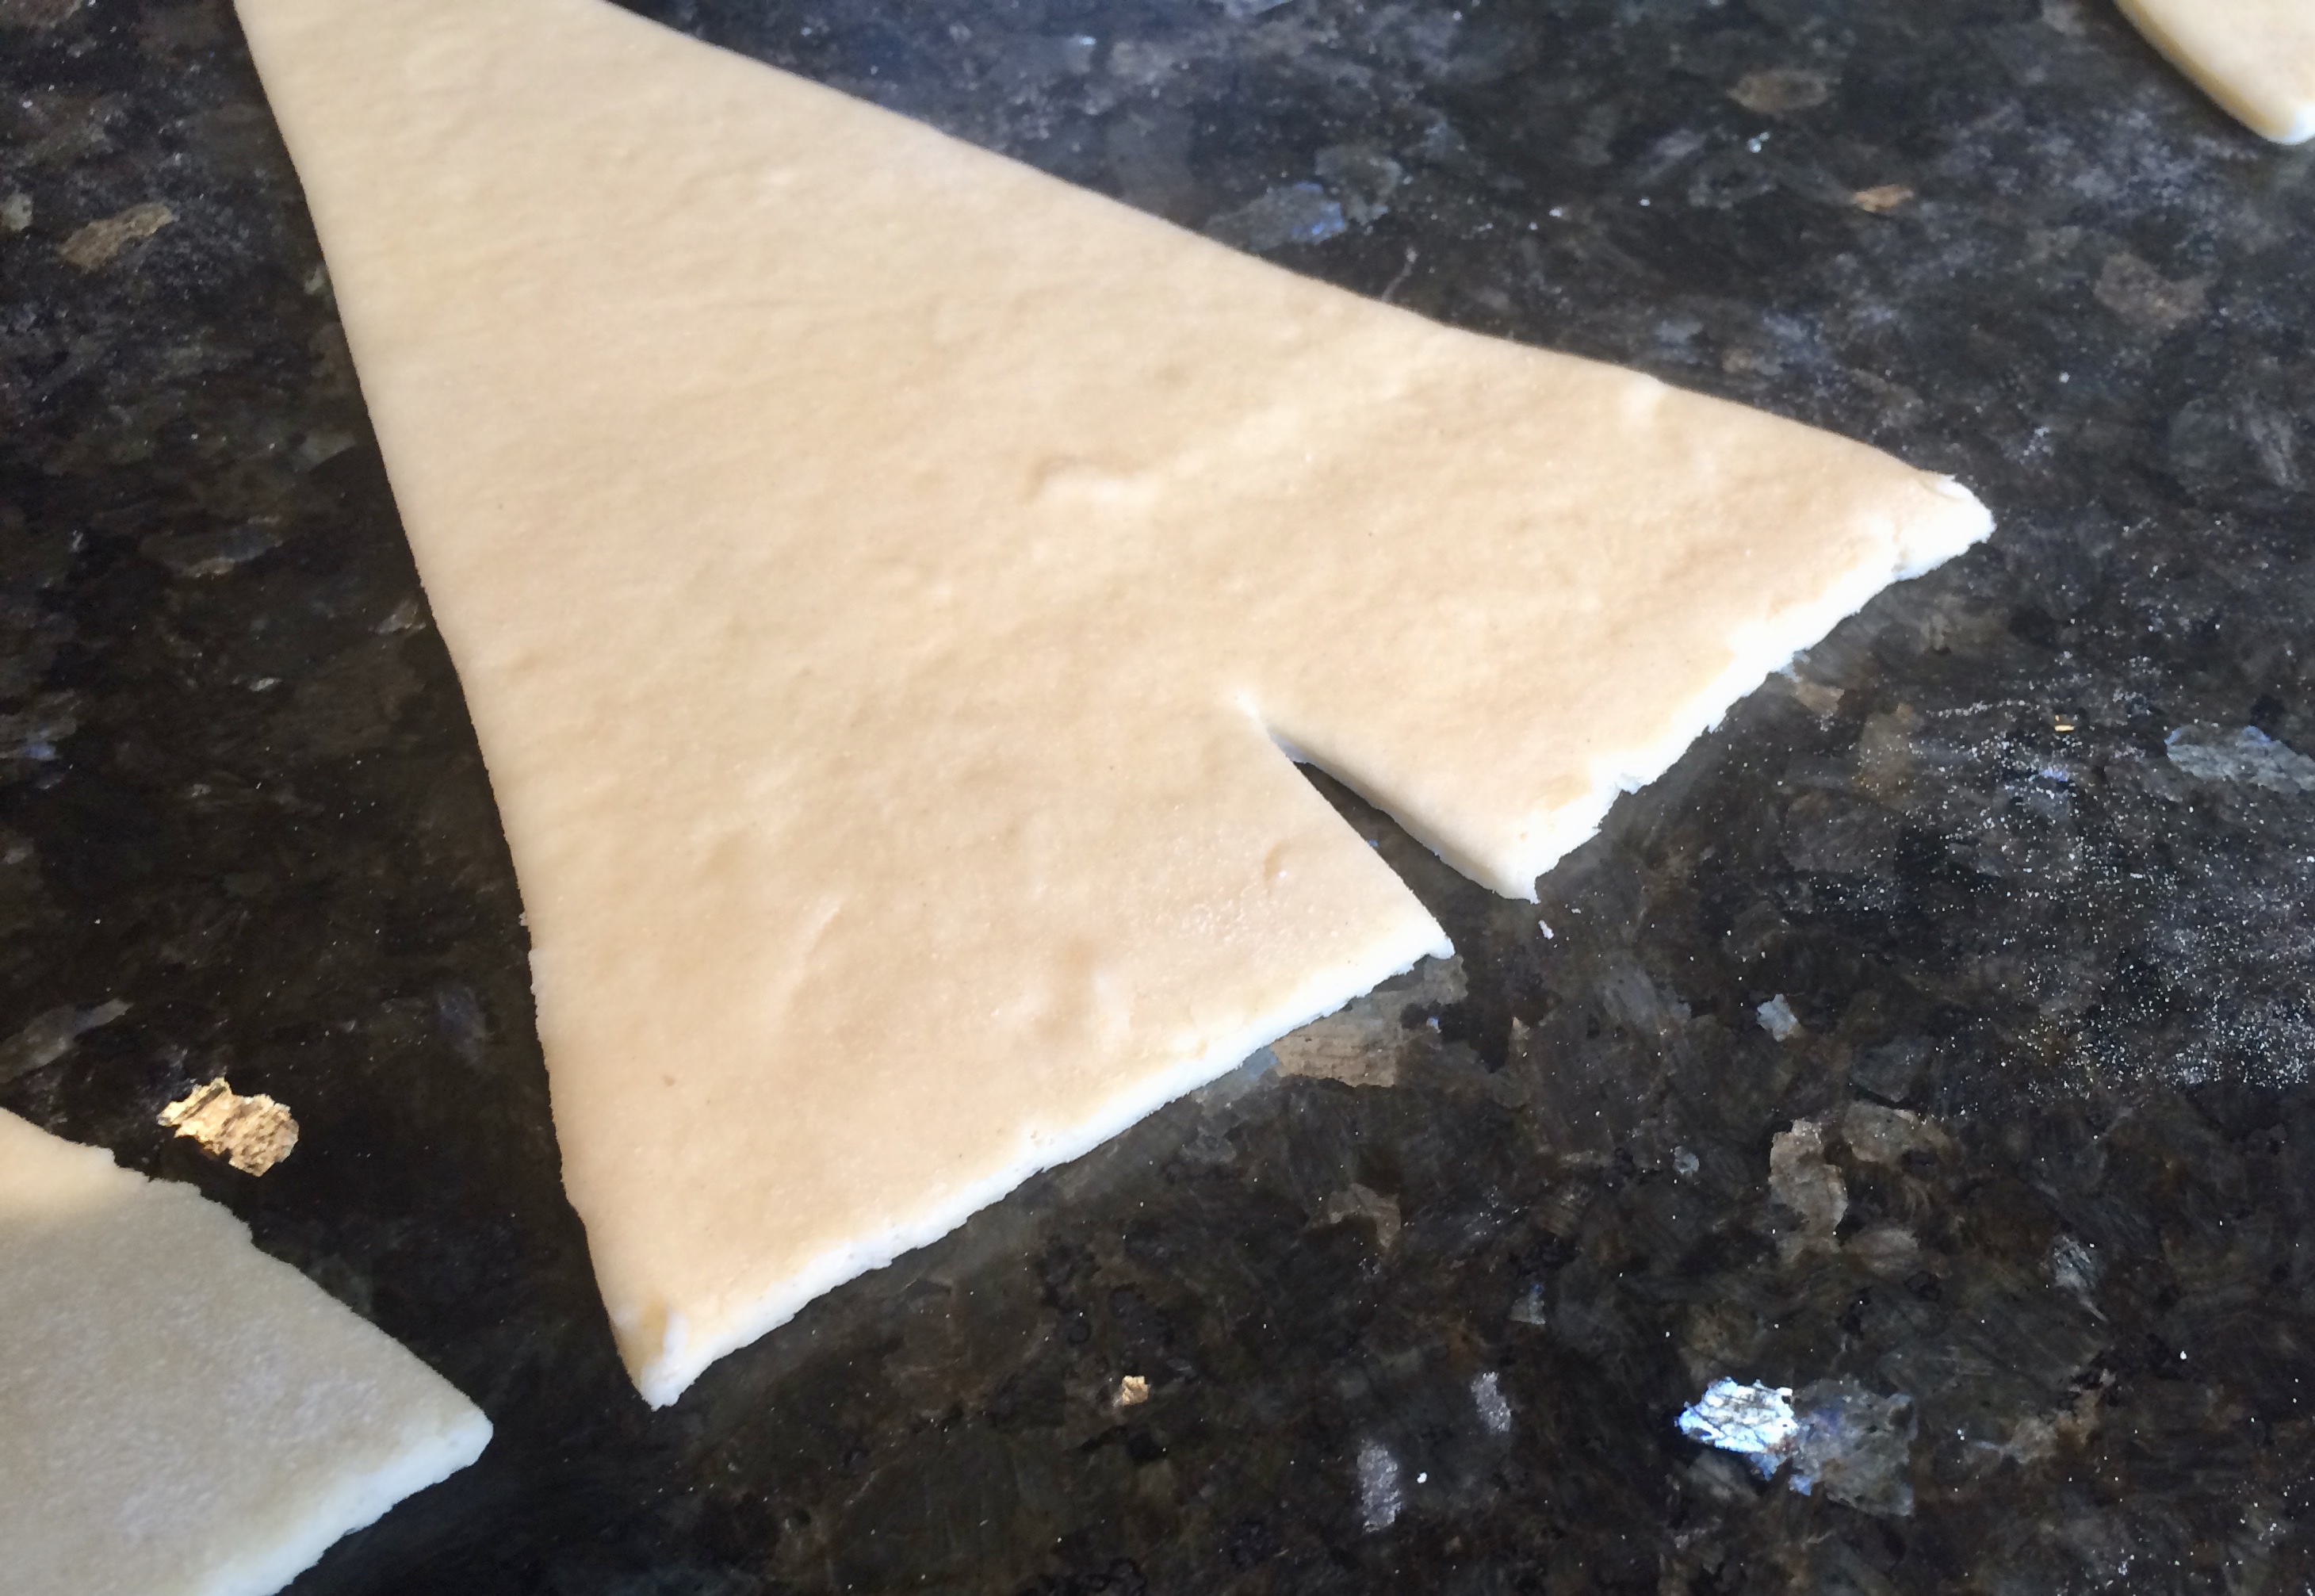
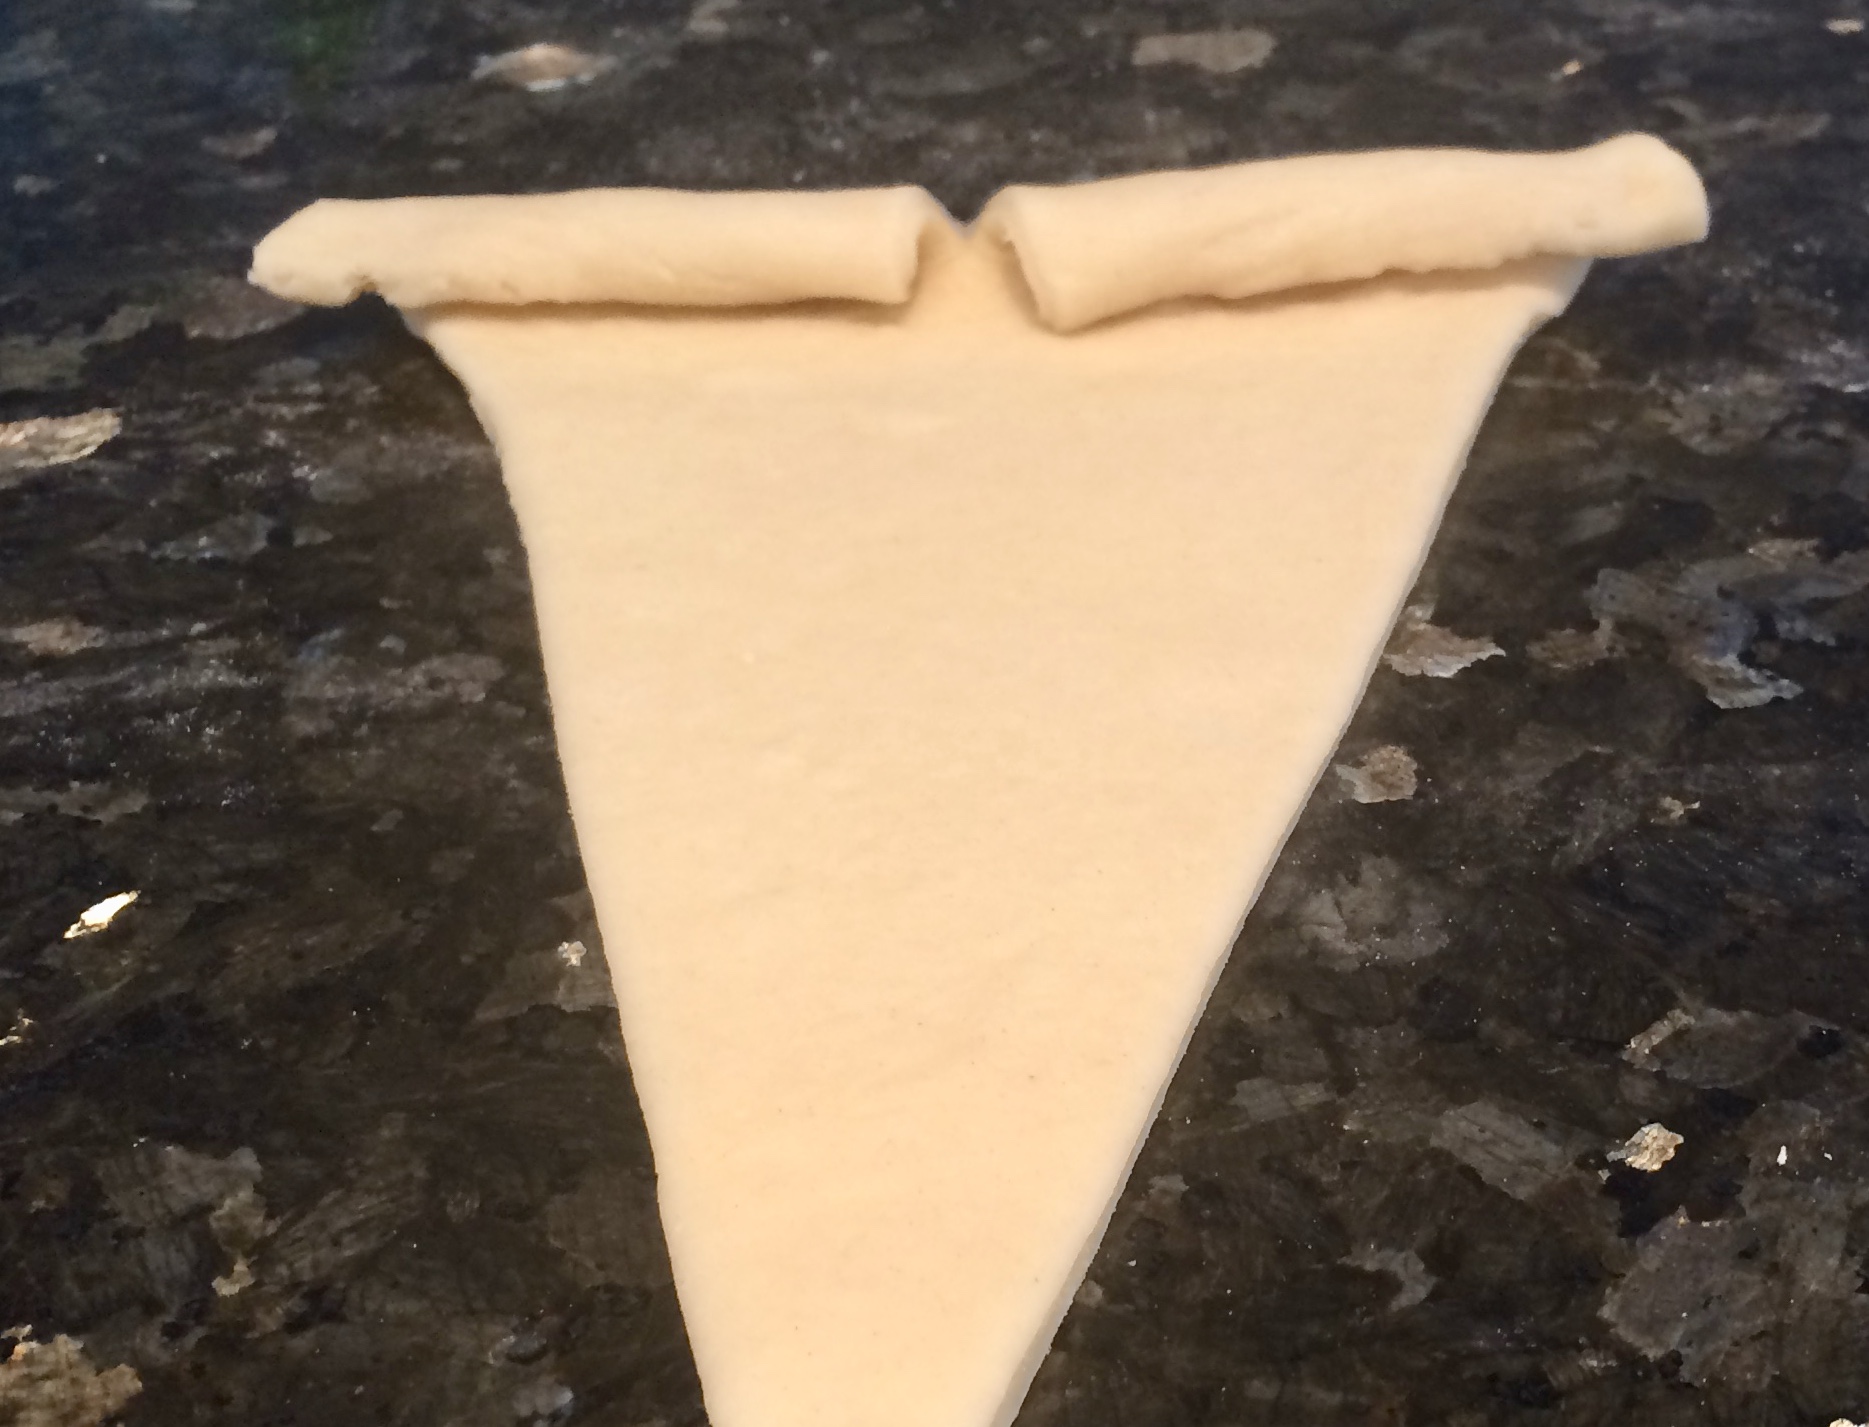
Cut a 3/4″ notch in the large end of each croissant to help facilitate rolling.
Stretch the croissant gently to elongate and roll up.
Form into a crescent if desired. (I always desire.)
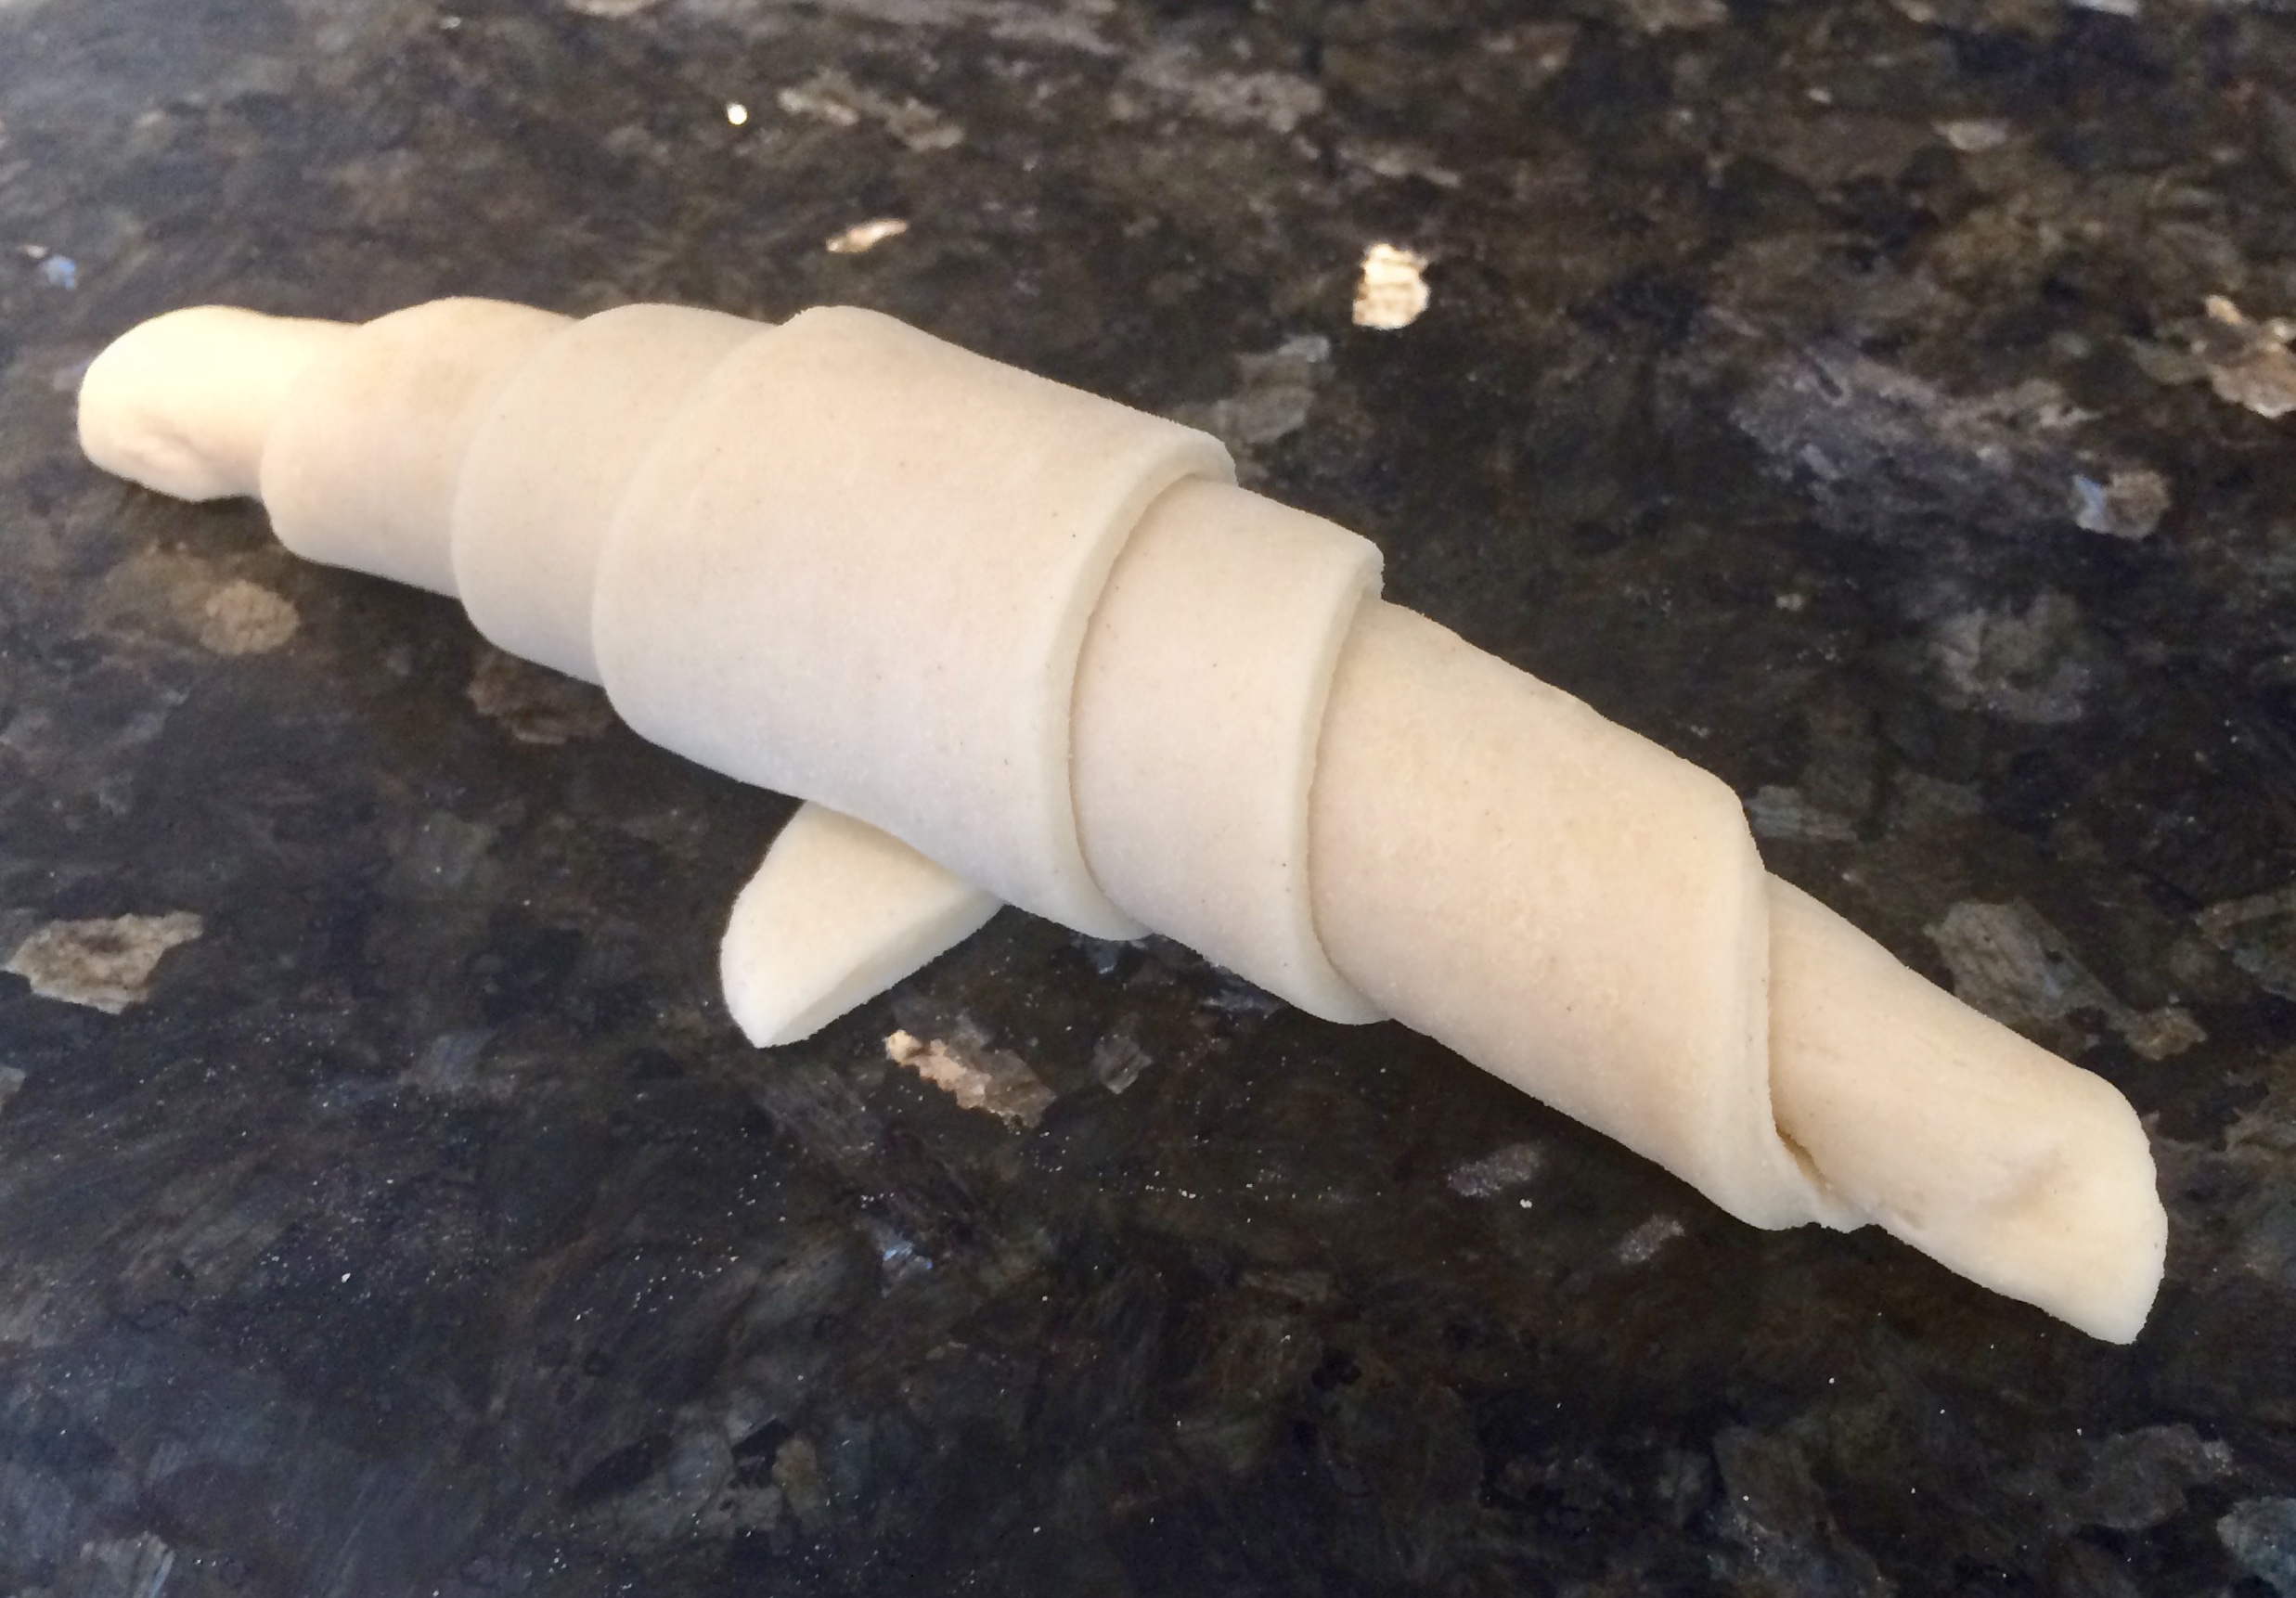
Make sure the tail of the croissant is sticking out on the back side of the croissant. This prevents the croissant from unrolling itself as it bakes.

Place on a parchment lined baking sheet and brush with egg wash (equal parts egg yolk and heavy cream).
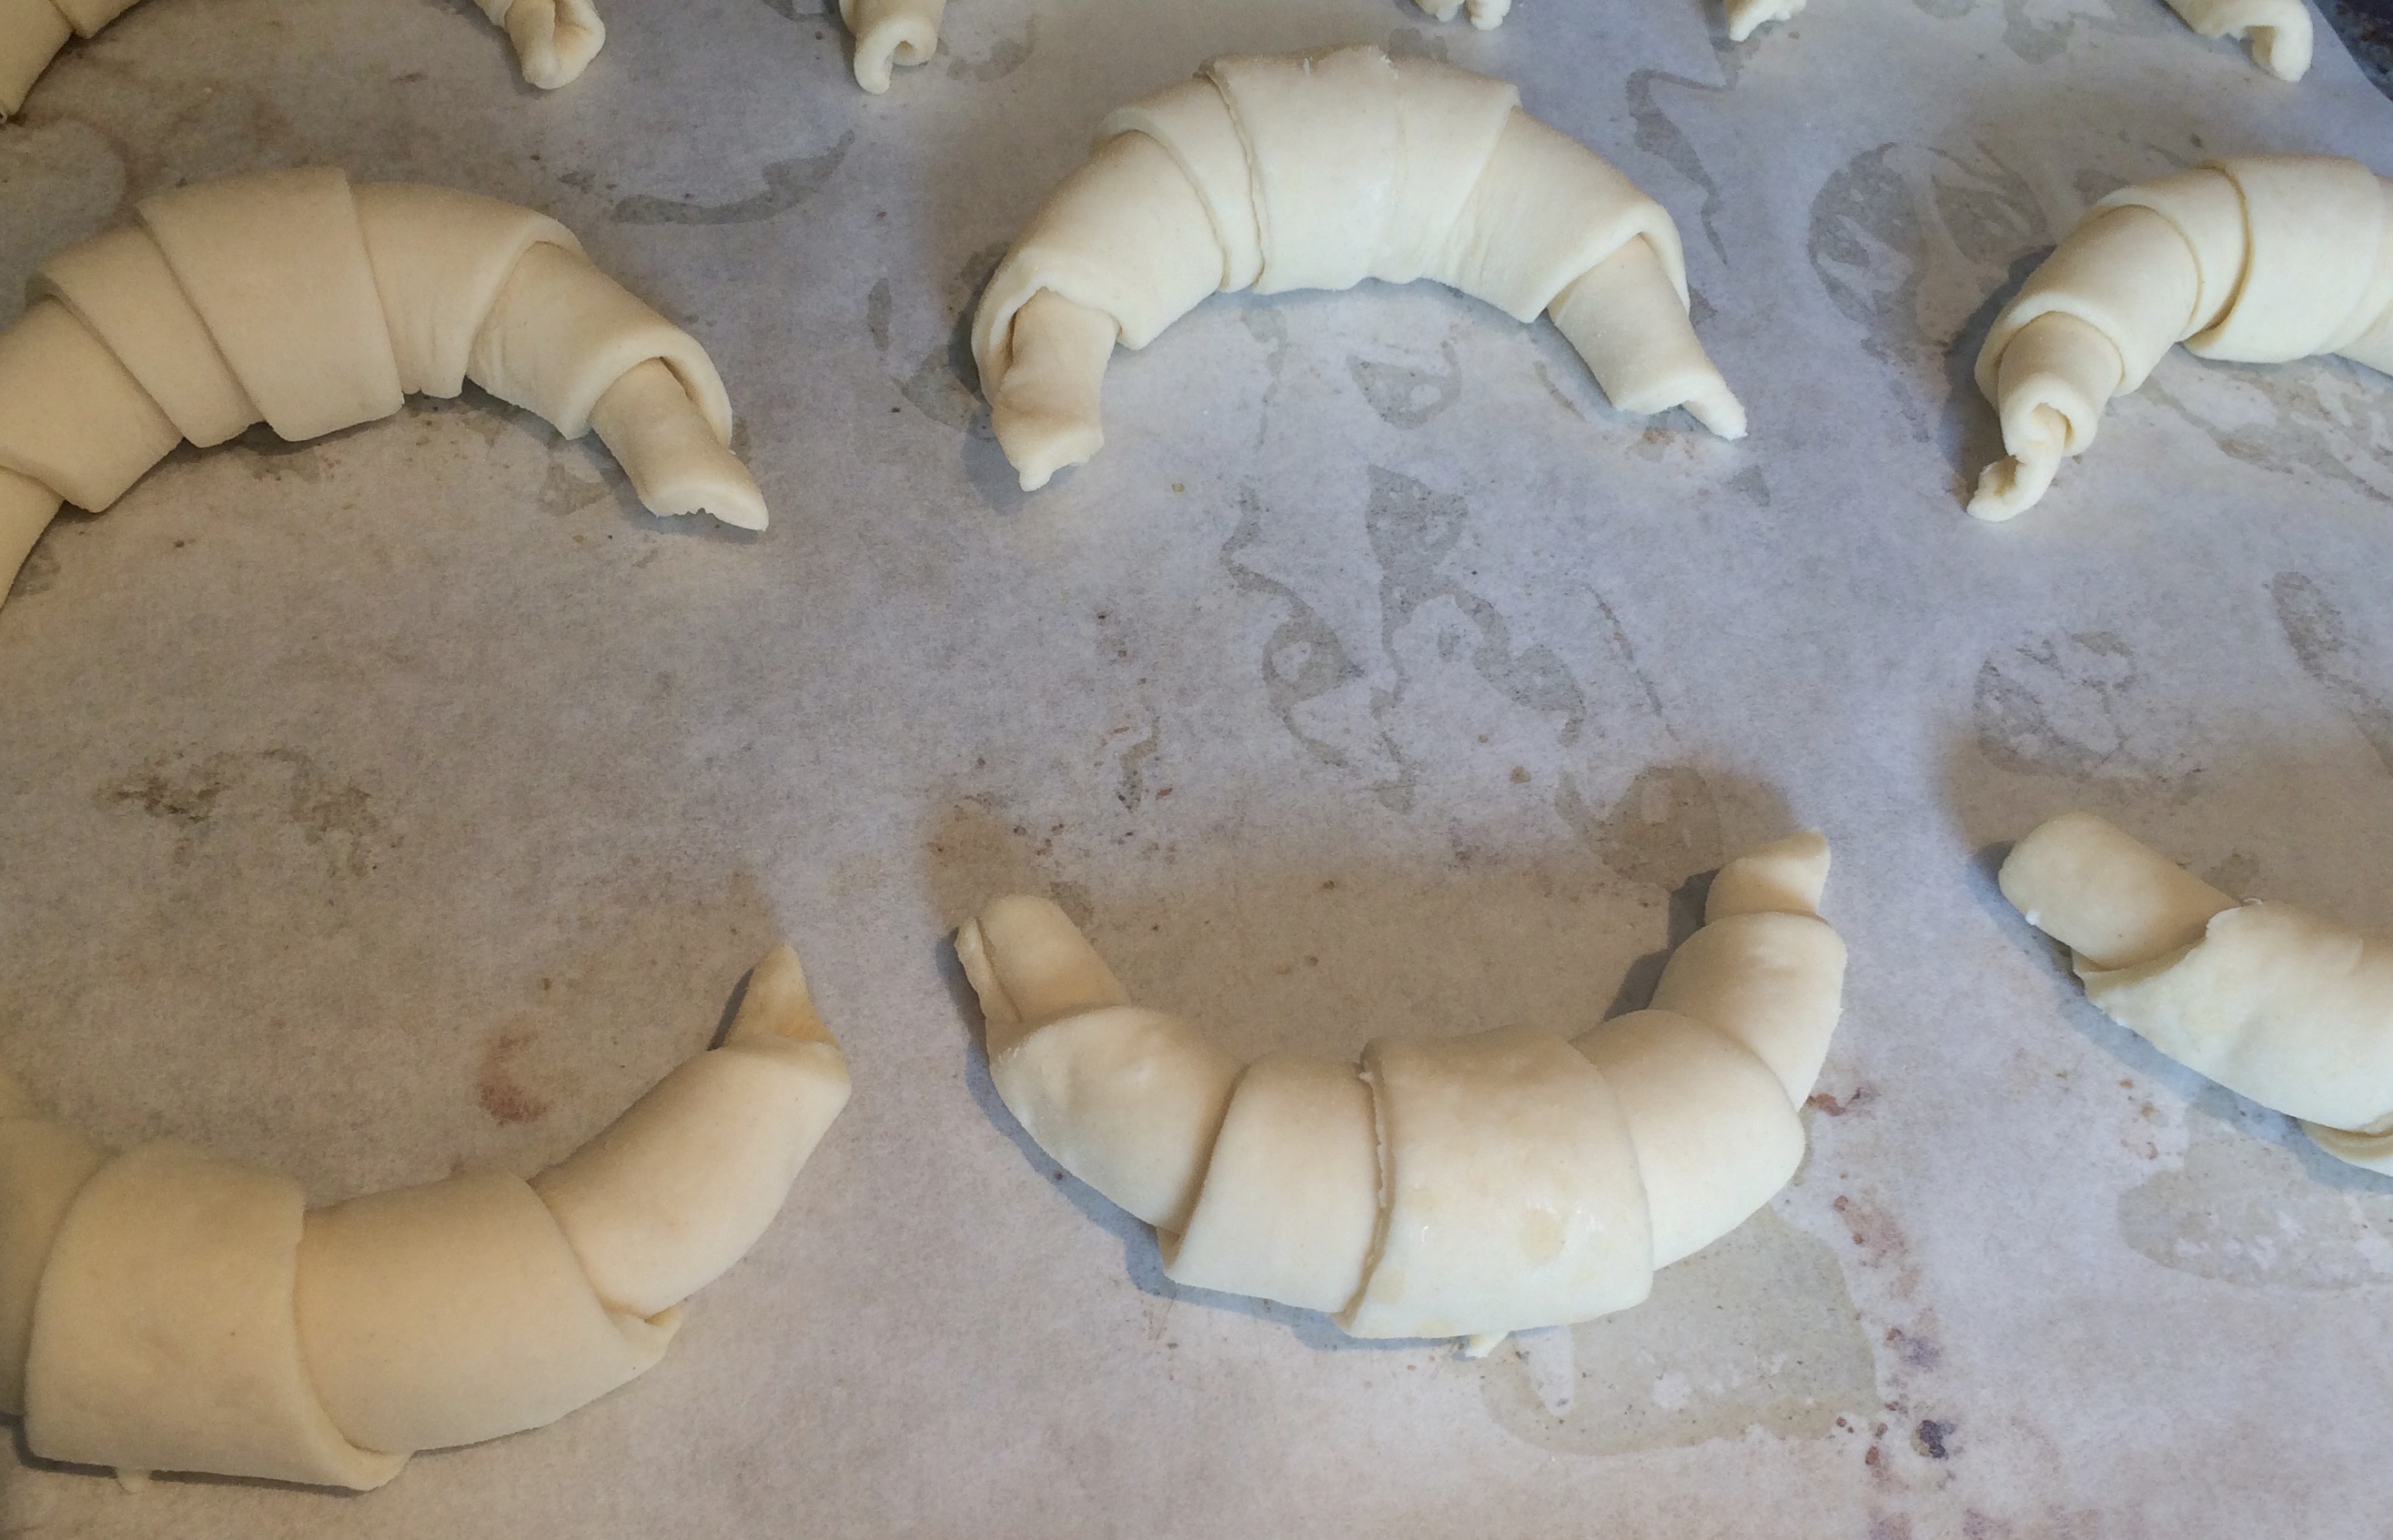
Let the croissants rise until puffy and spongy, about 1½ hours.
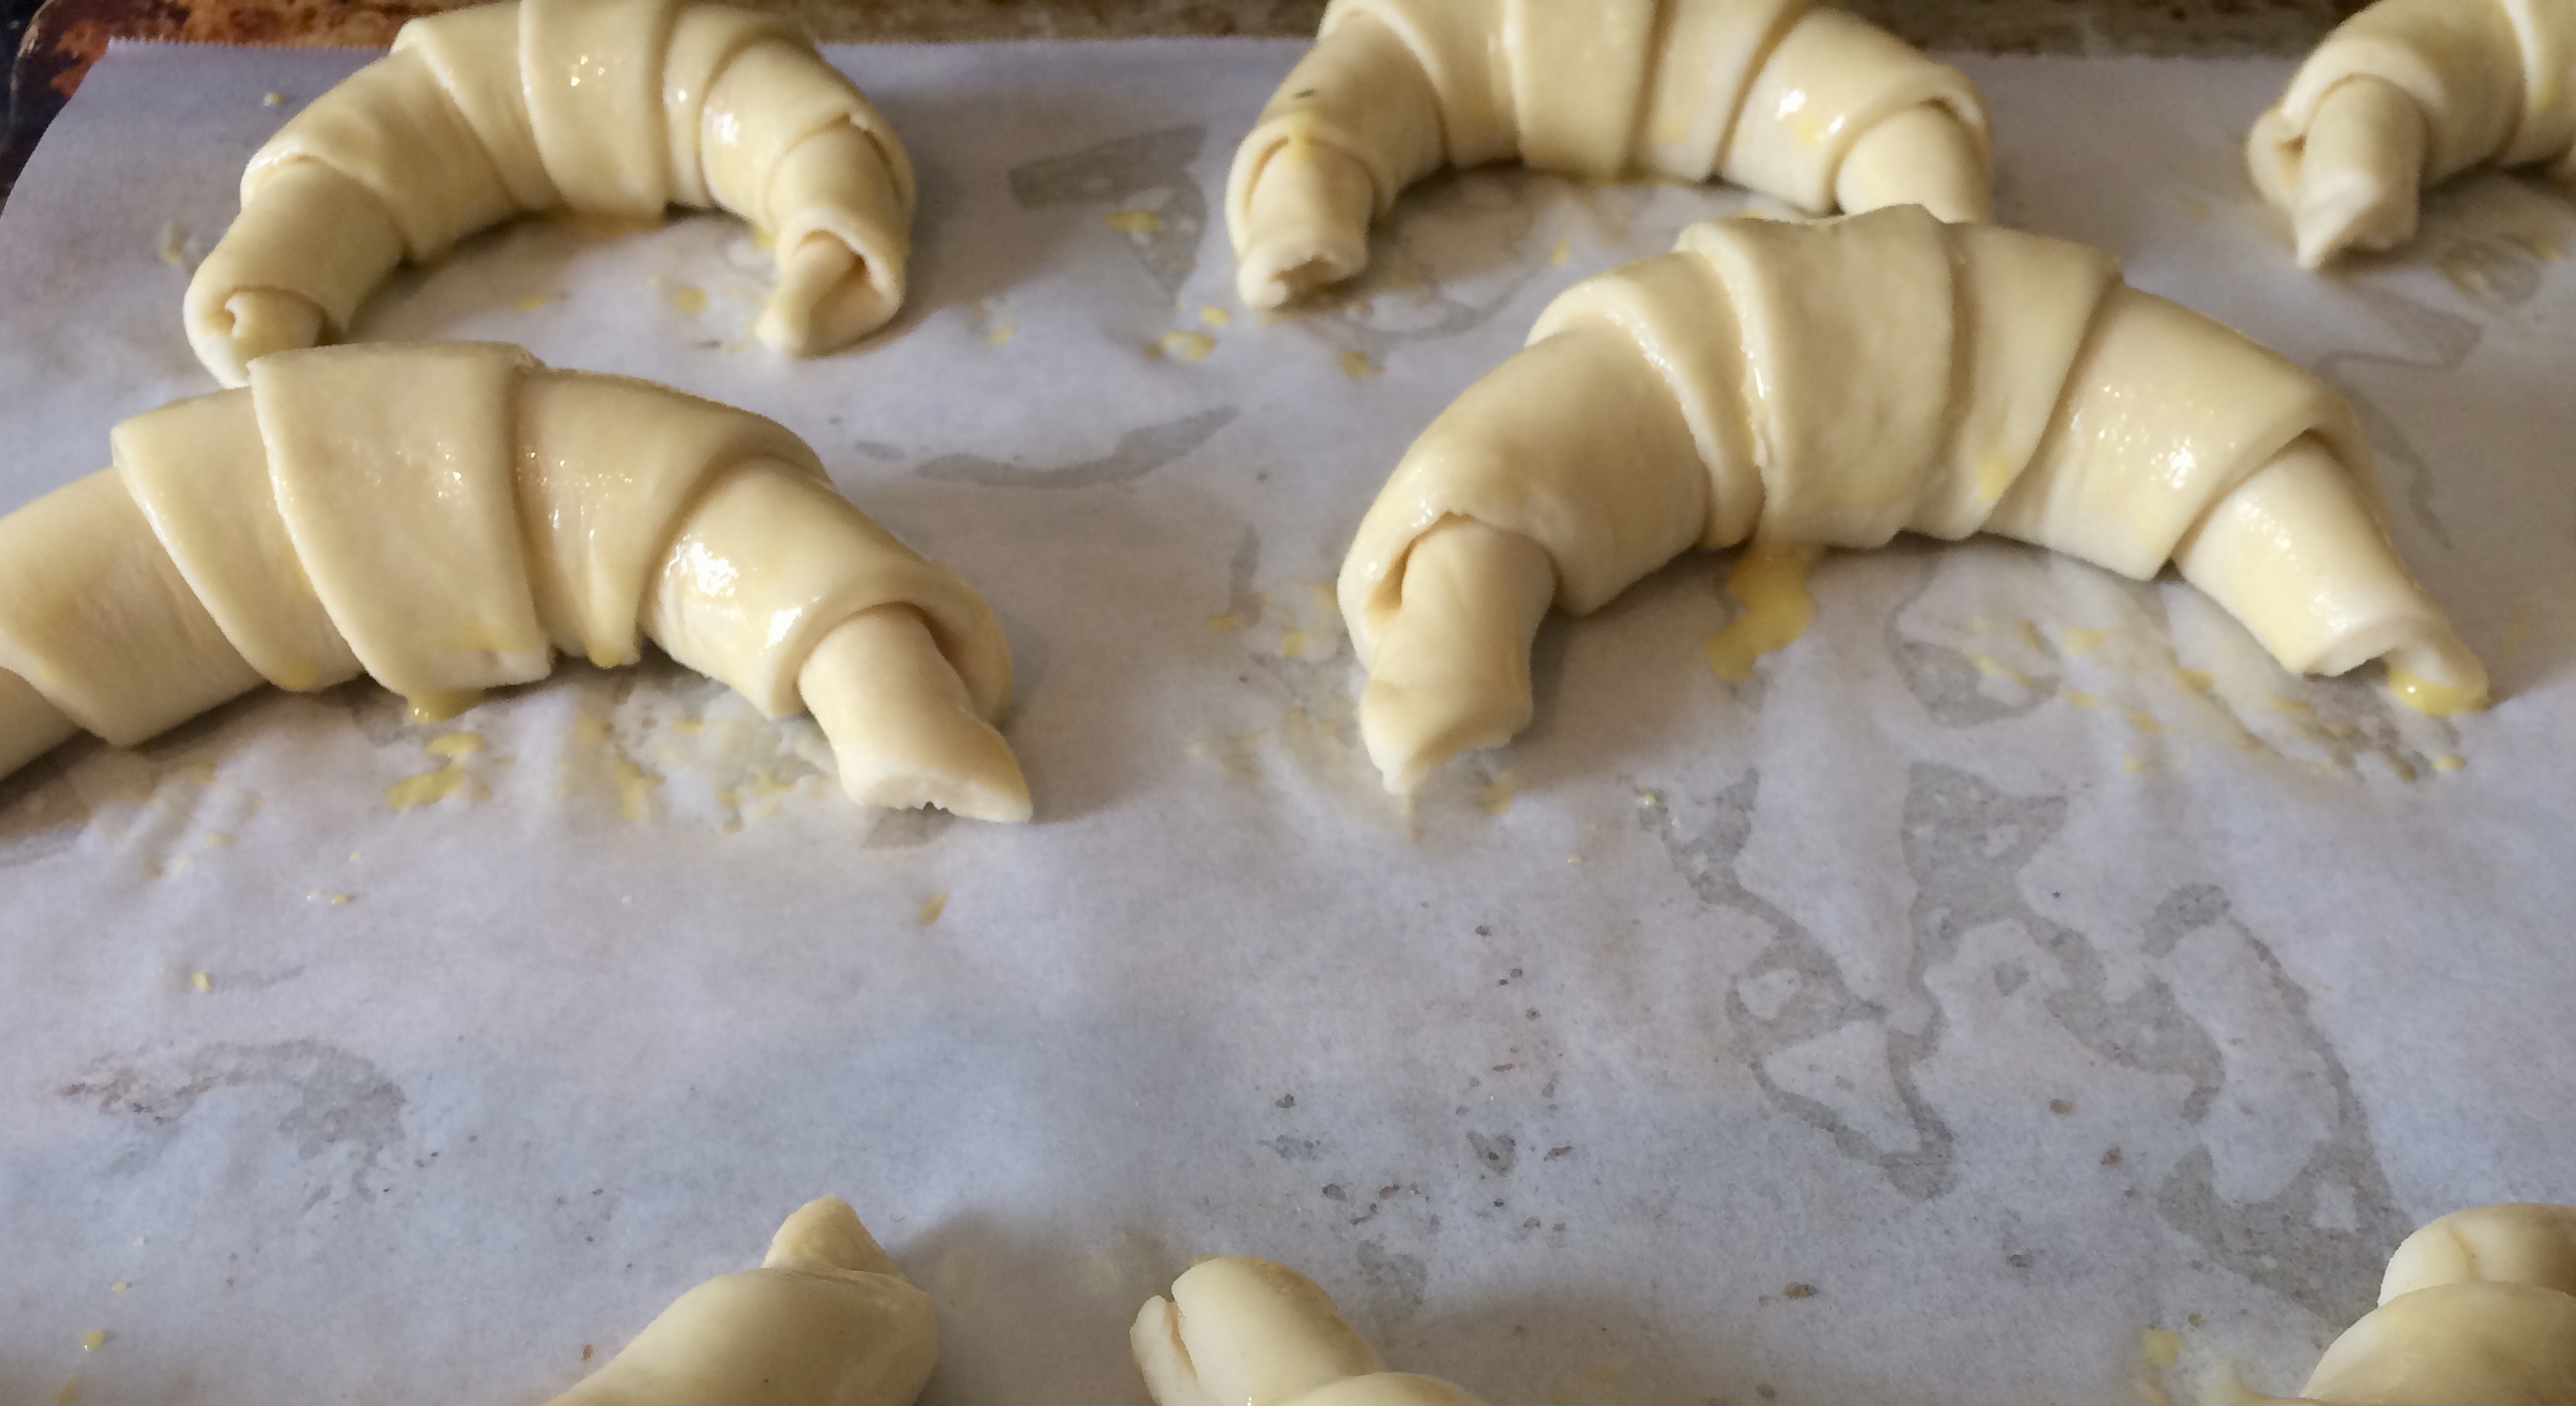
Brush with egg wash again and bake at 400F for 12 to 15 minutes until deep golden brown. Brushing with egg wash the second time helps soften the first layer of egg wash — it has dried by the time you are ready to bake — and also adds to the golden brown color of the finished product.

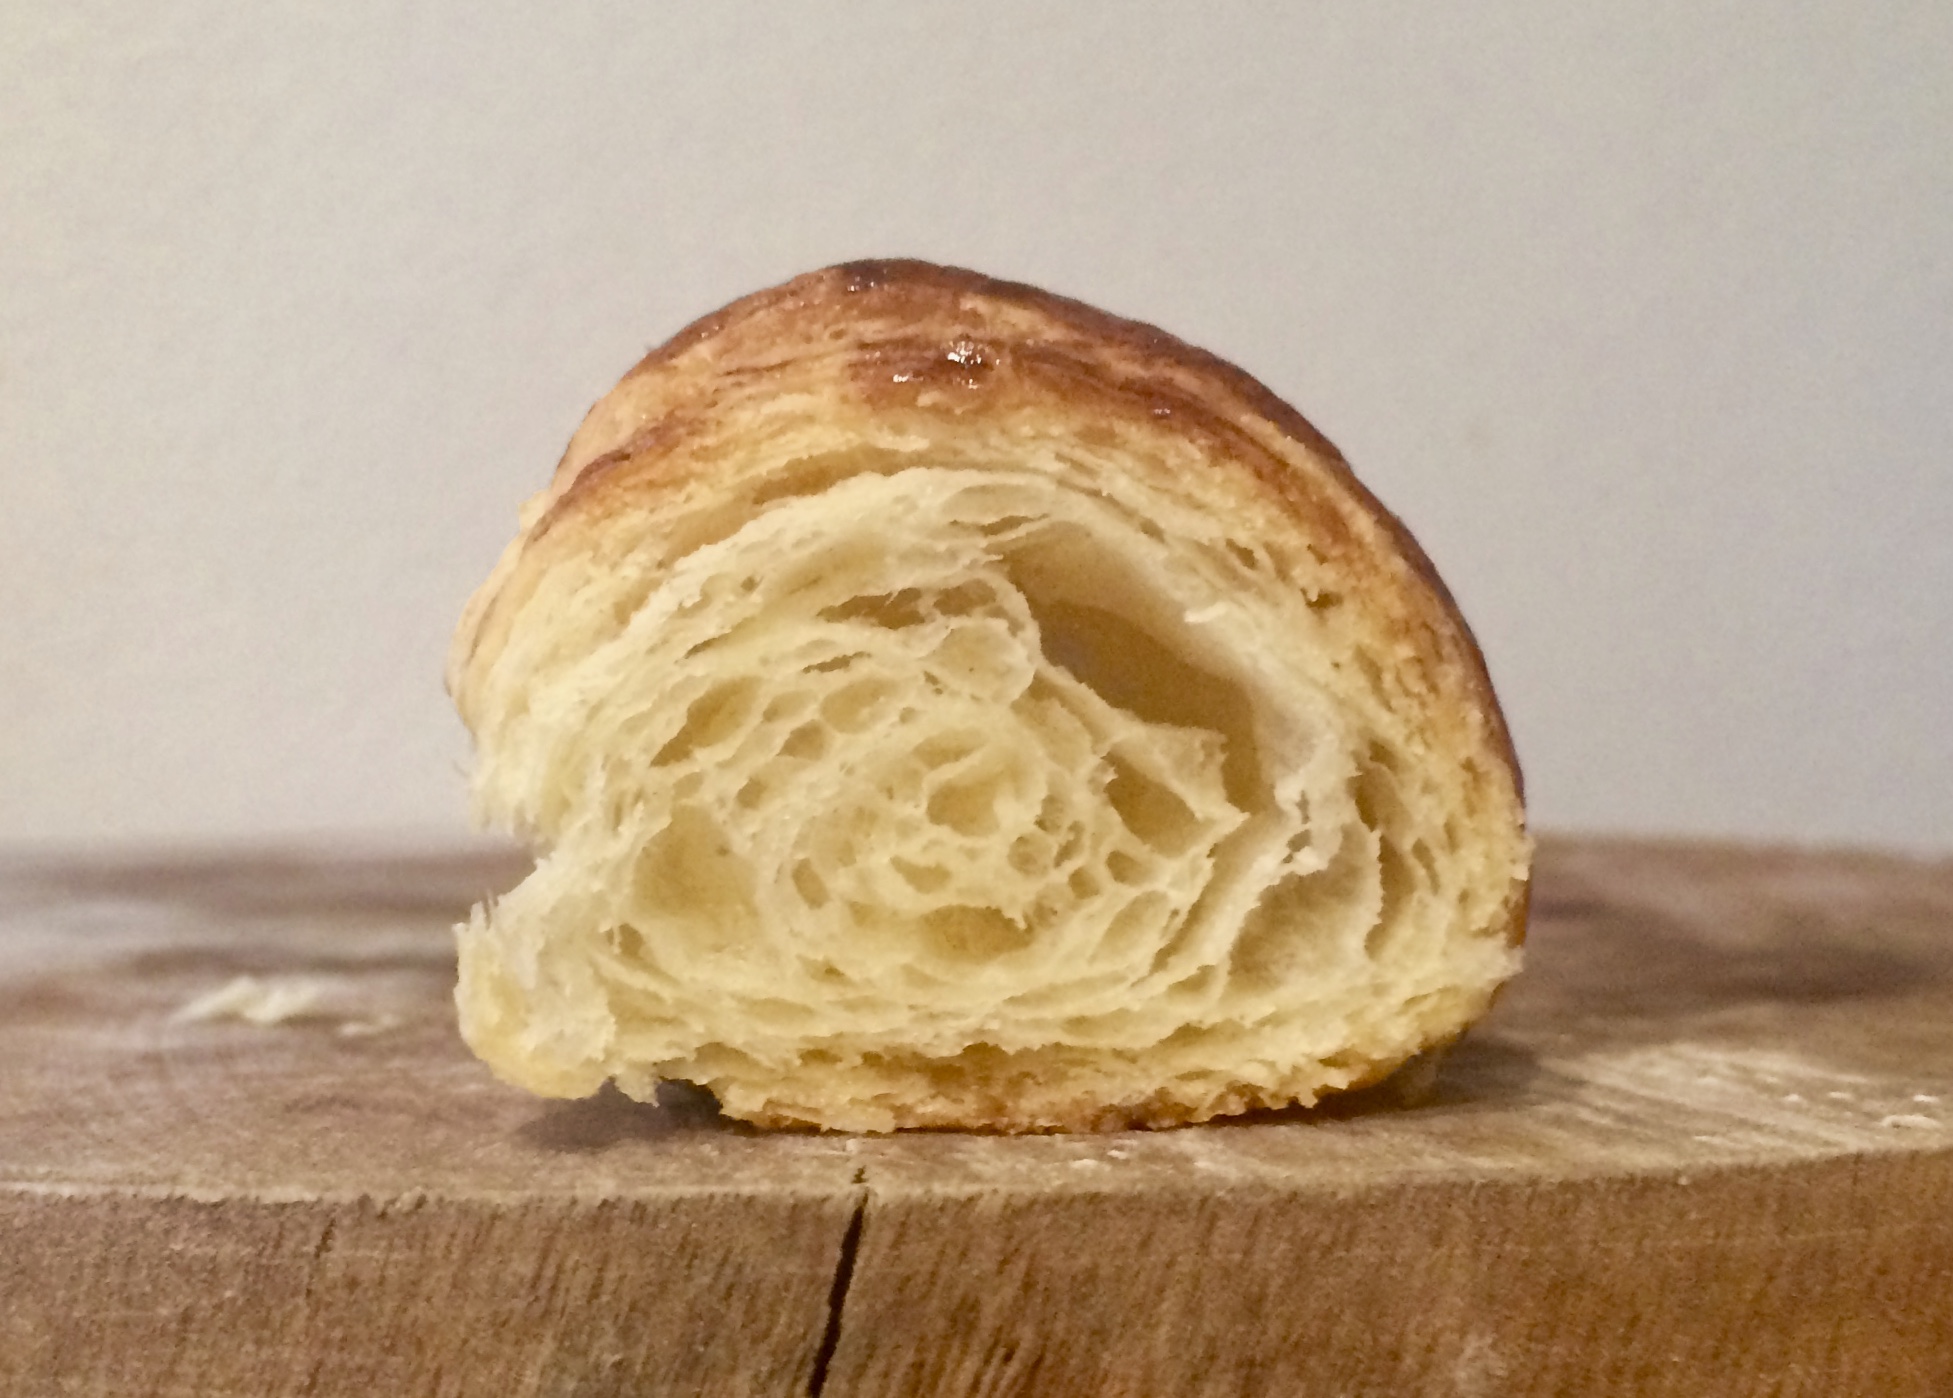
The inside of the croissant should have a nice open structure with no dense, doughy areas. If you find that the center looks doughy and compact, the croissants did not rise long enough. Practice will help you determine when the croissants are fully risen.
Alternatives
If you like, croissants can be frozen after the first egg wash. This allows you the flexibility to bake just the number of croissants you need and to do the majority of the work ahead of time. Place the croissants on a baking sheet and allow them to thaw and rise completely. This will take 2 to 2½ hours depending on the temperature of your kitchen. Brush with the second egg wash and proceed as usual.
Filled croissants can be made in the familiar crescent shape but I prefer a rectangle because I like more filling! Cut the rolled out strip of croissant dough into pieces approximately 4″ wide.
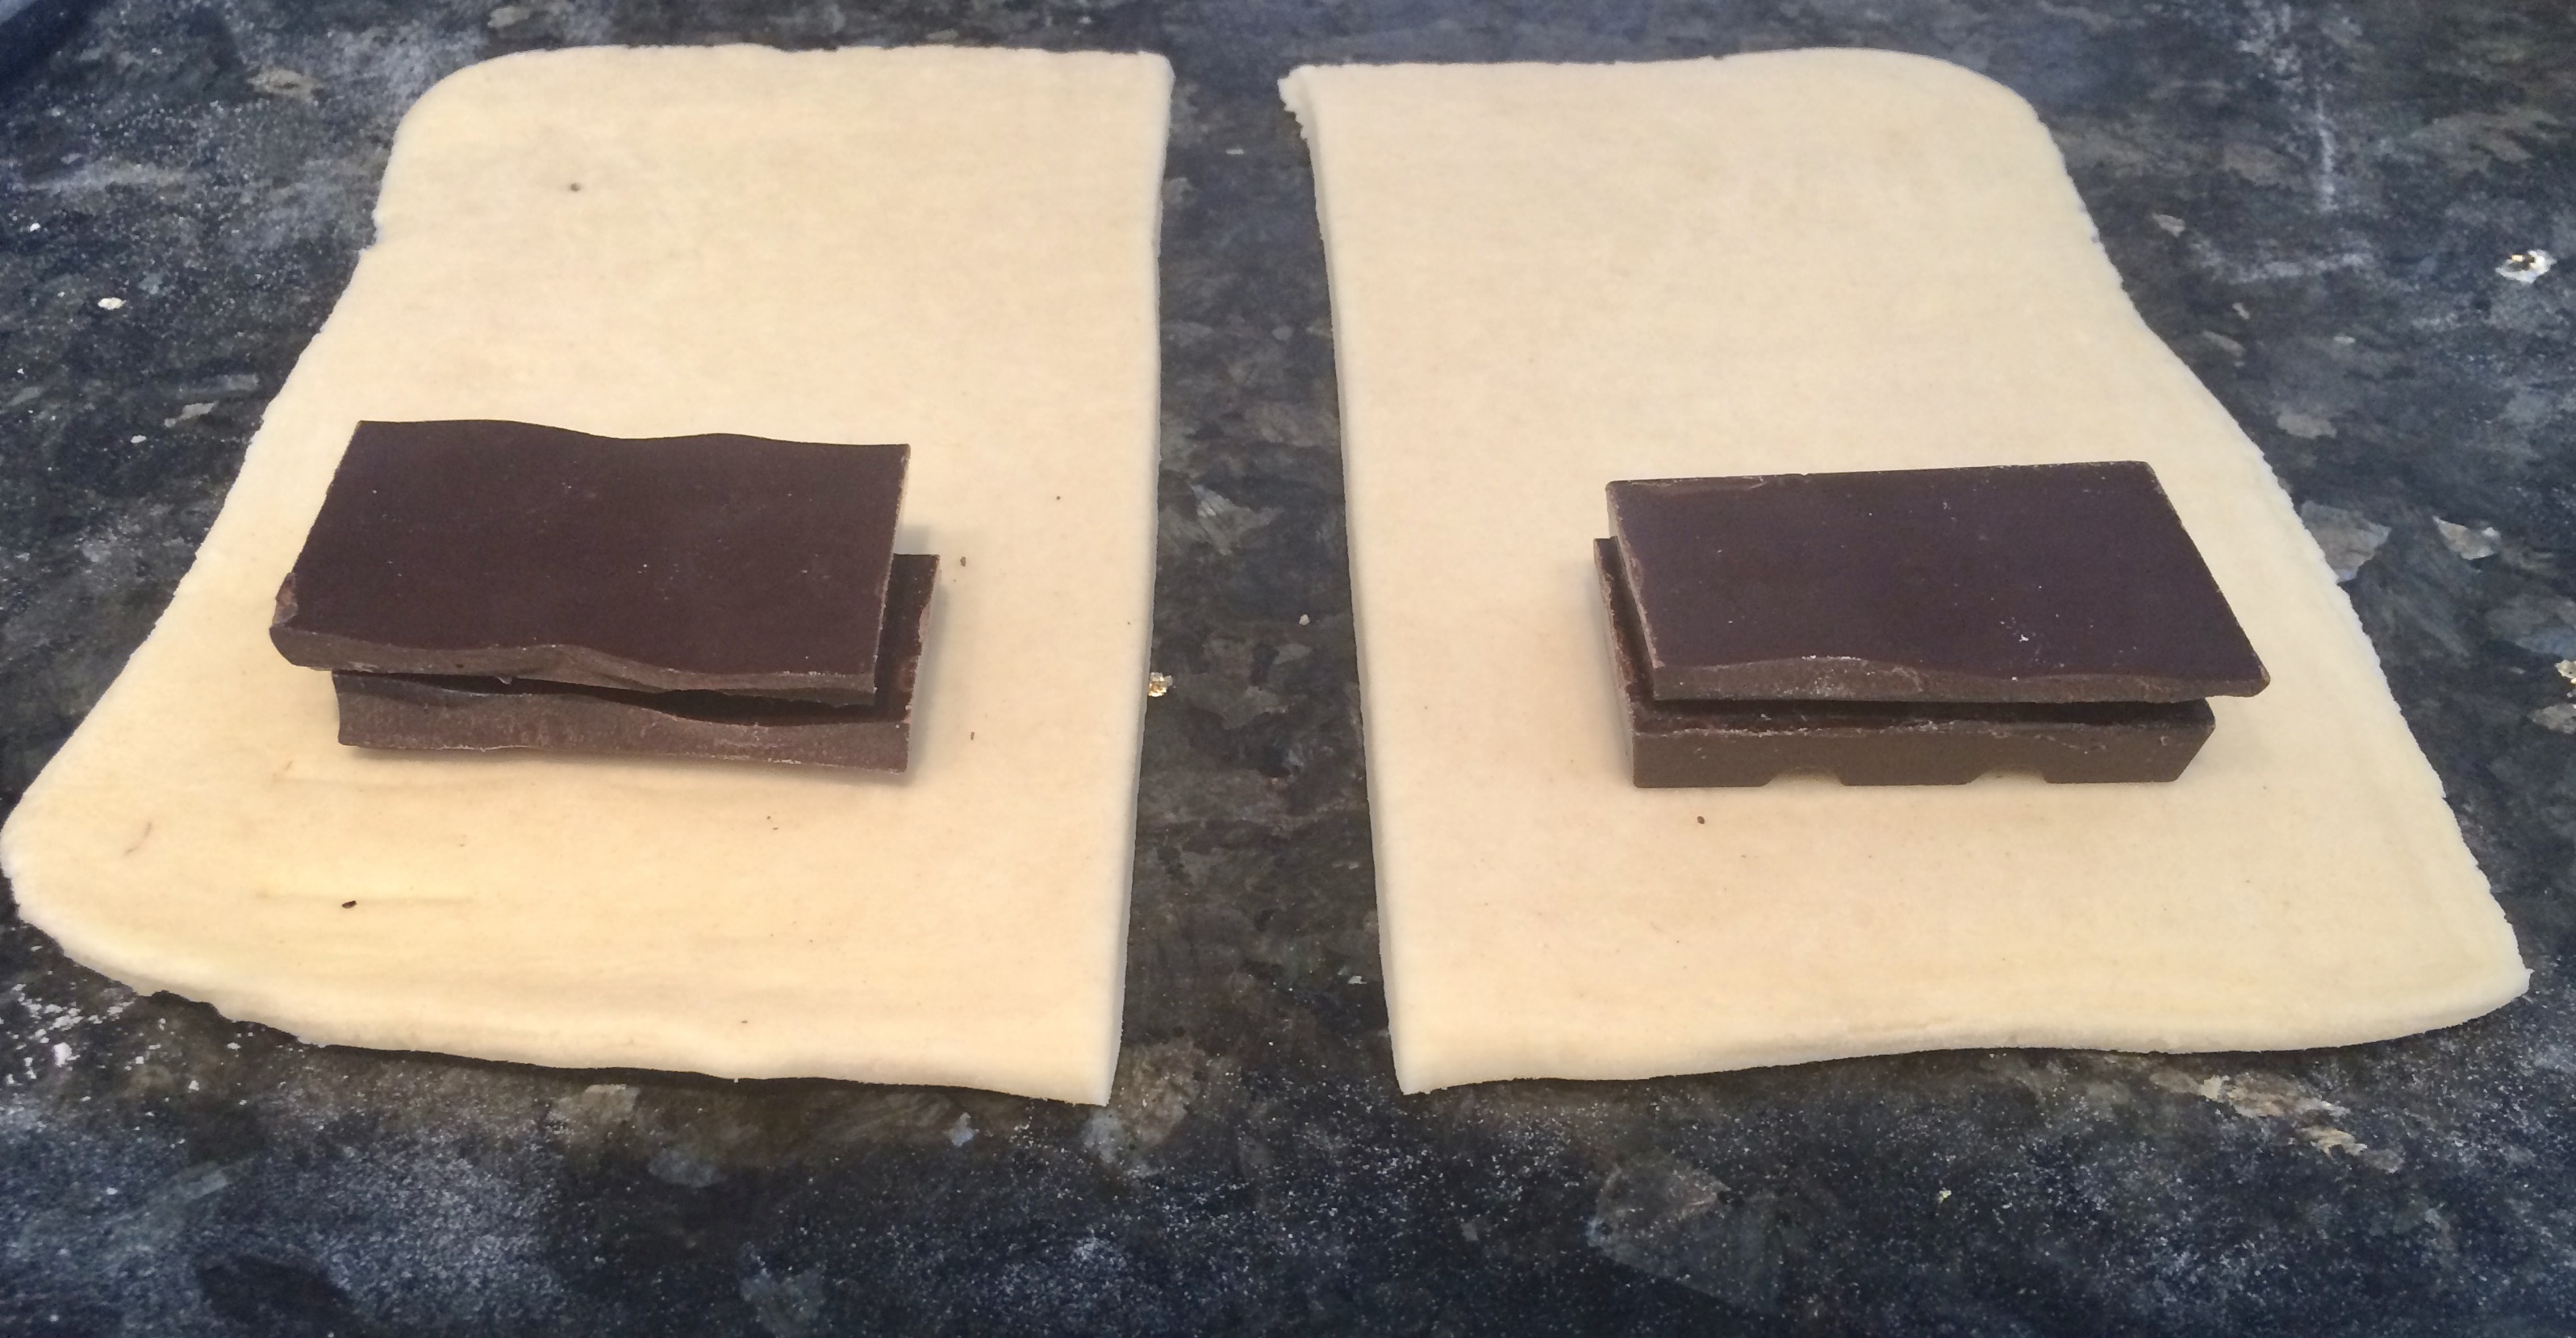
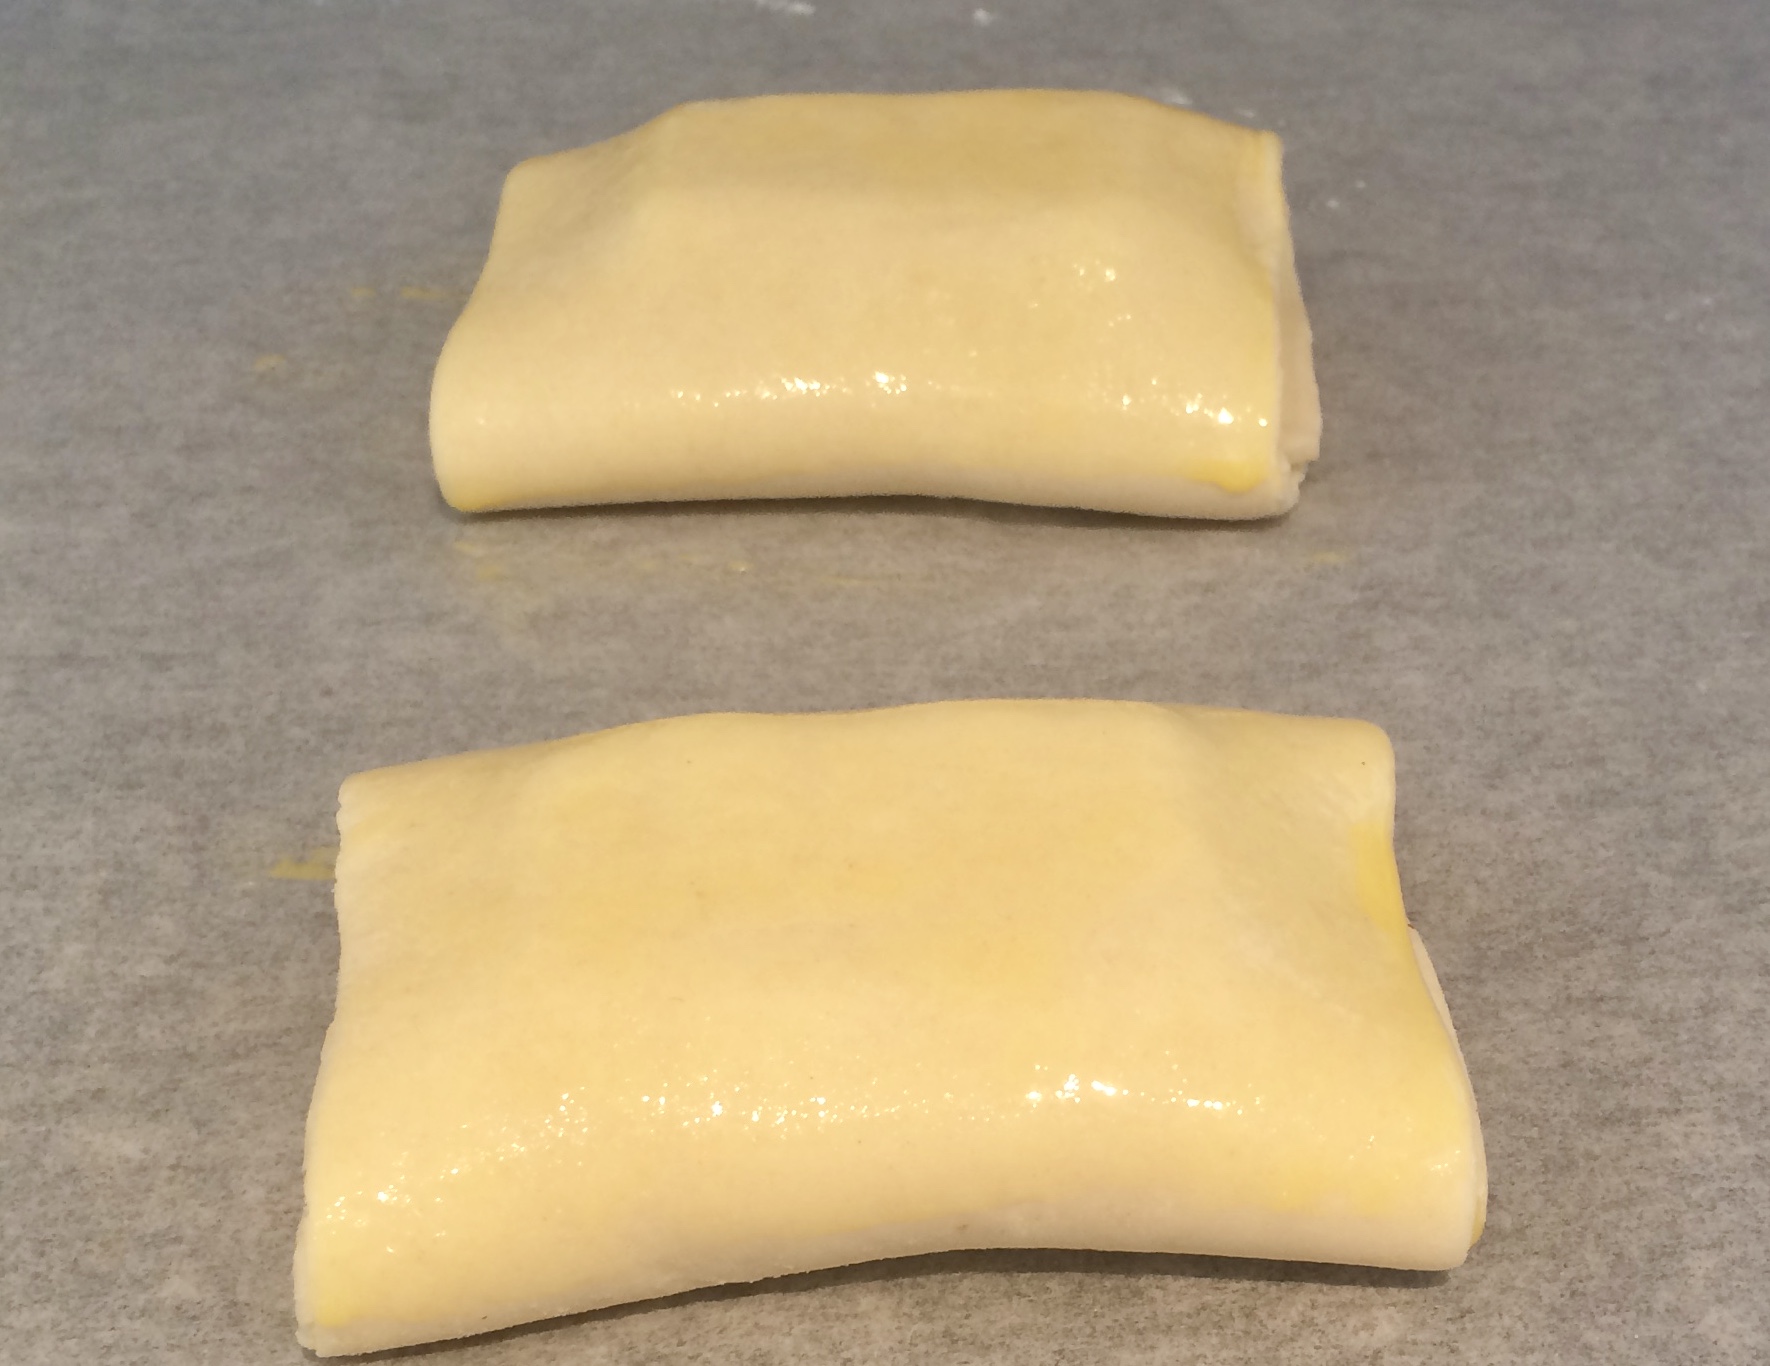
Place the filling ( I use 3/4 ounce chocolate here) and fold over. Brush with egg wash and proceed as for plain croissants.
Great fillings are dark chocolate, raspberries and cream cheese, ham and gruyere, almond cream, and Nutella to name a few.
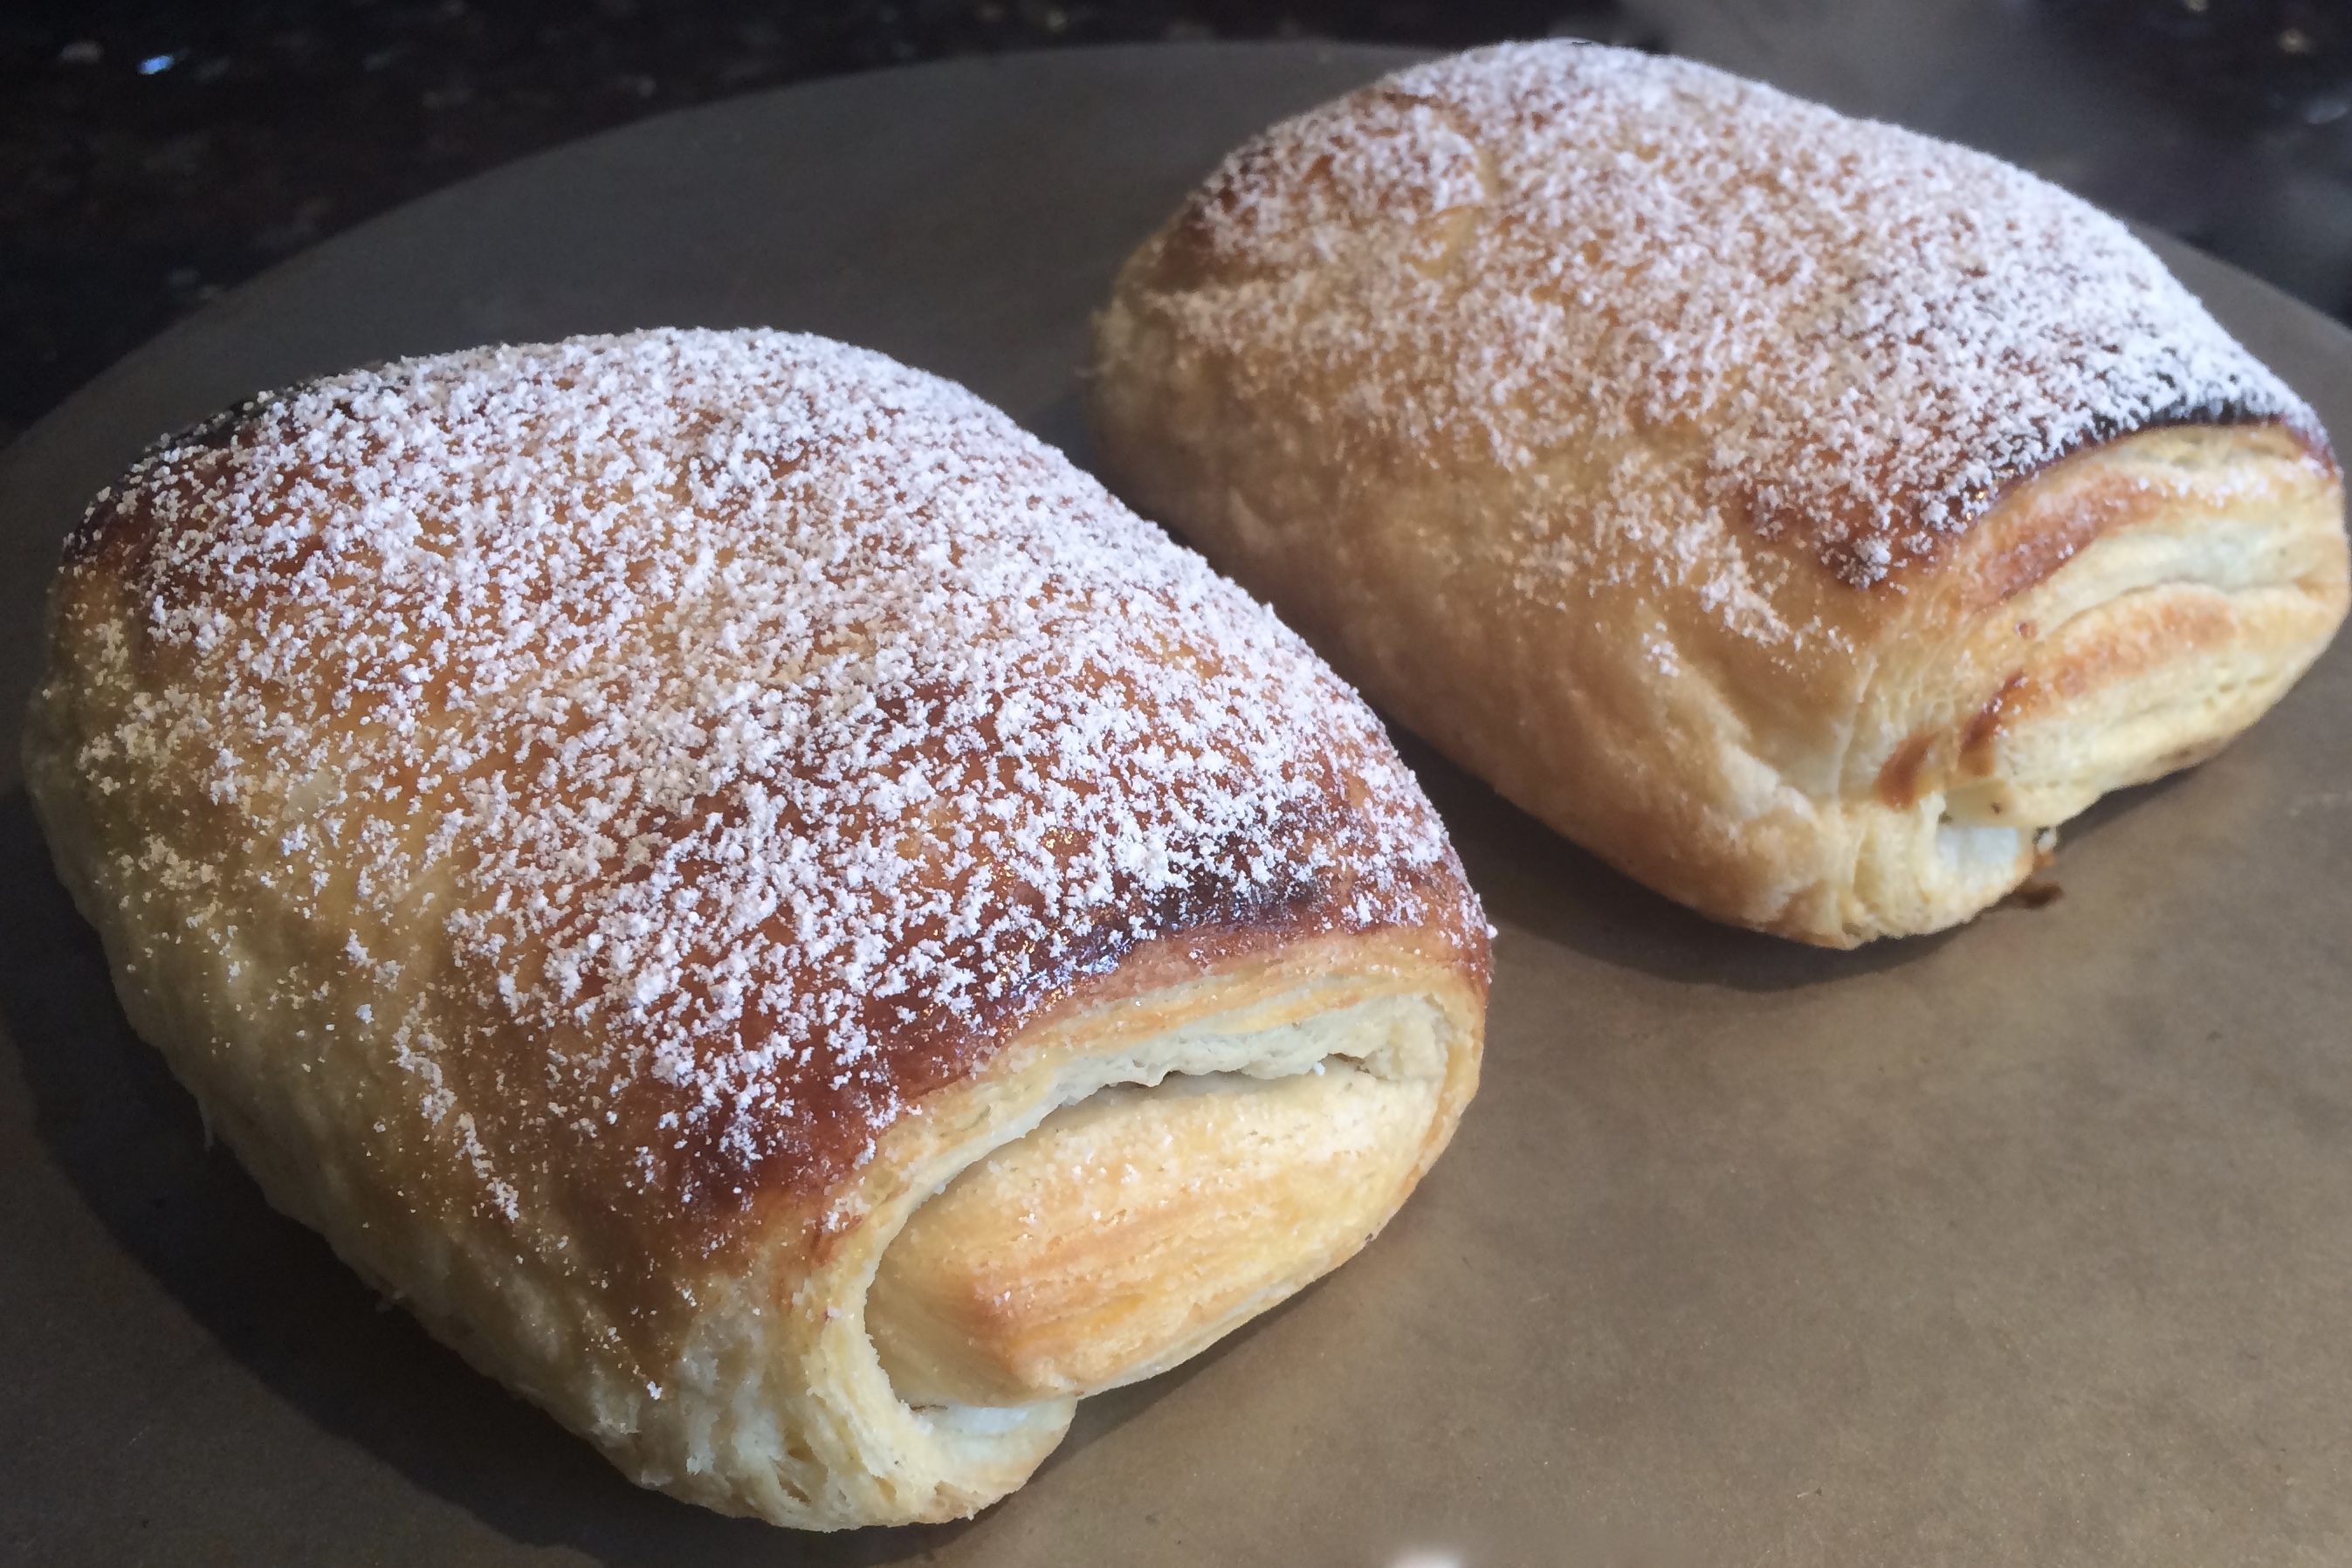
Croissants can also be left plain on the top, dusted with powdered sugar, sprinkled with nuts after egg washing the second time, or drizzled with chocolate. Use your imagination and keep practicing!


One Reply to “Croissants”